


Using the Printer Software
61
Windows NT 4.0
Follow the steps below to set up Windows NT 4.0 clients.
Note:
You can install the driver of the shared printer if you have Power Users
or more powerful access rights, even if you are not the administrator.
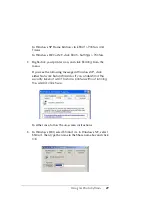
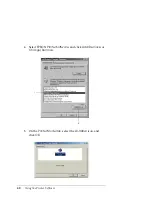
1. Click
Start
>
Settings
>
Printers
.
2. Double-click the
Add Printer
icon.
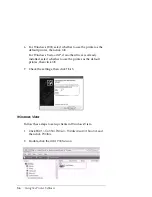
3. Select
Network printer server
, then click
Next
.
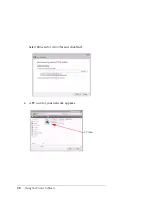
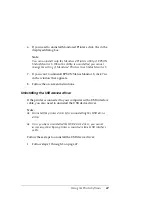
4. Click the icon of the computer or server that is connected to
the shared printer and the name of the shared printer. Then
click
OK
.
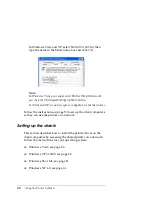
Note:
❏
You can also type “\\(the name of the computer that is locally
connected to the shared printer)\(the shared printer’s name)”
in Network path or queue name.
❏
The name of the shared printer may be changed by the
computer or server that is connected to it. To check the name of
the shared printer, ask the network administrator.


