Installing Options
231
7
7
7
7
7
7
7
7
7
7
7
7
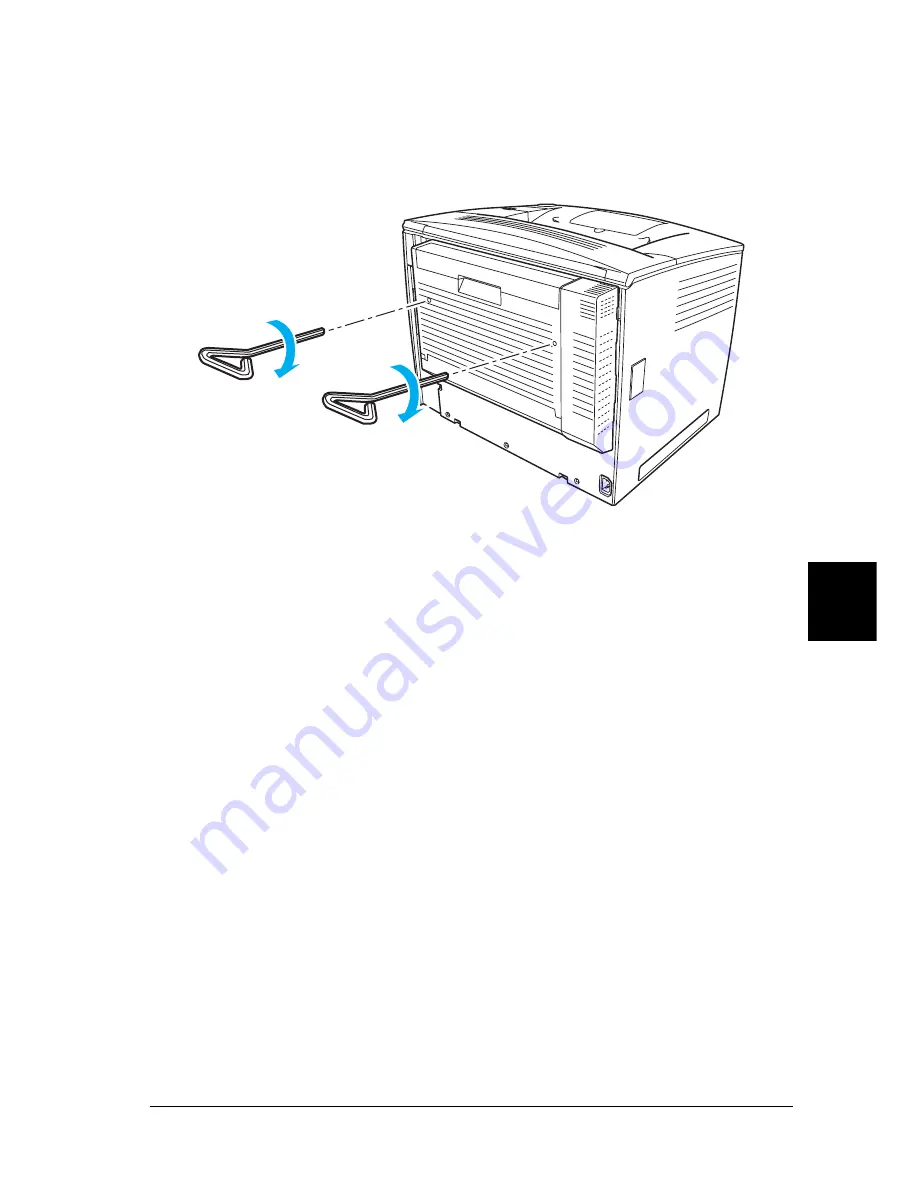
5. Fasten the Duplex Unit to the printer securely with the two
screws.
Use the wrench that comes with the unit.
Note:
Keep the wrench in a safe place after use.
6. Reconnect all interface cables and the power cord.
7. Plug the printer’s power cord into an electrical outlet.
8. Turn on the printer.
To confirm that the Duplex Unit is installed correctly, use the
printer’s control panel menus to print a status sheet. See “Printing
a Status Sheet” on page 304 for instructions. If the Duplex Unit is
not listed on the status sheet, try reinstalling it. Make sure that the
connector on the Duplex Unit is securely connected to the socket
on the circuit board.
Summary of Contents for EPL-N7000
Page 25: ...14 Getting to Know Your Printer ...
Page 107: ...96 Using the Standard Printer Driver ...
Page 149: ...138 Using the PostScript Printer Driver Windows ...
Page 237: ...226 Installing Options 3 Unplug the connecting cable from the printer ...
Page 245: ...234 Installing Options 4 Loosen the two screws located on the top right edge of the printer ...
Page 251: ...240 Installing Options At the bottom of the right cover At the top of the right cover ...
Page 261: ...250 Installing Options At the bottom of the right cover At the top of the right cover ...
Page 297: ...286 Troubleshooting 2 Pull out the stopper of the front cover to secure the cover ...
Page 303: ...292 Troubleshooting 8 Replace the black cover ...
Page 305: ...294 Troubleshooting 10 Push the stopper of the front cover back to its original position ...
Page 348: ...Troubleshooting 337 9 9 9 9 9 9 9 9 9 9 9 9 2 Click the Details tab ...
Page 375: ...364 Troubleshooting ...
Page 471: ...460 Working with Fonts ...
Page 482: ...Postscript Font Samples 473 E E E E E E E E E E E E Appendix E Postscript Font Samples ...
Page 483: ...474 Postscript Font Samples ...
Page 489: ...480 Glossary ...
Page 496: ...Index 487 ...


