Installing the Drive
Follow these steps to install a drive in the upper or lower
external drive bay:
1.
Using a screwdriver, reach inside the back of the drive bay
and insert the screwdriver into one of the holes in the metal
plate covering the drive bay slot. Use the screwdriver to
bend the plate up and down until it loosens; then grasp the
plate with your hands and pull it out of the back of the
drive bay. Discard the plate; you do not need to reinstall it.
2.
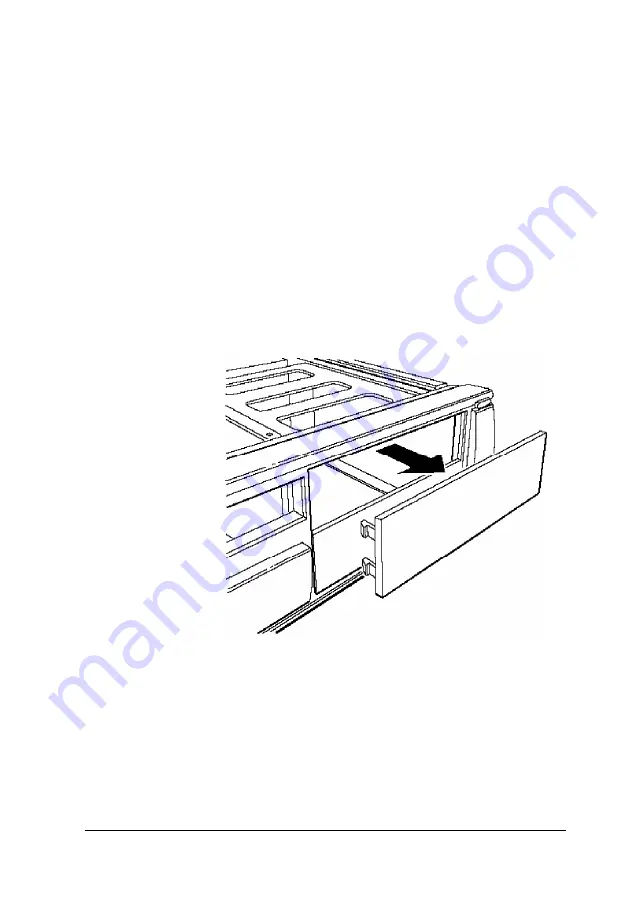
Remove the plastic faceplate from the bay by pushing it out
from the inside of the computer.
You need to reinstall the faceplate in later steps if you are
installing a hard disk drive. If you are installing an
externally accessible drive, keep the faceplate in a safe place
in case you remove a drive later.
Installing and Removing Drives in the Slimline Computer
5 - 1 5
Summary of Contents for Endeavor Pro
Page 28: ...2 2 0 Setting Up Your System ...
Page 47: ...Green PC options continued 2 18 Running SETUP and lnstalling Drivers ...
Page 57: ...Using Your Computer 3 5 ...
Page 71: ...Installing and Removing Options 4 7 ...
Page 163: ...Environmental Requirements System Memory Map A S Specifications ...
Page 164: ...Video Resolutions and Colors Specifications A 9 ...
Page 167: ...Hardware Interrupts System l O Address Map A 12 Specifications ...


