


254
Note:
Banding may also occur if your print head nozzles need cleaning.
Aligning the Print Head Using the Product Control Panel
Parent topic:
Aligning the Print Head Using the Product Control Panel
You can align the print head using the control panel on your product.
1.
Make sure there are no errors on the LCD screen and the output tray is extended.
2.
Load a few sheets of plain paper in the product.
3.
Press the
home button, if necessary.
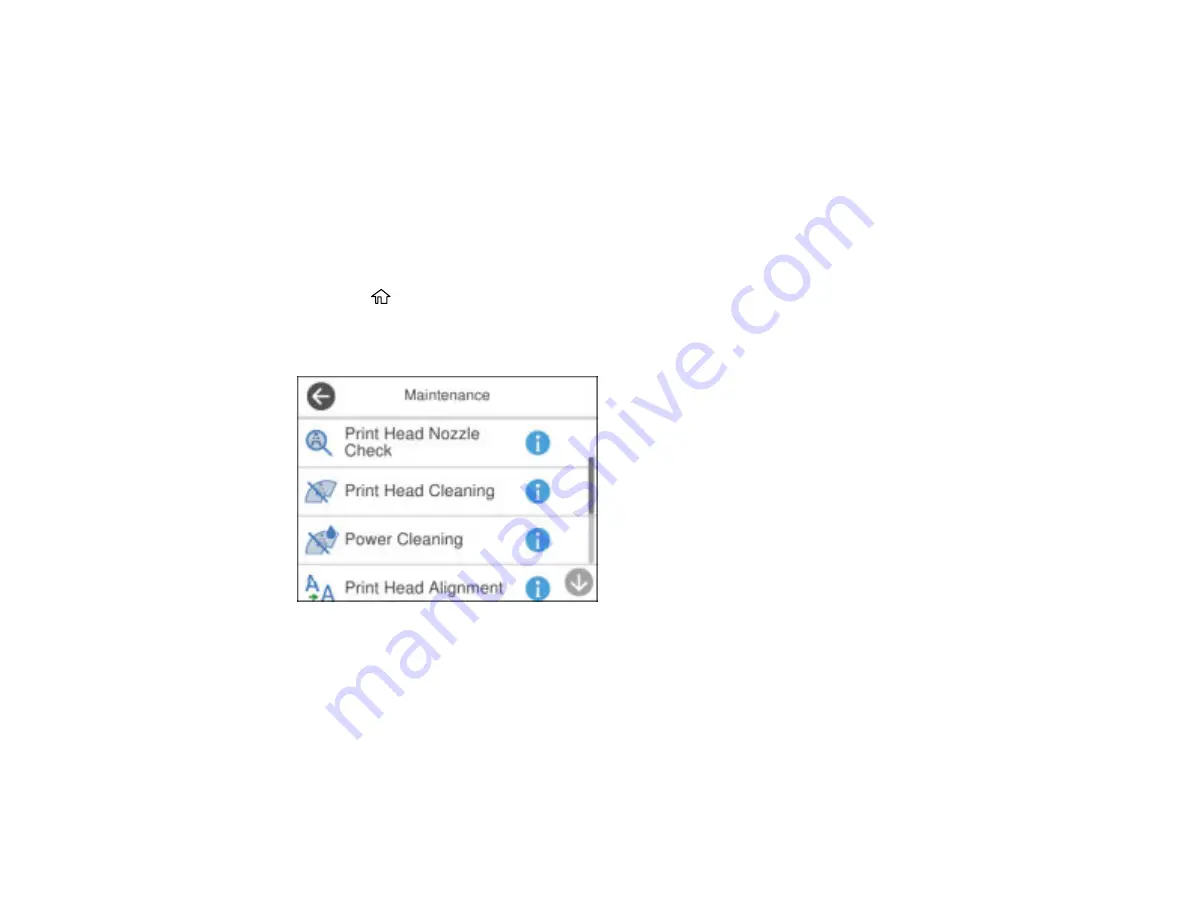
4.
Select
Maintenance
.
You see a screen like this:
5.
Select
Print Head Alignment
.
6.
Select one of the following options:
•
Vertical Alignment
if your printout is blurry or contains vertical ruled lines that are misaligned.
•
Horizontal Alignment
if your printout contains horizontal banding.
7.
Follow the on-screen instructions to print an alignment sheet.
Note:
Do not cancel printing while you are printing head alignment patterns.
Summary of Contents for EcoTank ET-15000 Series
Page 1: ...ET 15000 User s Guide ...
Page 2: ......
Page 45: ...45 Related tasks Setting Up Epson Connect Services Related topics Wi Fi or Wired Networking ...
Page 154: ...154 You see an Epson Scan 2 window like this ...
Page 156: ...156 You see an Epson Scan 2 window like this ...
Page 168: ...168 1 Click the Settings button You see a screen like this 2 Click the File Name Settings tab ...
Page 170: ...170 You see a screen like this 2 Click the Save Settings tab ...
Page 173: ...173 You see a screen like this 2 Click the Customize Actions tab ...
Page 175: ...175 You see this window ...
Page 241: ...241 You see a screen like this 6 Select Print The nozzle check pattern is printed ...
Page 272: ...272 9 Close the ink tank cover until it clicks into place 10 Close the scanner unit ...


