15
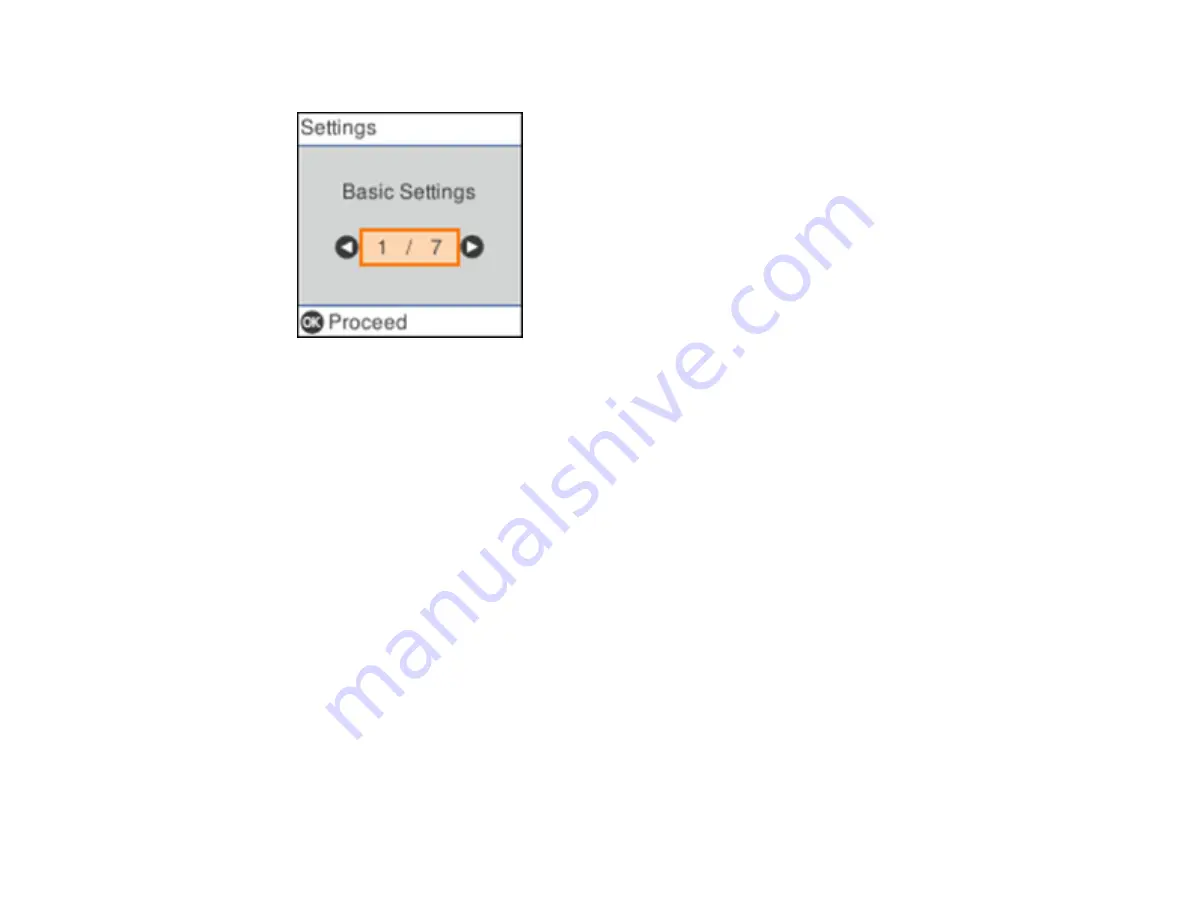
You see a screen like this:
3.
Press the
OK
button.
4.
Use the arrow buttons to select
Date/Time Settings
and press
OK
.
5.
Press the
OK
button to select
Date/Time
.
6.
Use the arrow buttons to select the date format you want to use.
7.
Use the arrow buttons to enter the current date and press
OK
.
8.
Use the arrow buttons to select the time format you want to use and press
OK
.
9.
Use the arrow buttons to enter the current time and press
OK
.
10. Use the arrow buttons to select
Daylight Saving Time
and press
OK
.
11. Select the setting that applies to your area:
•
Winter
: it is winter or your region does not use Daylight Saving Time (DST)
•
Summer
: it is spring or summer and your region uses Daylight Saving Time (DST)
Note:
If your region uses Daylight Saving Time (DST), you must change this setting to match the
season. When you change from
Winter
to
Summer
, your product automatically sets its clock ahead
one hour. When you change from
Summer
to
Winter
, it sets its clock back one hour.
12. Use the arrow buttons to select
Time Difference
and press
OK
.
13. Use the arrow buttons to enter the time difference between your local time and UTC (Coordinated
Universal Time) and press
OK
.
Summary of Contents for B11B259201
Page 1: ...DS 730N User s Guide ...
Page 2: ......
Page 34: ...34 ...
Page 69: ...69 You see an Epson Scan 2 window like this ...
Page 71: ...71 You see an Epson Scan 2 window like this ...
Page 79: ...79 You see this window ...
Page 88: ...88 You see a window like this 4 Click Scan Settings Detailed Settings ...
Page 89: ...89 You see an Epson Scan 2 window like this ...
Page 105: ...105 13 Press down on the pickup roller cover latch and pull up the cover to remove it ...
Page 112: ...112 5 Press down on the pickup roller cover latch and pull up the cover to remove it ...


