


EPSON Stylus PHOTO 895/785EPX
Revision A
Disassembly and Assembly
Disassembly
101
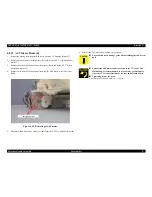
6.
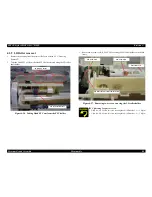
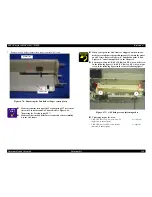
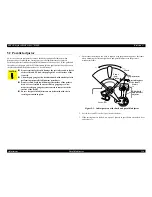
Remove three nuts (Hexagon Nut M3) securing the PF motor to the left frame.
Figure 4-52. Removing three screws securing the PF motor
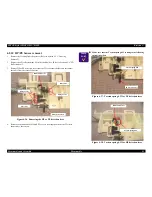
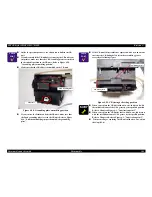
7.
Disconnect the connector cable for PF motor from CN12 on the Main board.
8.
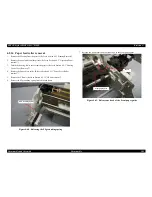
Remove the PF motor from the left frame.
Hexagon Nut M3
PF Motor
C H E C K
P O I N T
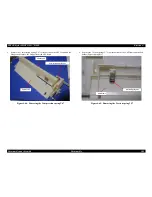
Be sure that the PF motor cable is placed to the backward. Refer to
the Figure 4-53. "PF motor cable"
Figure 4-53. PF motor cable
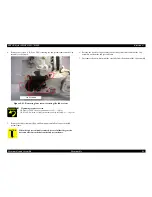
Since the CN 12 is located near the rear edge of the Main board.
It is easier to use the tweezers or pincers to connect the cable to
the CN12.
Check that the connector cable of PF motor is securely connected
to the CN12 on the Main board when installing PF motor.
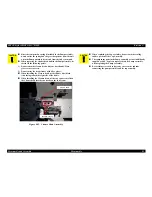
Tightening torque for screw
• Hexagon Nut M3 for PF motor : 6+/1 kgf.cm
PF Motor Cable


