Presenting Through a Wireless Network
83
If the connection is working properly, you see your projector
listed. If you have additional Epson projectors on the network,
they are also listed, along with their status.
The status is indicated next to each projector’s name.
5. Once the name of your projector appears, select it and click
Connect
. If more than one projector is listed, you can select
additional ones and connect to them (up to four) at the same
time.
If the selected projector is already being used by another person,
you can still connect to it (unless it is “locked”); doing so
automatically disconnects the other user. If a projector is locked,
you won’t be able to connect to it when it is in use.
If you don’t see the projector, follow the suggestions on page 84.
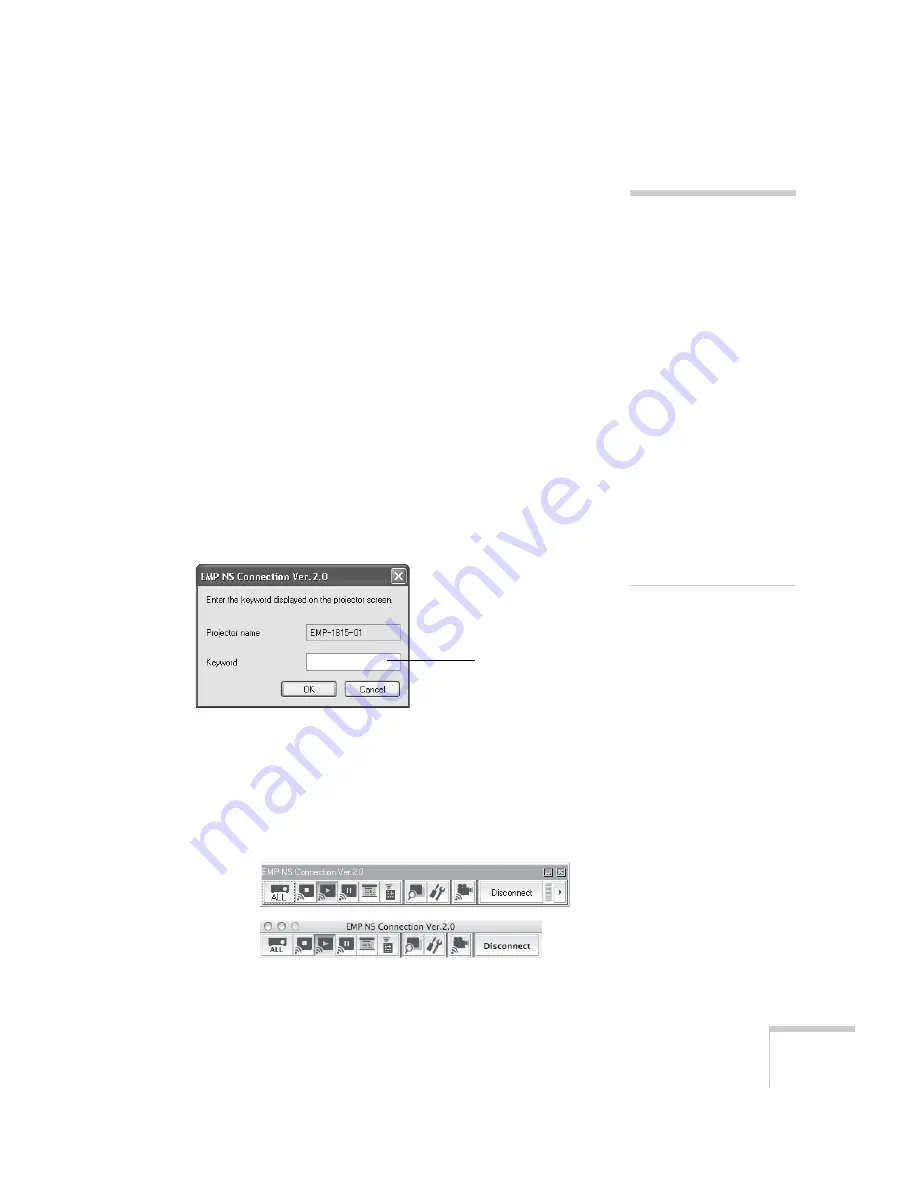
6. If you set up the projector to prompt you for a keyword before
connecting, you see a screen like this one:
Type in the four-digit number displayed on the EasyMP Network
screen and click
OK
.
7. Once the connection is established, you see your computer’s
image transmitted to the screen, and a floating control bar on
your computer desktop:
note
If a projector is in use and is
“locked,” you won’t be able to
select it.
To lock the projector from
connection by other users
while you are connected, click
the
Disable interrupt
connection
checkbox.
De-select it to disable the lock
and allow connection by other
users.
If Microsoft PowerPoint is
already running when you
start the projection and you
see a message that says you
need to restart PowerPoint,
close and reopen PowerPoint
after starting NS Connection.
Enter keyword
Windows
Macintosh
Summary of Contents for 1815p - PowerLite XGA LCD Projector
Page 1: ...PowerLite 1815p Multimedia Projector User sGuide ...
Page 14: ...14 Welcome ...
Page 54: ...54 Connecting to Computers Cameras and Other Equipment ...
Page 98: ...98 Presenting Through a Wireless Network ...
Page 152: ...152 Managing Projectors ...
Page 162: ...162 Maintaining the Projector ...
Page 180: ...180 Solving Problems ...
Page 184: ...184 Software Installation ...
Page 192: ...192 Technical Specifications ...
Page 204: ......


