Fine-Tuning the Projector
129
Starting the Projector with a Password
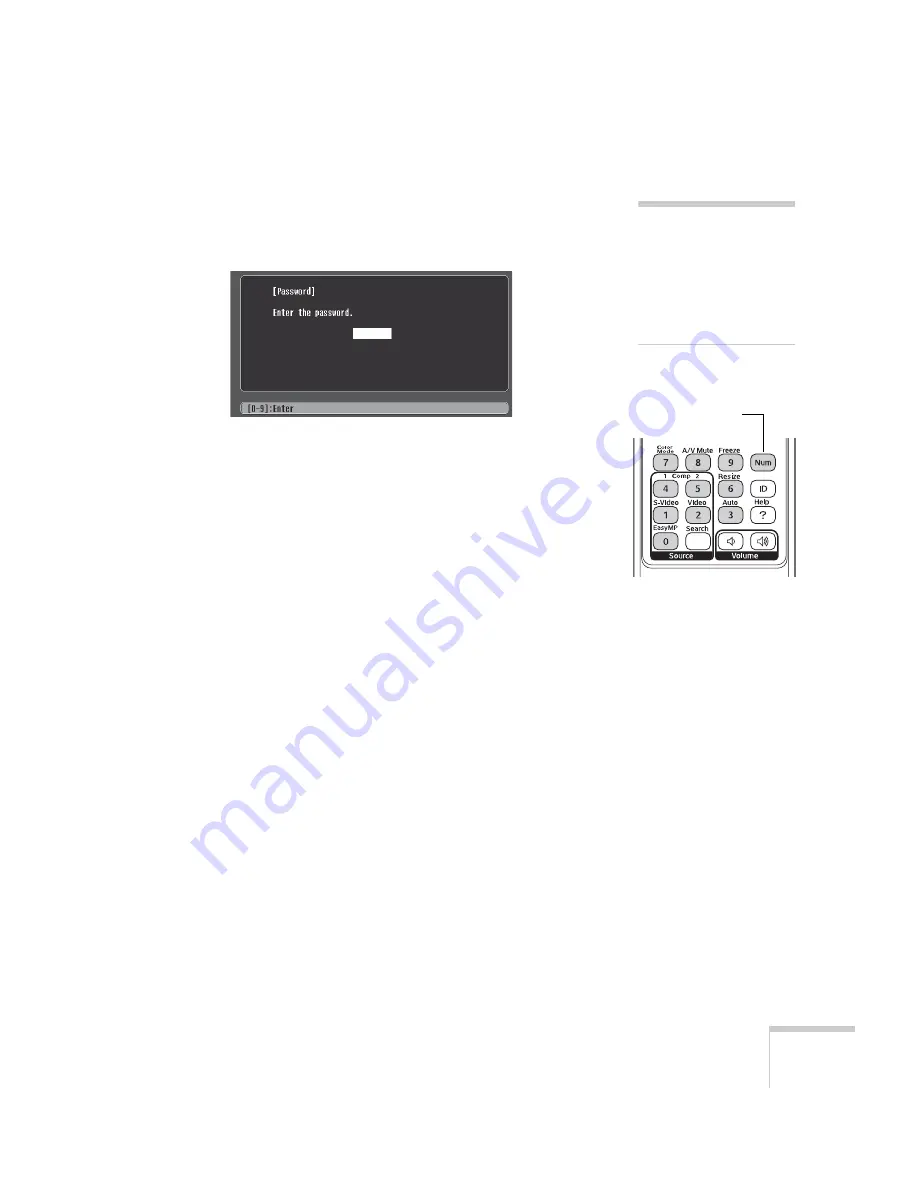
When the password function is enabled, you see this screen when you
plug in and turn on the projector:
Hold down the
Num
button on the remote control and use the
numeric keypad to enter the four digit password. The password screen
closes and projection begins.
If the password is not correct, you see a message prompting you to
re-enter the password. If you enter an incorrect password three times
in succession, you see the message
The projector’s operation will be
locked
and the projector switches to standby mode. Disconnect the
projector’s power cord from the electrical outlet, reconnect it, and
turn the projector back on.
When you see the Password screen again, you can try to enter the
correct password.
If you enter an incorrect password 30 times in succession, the
projector remains locked and you must contact Epson to unlock it.
If you have forgotten the password, contact Epson with the request
code number that appears in the Password screen for assistance. See
“Where To Get Help” on page 178.
Creating Your Own Startup Screen
You can transfer any image from your computer or video source to the
projector and then use it as your startup screen. You can also use it as
the screen displayed when the projector is not receiving a signal or
when you press the
A/V Mute
button. The image can be a company
logo, slogan, photograph, or any other image you want to use.
note
If you leave the projector
plugged in, the Password
Protect Release screen will
not appear. It appears only
if you unplug and reconnect
the power cable.
5GG[QWTFQEWOGPVCVKQPHQTOQTGKPHQTOCVKQP
Hold down
Summary of Contents for 1815p - PowerLite XGA LCD Projector
Page 1: ...PowerLite 1815p Multimedia Projector User sGuide ...
Page 14: ...14 Welcome ...
Page 54: ...54 Connecting to Computers Cameras and Other Equipment ...
Page 98: ...98 Presenting Through a Wireless Network ...
Page 152: ...152 Managing Projectors ...
Page 162: ...162 Maintaining the Projector ...
Page 180: ...180 Solving Problems ...
Page 184: ...184 Software Installation ...
Page 192: ...192 Technical Specifications ...
Page 204: ......


