


Section 11: Engraving Machine Cleaning
123
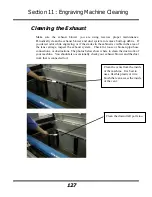
In addition to the focus lens and the mirror directly above it, there is a mirror located on the left side
of the X-beam. This mirror is very well protected and should not need regular cleaning. It can be
accessed with a cotton swab if it does need cleaning.
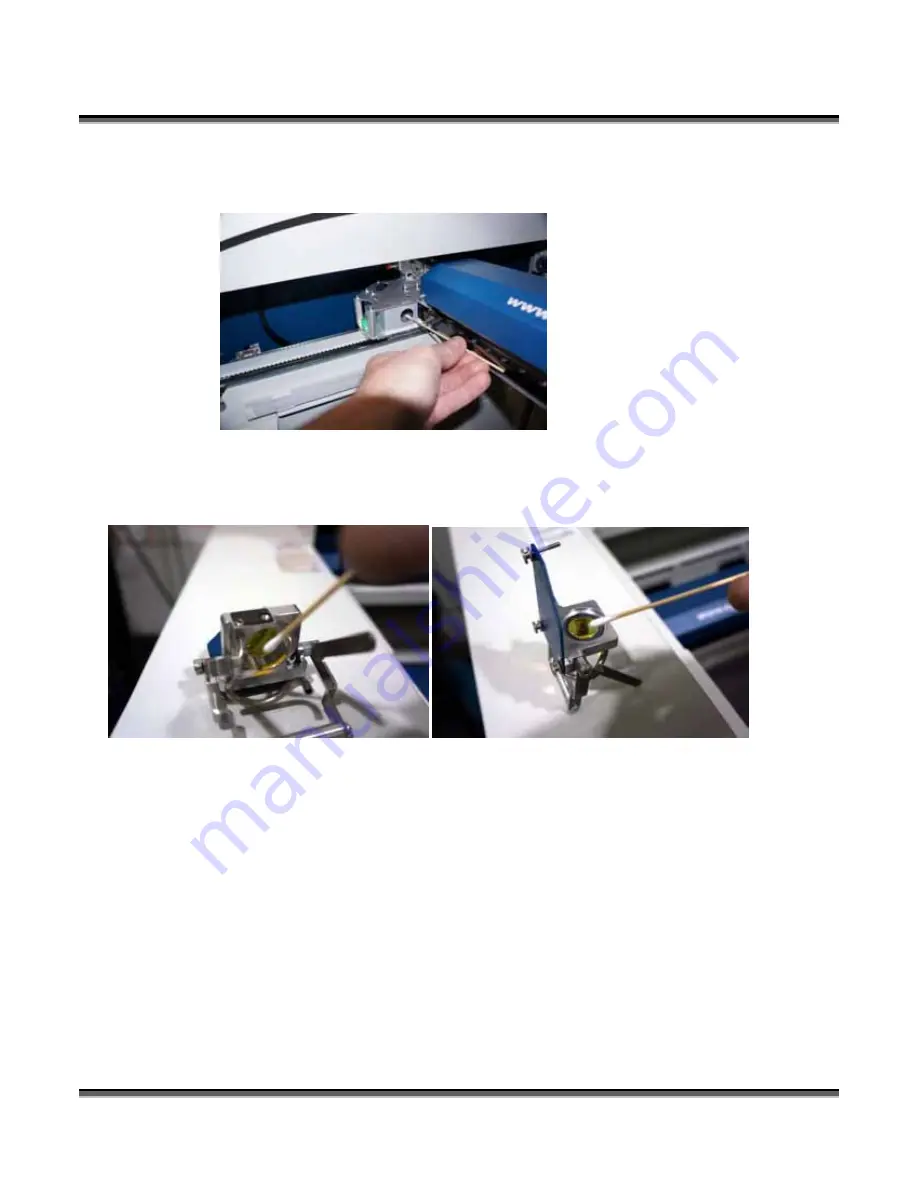
The photos below shows how to clean the focus lens. Remove the lens carraige from
the machine to clean both the top and bottom of this lens.
Cleaning and Lubricating the Bearing Rails
The bearing system in the laser should be cleaned about once a week depending on
use. Use a soft cloth or cotton swab with some alcohol or similar mild solvent to
clean each of the bearing tracks which the optics (mirror and lens) run along. A
cotton swab is perfect for cleaning out the inside of the grooved tracks of the x-axis
rail. About once every three months, you should lubricate the bearings. Using the
lubricant Syringe from your accessory kit, apply a thin bead of grease into the bearing
grooves. Each rail has two grooves – one on the top and one on the bottom of the rail.
The grease should go down inside the grooves on each side of the bearing.
Summary of Contents for Fusion 13000
Page 2: ...ii THIS PAGE WAS INTENTIONALLY LEFT BLANK ...
Page 4: ...Contents at a Glance iv THIS PAGE WAS INTENTIONALLY LEFT BLANK ...
Page 8: ...Table of Contents viii INDEX 195 THIS PAGE WAS INTENTIONALLY LEFT BLANK ...
Page 10: ...Fire Warning x SEE PREVIOUS PAGE ...
Page 14: ...Introduction xiv THIS PAGE WAS INTENTIONALLY LEFT BLANK ...
Page 15: ...1 Manual Epilog Laser Setup ...
Page 16: ...2 THIS PAGE WAS INTENTIONALLY LEFT BLANK ...
Page 26: ...Section 1 Safety 10 ...
Page 27: ...Section 1 Safety 11 ...
Page 28: ...Section 1 Safety 12 THIS PAGE WAS INTENTIONALLY LEFT BLANK ...
Page 41: ...Section 3 Getting Started 11 THIS PAGE WAS INTENTIONALLY LEFT BLANK ...
Page 44: ...Section 4 Installing the ECC 14 ...
Page 51: ...Section 4 Installing the ECC 21 THIS PAGE WAS INTENTIONALLY LEFT BLANK ...
Page 58: ...Section 5 Installing the Epilog Dashboard Print Driver 28 10 Click on Update Driver ...
Page 68: ...Section 5 Installing the Epilog Dashboard Print Driver 38 Click on Add Local Printer ...
Page 108: ...Section 6 Using the Epilog Dashboard 78 THIS PAGE WAS INTENTIONALLY LEFT BLANK ...
Page 109: ...79 Manual Basic Operations ...
Page 110: ...80 THIS PAGE WAS INTENTIONALLY LEFT BLANK ...
Page 130: ...Section 8 Using the Front Control Panel 100 THIS PAGE WAS INTENTIONALLY LEFT BLANK ...
Page 136: ...Section 9 Using the ECC Epilog Control Center 106 THIS PAGE WAS INTENTIONALLY LEFT BLANK ...
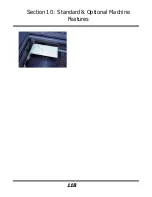
Page 148: ...Section 10 Standard Optional Machine Features 118 ...
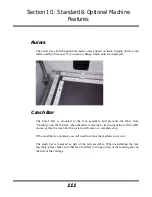
Page 152: ...Section 11 Engraving Machine Cleaning 122 Crash Bar and locating pins ...
Page 160: ...Section 11 Engraving Machine Cleaning 130 ...
Page 184: ...Section 13 Material Engraving Techniques 154 THIS PAGE WAS INTENTIONALLY LEFT BLANK ...
Page 191: ...161 Manual Technical Support Troubleshooting and Specifications ...
Page 192: ...162 THIS PAGE WAS INTENTIONALLY LEFT BLANK ...
Page 194: ...Section 15 In Case of Difficulty 164 THIS PAGE WAS INTENTIONALLY LEFT BLANK ...
Page 200: ...Section 16 Specifications 170 THIS PAGE WAS INTENTIONALLY LEFT BLANK ...
Page 208: ...APPENDIX A 178 THIS PAGE WAS INTENTIONALLY LEFT BLANK ...
Page 218: ...Appendix C Additional Dashboard Instructions 188 ...


