J22 TDLAS Gas Analyzer
Operating Instructions
Hauser
109
4.
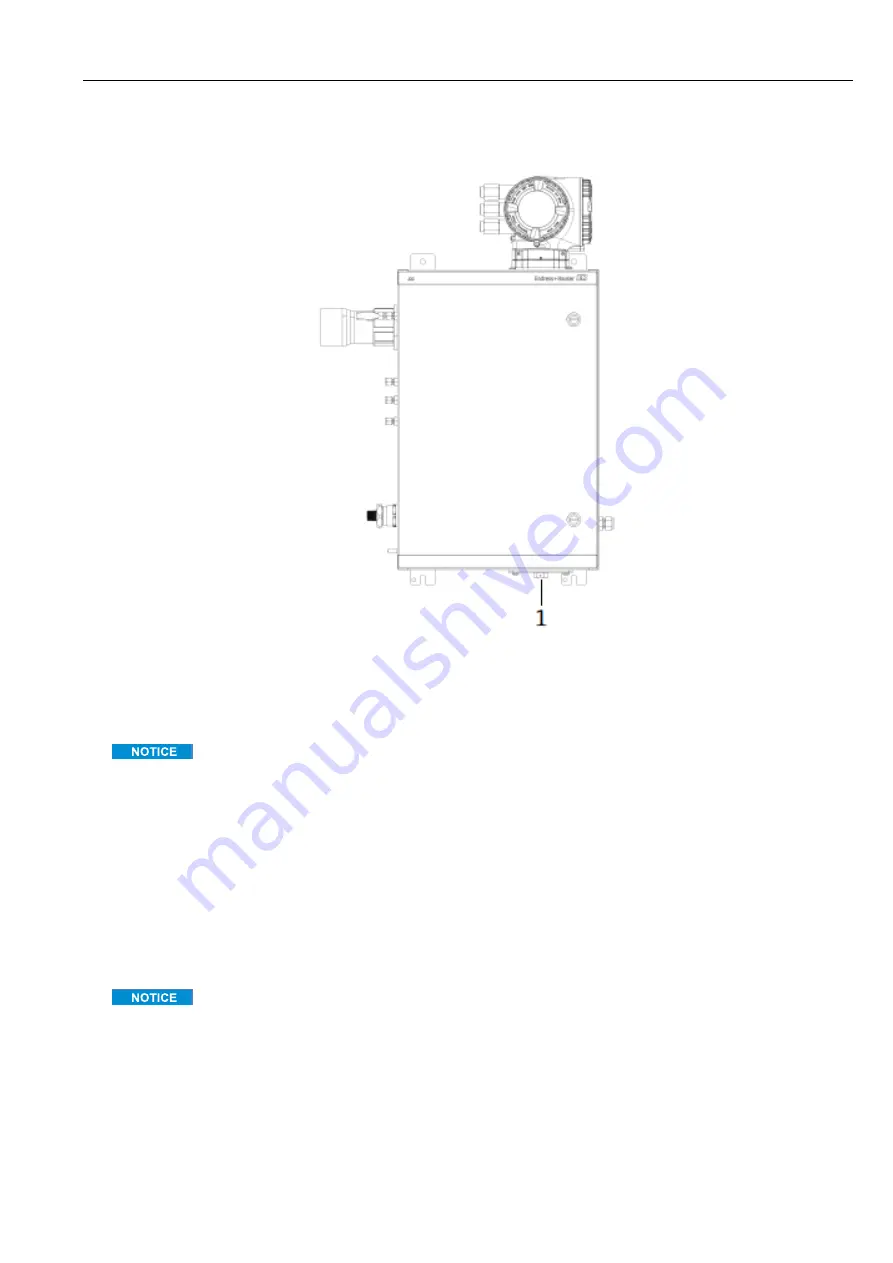
On the underside of the SCS enclosure, remove the plate covering the measurement cell located inside the
enclosure and set aside. Retain screws.
Fig 72. Measurement cell plate location
1 Measurement cell plate on underside of SCS enclosure
5.
Gently remove the mirror assembly from the cell using a 3 mm hex driver to remove the socket-head cap screws
and set on a clean, stable and flat surface.
Always handle the optical assembly by the edge of the mount. Never touch the coated surfaces of the mirror.
6.
Prepare materials for cleaning:
a.
Look inside the sample cell at the top window using a flashlight to ensure that there is no contamination on
the top window.
b.
Put on clean acetone-impenetrable gloves.
c.
Double-fold a clean sheet of lens cleaning cloth and clamp near and along the fold with the hemostats or
fingers to form a brush.
7.
Place a few drops of isopropyl alcohol onto the mirror and rotate the mirror to spread the liquid evenly across the
mirror surface.
8.
With gentle, uniform pressure, wipe the mirror from one edge to the other with the cleaning cloth only once and
only in one direction to remove the contamination. Discard the cloth.
Never rub an optical surface, especially with dry tissues, as this can mar or scratch the coated surface.
9.
Repeat with a clean sheet of lens cleaning cloth to remove the streak left by the first wipe. Repeat, if necessary,
until there is no visible contamination on the mirror.
10.
Replace the mirror components:
a.
Replace the O-ring adding a very thin layer of grease. Ensure it is properly seated.
b.
Carefully replace the mirror assembly onto the cell (it is not necessary to maintain the original orientation).
c.
Tighten the socket-head cap screws evenly with a torque wrench to
3.5 Nm
(
30 in-lbs)
.
d.
Replace the plate on the outside of the SCS enclosure.


