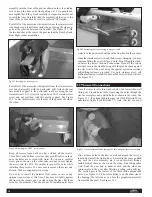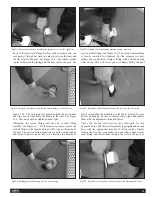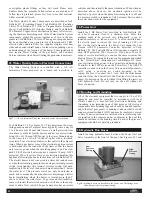
Each of the thru-wall fittings has two rubber washers and one
cork gasket. One rubber washer is placed between the liner and
the steel wall of the pool. See Figure 33.4. One rubber washer
is placed between the fitting and the liner inside the pool. See
Figure 33.5. The cork gasket is placed outside the pool under
the large hex nut that holds the fitting to the wall. See Figure
33.6. This nut should be tightened hand tight.
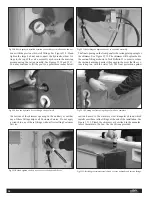
Ultimately, the return fitting will have an eyeball fitting
installed. See Figure 33.7. For the moment you may replace the
eyeball fitting with a threaded plug with O-ring on the inside of
the pool. The suction fitting needs to have both a small adapter
and round strainer screwed into it to eliminate the hazards of
suction at this fitting. See Figure 33.8. The safety strainer fitting
is loosely installed for shipment. For the moment you may
replace the round safety strainer fitting with a threaded plug
with O-ring. This will allow you to continue filling the pool
before completing the plumbing of the Water Quality System.
Before starting up be sure to remove these plugs and replace
them with the appropriate threaded pieces.
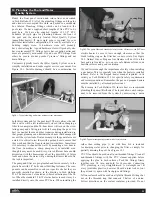
Above the suction thru-wall are two thru-walls for two
hydraulic hoses. The thru-wall assembly is pretightened on each
hose with the appropriate amount of teflon sealant. Simply
remove the hex nut, cork gasket and one rubber washer from
each fitting and install them through the wall of the pool, as
Fig 33.2: Facing the propulsion assembly, the suction port is on the right side.
Fig 33.4: Installing the eyeball fitting into the return fitting.
Fig 33.5: Installing the suction fitting with the strainer attached.
Fig 33.6: Install one rubber washer between the liner and the pool wall.
Fig 33.7: Install the second rubber washer between the fitting and the liner.
Fig 33.3: Facing the propulsion assembly, the return fitting is on the left side.
19


