If the pool is to be positioned next to a wall some bolts will be
hard to reach. In this case, one side may be bolted together first
and then slid back against the wall. You will probably want to
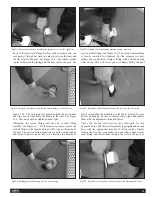
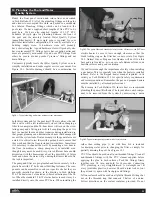
use blocking angle rather than anchor bolts for this inaccessible
condition. See Figures 4.7 and 4.8. The use of these angles is
shown in the video and is described in Tech Bulletin #2. Take
care when sliding the enclosure against a wall to leave enough
room for the coping and for the 18" of access at the front. If rigid
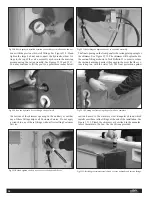
foam insulation is to be applied on the walls of the pool, which
is recommended, be sure to install it before sliding the enclosure
against the wall. See Figures 4.9 and 4.10. Once the panels are
bolted together to form the pool enclosure make sure that the
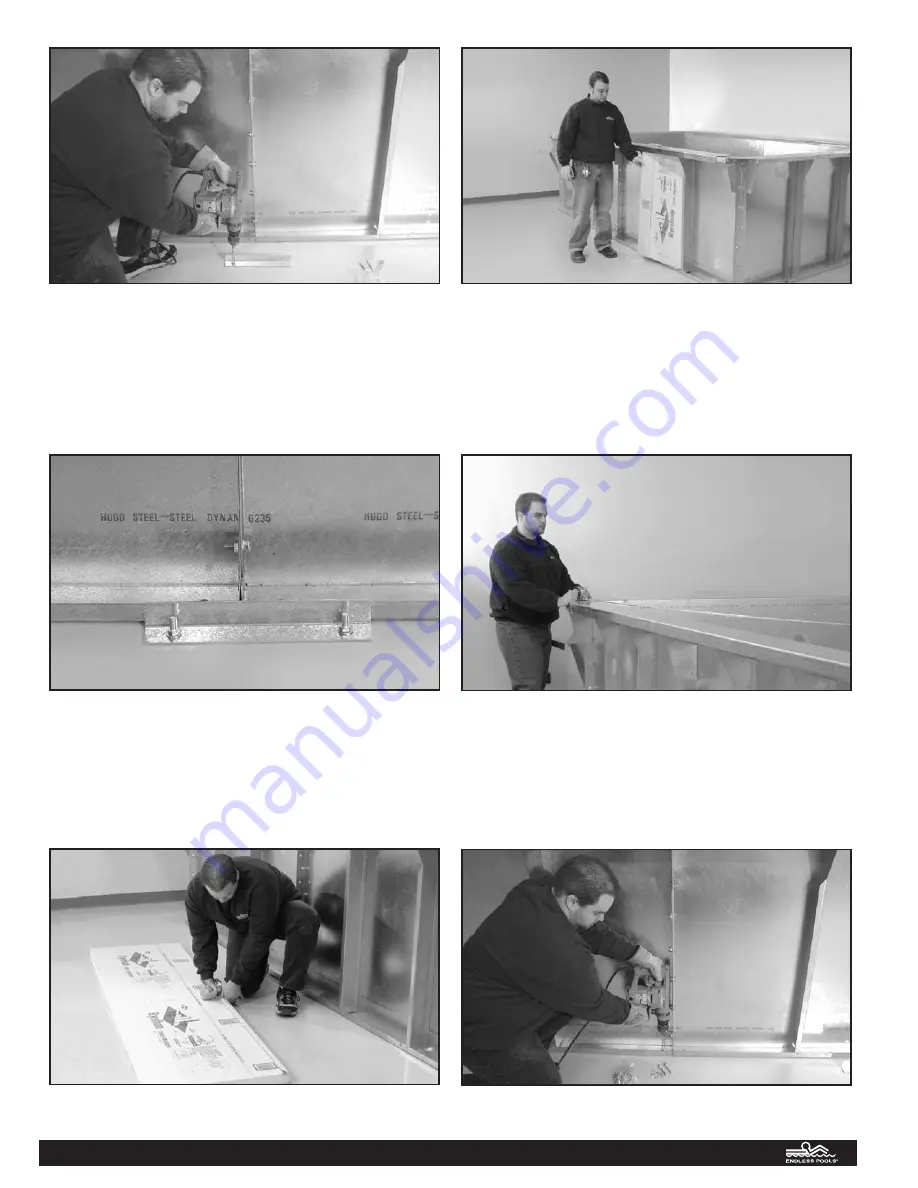
enclosure is square. First check that the long walls made from 2
panels are straight. Then measure both diagonals. See Figure
4.11. Shift the panels by pushing at the corners until the differ-
ence is less than 1/8".
Care should be taken to ensure that the pool is square before
securing the panels to the concrete. The bottom flange of each
panel has pre-drilled holes to accept the 3/8" x 3" anchor bolts
provided. See Figures 4.12 and 4.13. An absolute minimum of
10 anchor bolts are required as described in the Installation
Video. See Figure 4.14. When possible more anchor bolts
should be used with an emphasis on the centers of the panels and
the center of the long sides of the pool enclosure. See Tech
Bulletin #2, page 2 for anchoring information. Now insulate the
Fig 4.8: Blocking angle installed with pool panel pushed flush against it.
Fig 4.9: Measure and cut rigid foam insulation to fit between support struts.
Fig 4.10: Rigid foam insulation being installed between the support struts.
Fig 4.11: Checking the pool for square.
Fig 4.12:
Drilling to secure anchor bolts.
Fig 4.7: Drilling through foundation to secure blocking angle.
6


