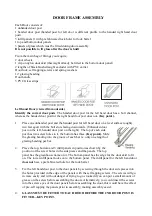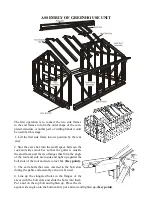
bolts in the base sections will be used to anchor the greenhouse to the floor.
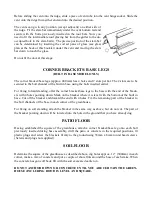
Slide 2 bolts down the 1st and 5th glazing bar from the top, and 3 bolts down the 2nd and 4th glaz-
ing bar. Secure the last one in each bar to the roof corner bars by inserting the bolt through the
punched hole in the flange.
Dwarf wall only.
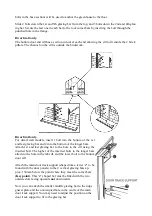
The bottom door end cill has a section cut out at each end allowing the cill to fit inside the 2 brick
pillars. The channel on the cill is outside the brickwork.
Dwarf wall only.
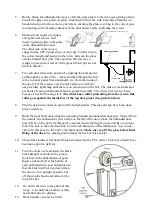
For dwarf wall models, insert 1 bolt into the bottom of the 1st
and last glazing bar and 2 into the bottom of the longer bars.
Attach 1st and last glazing bar to the hole in the cill using the
inserted bolt. The higher of the inserted bolts in the longer bars
attach to the hole in the tab cill, and the lower bolt to the bottom
door cill.
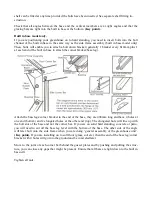
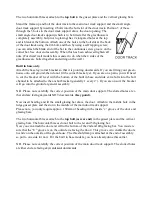
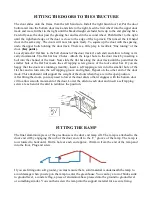
Attach the main door track support (shaped like a letter ‘Z’ to be
found with the door panels) to the 2 vertical glazing bars ap-
prox. 130mm below the point where they meet the corner bars.
(Key point).
This ‘Z’ shaped bar must be fitted with the two
outside slots facing upwards
not
downwards.
Now you can attach the smaller middle glazing bar to the ridge
gusset plate and the unoccupied hole in the centre of the main
door track support. You may need to adjust the position on the
door track support to fit to the glazing bar.
Summary of Contents for 6'3" WIDE THYME
Page 1: ......
Page 2: ......
Page 3: ......
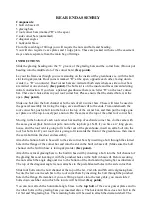
Page 11: ...REAR END ASSEMBLY dotted line indicates corner bracket base leg going into ground ...
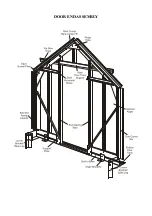
Page 16: ...DOOR END ASSEMBLY ...
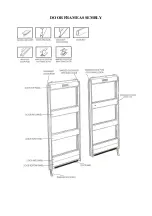
Page 19: ...DOOR FRAME ASSEMBLY ...
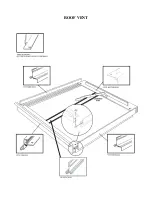
Page 21: ...ROOF VENT ...
Page 33: ...THYME 6 GLAZING PLAN BUILT IN BASE ONLY ...
Page 35: ...THYME 6 GLAZING PLAN DWARF WALL ONLY ...
Page 36: ...ELITE 1601 ...


