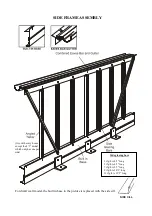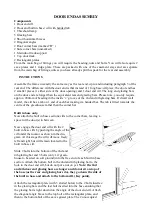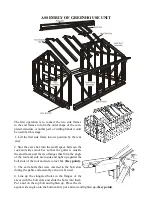
shelf can be fitted at any time provided the bolts have been inserted. See separate shelf fitting in-
struction.
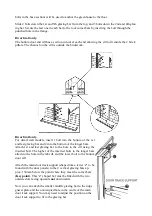
Check that all angles between the base and the vertical members are at right angles and that the
glazing bars are right into the built in base at the bottom.
(Key point).
Built in base model only.
If you are positioning your greenhouse on to hard standing, you need to insert bolts into the bolt
channel of the built in base in the same way as the side frame assembly (built in base model only)
These bolts will enable you to attach a bolt down bracket (generally 1 bracket every 610mm plus 1
at each end of the built in base to attach the corner bracket/base leg).
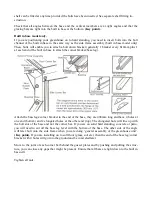
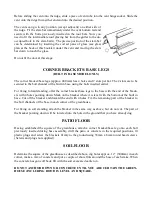
Attach the base legs/corner bracket to the end of the base, they are 400mm long and have 4 holes at
one end (bottom) and 2 elongated holes at the other end (top). The elongated hole will line up with
the bolt slot of the base and not the corner bar. If you are on solid hard standing, concrete or patio,
you will need to cut off the base leg level with the bottom of the base. The other side of the angle
will later bolt onto the side frame when you are doing ‘general assembly of the greenhouse unit’.
(Key point).
If you are installing on to soft floor (grass, soil etc.) then the end of the base leg/corner
bracket with 4 holes will go into the ground and be concreted later.
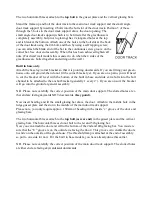
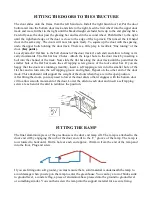
Move to the joint of each corner bar behind the gusset plates and by pushing and pulling the struc-
ture, you can close any gaps that might be present. Ensure that all bars are tight down to the built in
base/cill.
Tighten all nuts.
Summary of Contents for 6'3" WIDE THYME
Page 1: ......
Page 2: ......
Page 3: ......
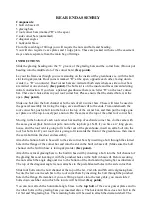
Page 11: ...REAR END ASSEMBLY dotted line indicates corner bracket base leg going into ground ...
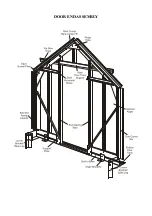
Page 16: ...DOOR END ASSEMBLY ...
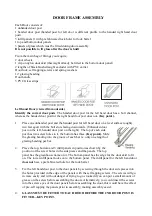
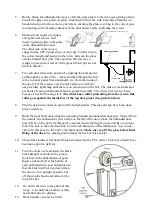
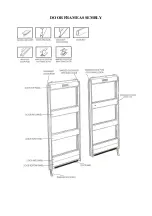
Page 19: ...DOOR FRAME ASSEMBLY ...
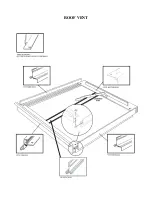
Page 21: ...ROOF VENT ...
Page 33: ...THYME 6 GLAZING PLAN BUILT IN BASE ONLY ...
Page 35: ...THYME 6 GLAZING PLAN DWARF WALL ONLY ...
Page 36: ...ELITE 1601 ...


