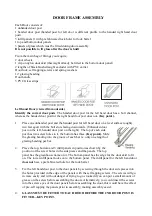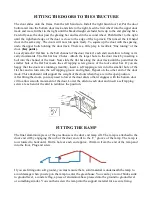
FITTING THE DOORS TO THE STRUCTURE
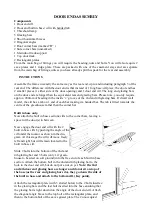
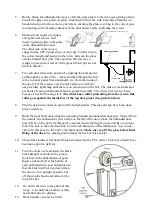
The door slides onto the frame from the left hand side. Install the right hand door 1st. Put the door
bottom rail into the bottom door track and slide to the right, feed the first wheel into the upper door
track and move further to the right until the black draught excluder butts up to the end glazing bars.
Carefully ease the door past the glazing bar and feed in the second wheel. Push further to the right
until the right hand edge of the door is close to the edge of the top track. Then insert the left hand
door in the same way. The doors will now run quite freely. To square up the door with the spacing,
undo the upper bolts holding the door track. There is a little play to facilitate “fine tuning” of the
door.
(Key point).
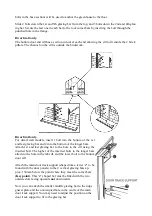
Loosely attach 2 flat bars to the bolt channel of the door track (1 each end) and allow to hang verti-
cally downwards. The flat bar has 2 holes. Attach the larger hole to the door track by inserting a
bolt into the channel of the track. Now slide the flat bar along the door track until the point that the
smaller hole of the flat bar meets the self tapping screw groove of the roof corner bar. If you are
happy that the doors are running smoothly, insert a self tapping screw into the smaller hole of the
flat bar and in turn into the self tapping groove and tighten. Repeat on the other end of the door
track. This attachment will support the weight of the doors when they are in the open position.
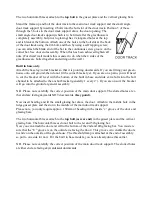
After fitting the doors, you may need to lower the door skid so that it engages with the bottom door
cill to allow smooth movement of the door. Lower the skid on each door and insert a self tapping
screw at each end of the skid to reinforce the position.
FITTING THE RAMP
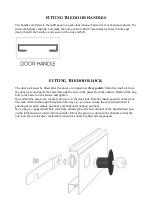
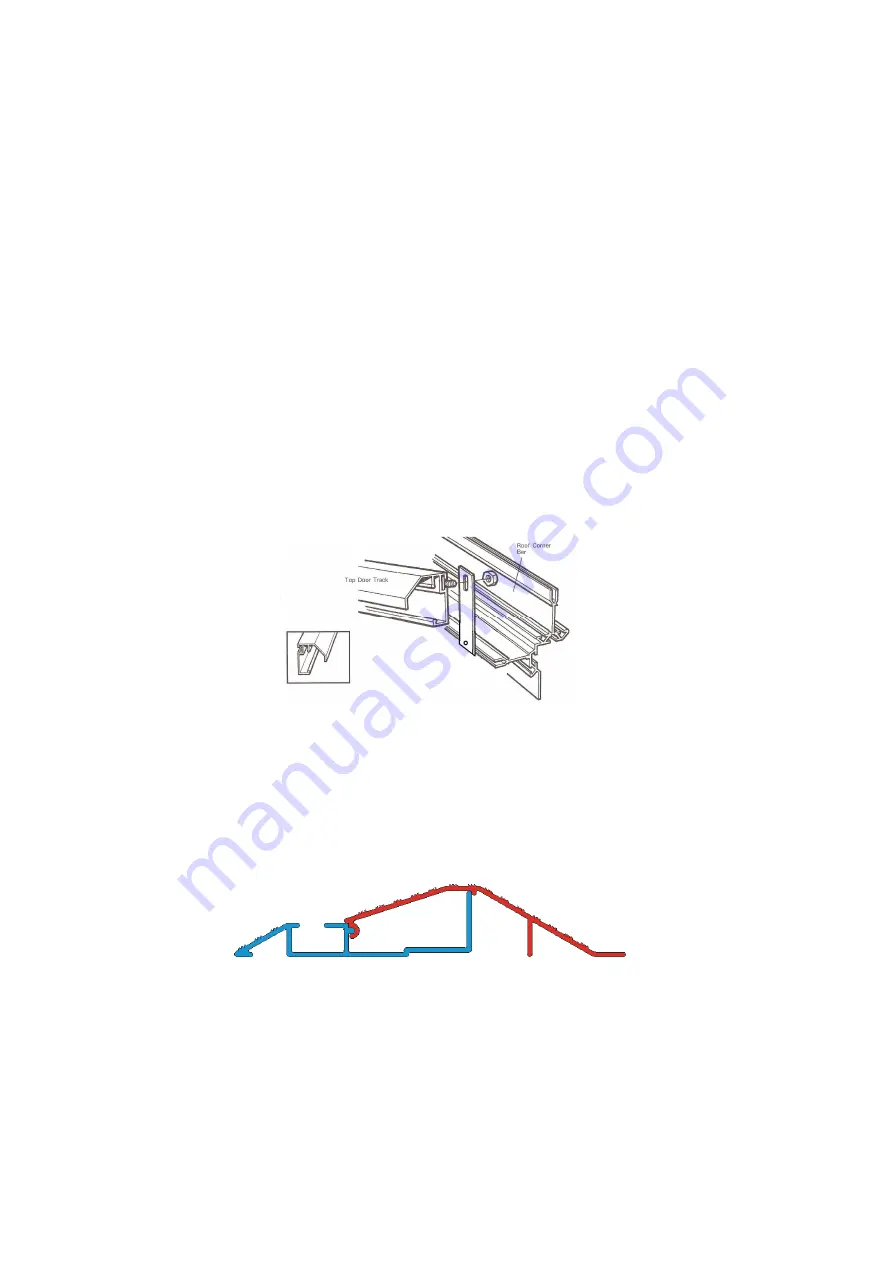
The final aluminium piece of the greenhouse is the door end ramp cill. The ramp is attached to the
door end cill by engaging the nub of the door end cill to the ‘C’ groove of the ramp. The ramp is
now rotated to horizontal. Drill a hole at each end approx. 20mm in from the end of the ramp and
into the floor. Plug and screw.
If you are fitting onto soft ground, you must ensure that a solid material is underneath the ramp to
avoid damage when you step on the ramp to enter the greenhouse. You can lay a row of bricks sunk
to ground level, a concrete flag, a piece of aluminium base pressed into the ground to ground level
or something similar. You can then screw the ramp into the support material for a secure fixing.
Summary of Contents for 6'3" WIDE THYME
Page 1: ......
Page 2: ......
Page 3: ......
Page 11: ...REAR END ASSEMBLY dotted line indicates corner bracket base leg going into ground ...
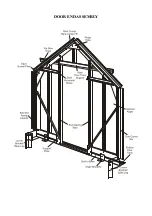
Page 16: ...DOOR END ASSEMBLY ...
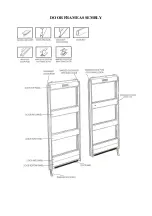
Page 19: ...DOOR FRAME ASSEMBLY ...
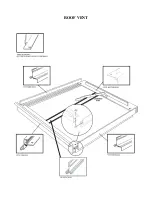
Page 21: ...ROOF VENT ...
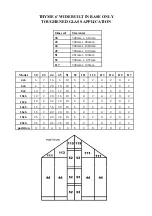
Page 33: ...THYME 6 GLAZING PLAN BUILT IN BASE ONLY ...
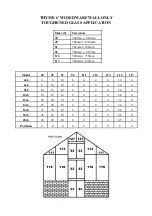
Page 35: ...THYME 6 GLAZING PLAN DWARF WALL ONLY ...
Page 36: ...ELITE 1601 ...


