INSTALLATION AND CONNECTION
5
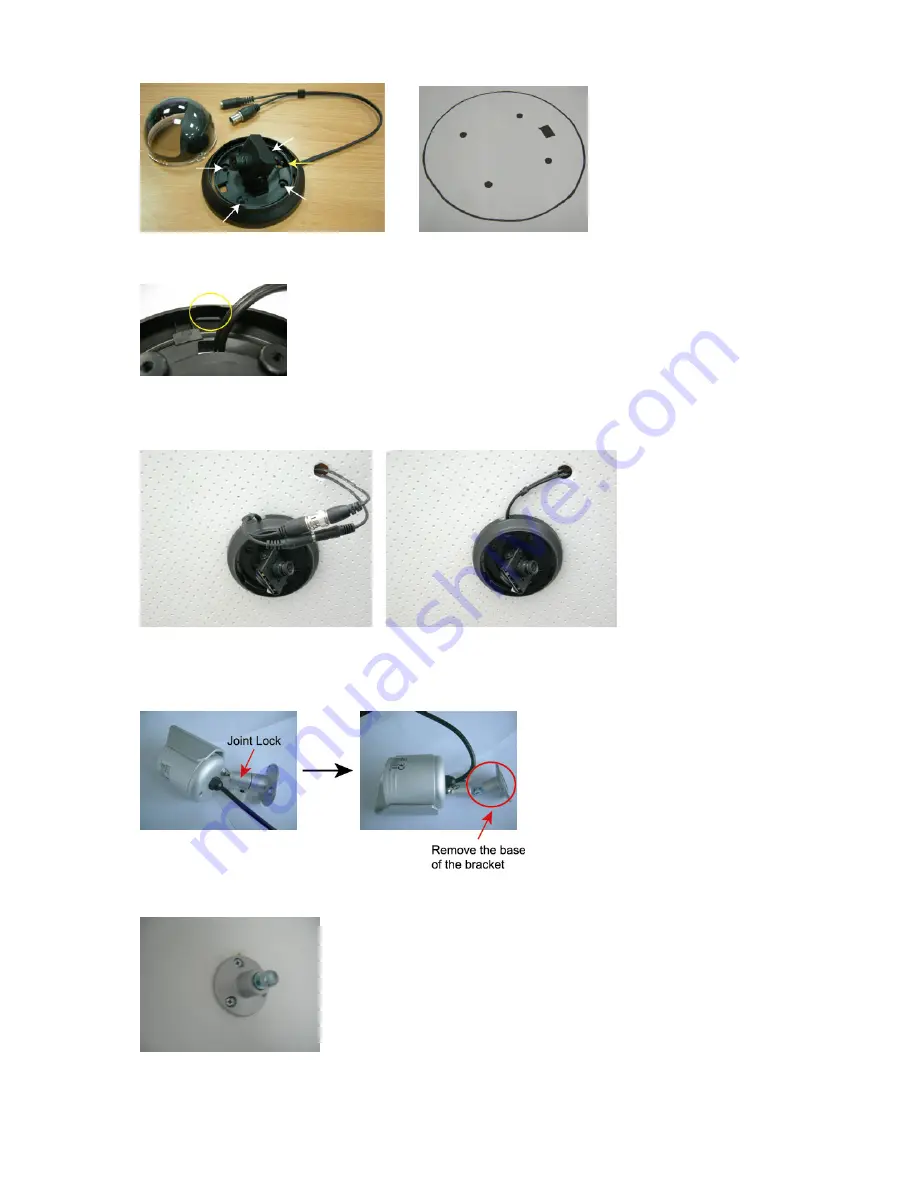
Step 2: Mark the positions of four “screw holes” on the ceiling around the hole drilled in advance.
If the installation location doesn’t allow the installation personnel to screw a hole on the ceiling, they may cut the
concave edge on the base of the camera (as shown below) to pass through the power and video line.
Step 3: Mount the camera to the ceiling, and then fix the camera with proper screws.
Connect the video and power connectors to the corresponding connectors of the 20M cable. Then pull the both
cables one by one from the backside of the ceiling to hide them.
Step 4: Adjust the view angle of the lens. Then, put the dome cover back to the camera base and turn clockwise to lock.
2.1.3 IR Camera
Step 1: Attach the bracket to the camera by rotating it clockwise. Then, remove the base of bracket.
Step 2: Mark the positions of three screw holes on the wall around the power and video line hole drilled in advance.
Use the supplied three screws to attach the bracket base to the wall.
Step 3: Attach the camera to the bracket base by securing the joint lock.
There are two screw holes on the backside of the camera. Please choose the proper one which best suits your
installation environment. If the upper screw hole is chosen, it’s recommended to push the Sun Shield a little bit
Power & Video
Line Hole
4 Screw Holes


