48
SYSTEM SETUP
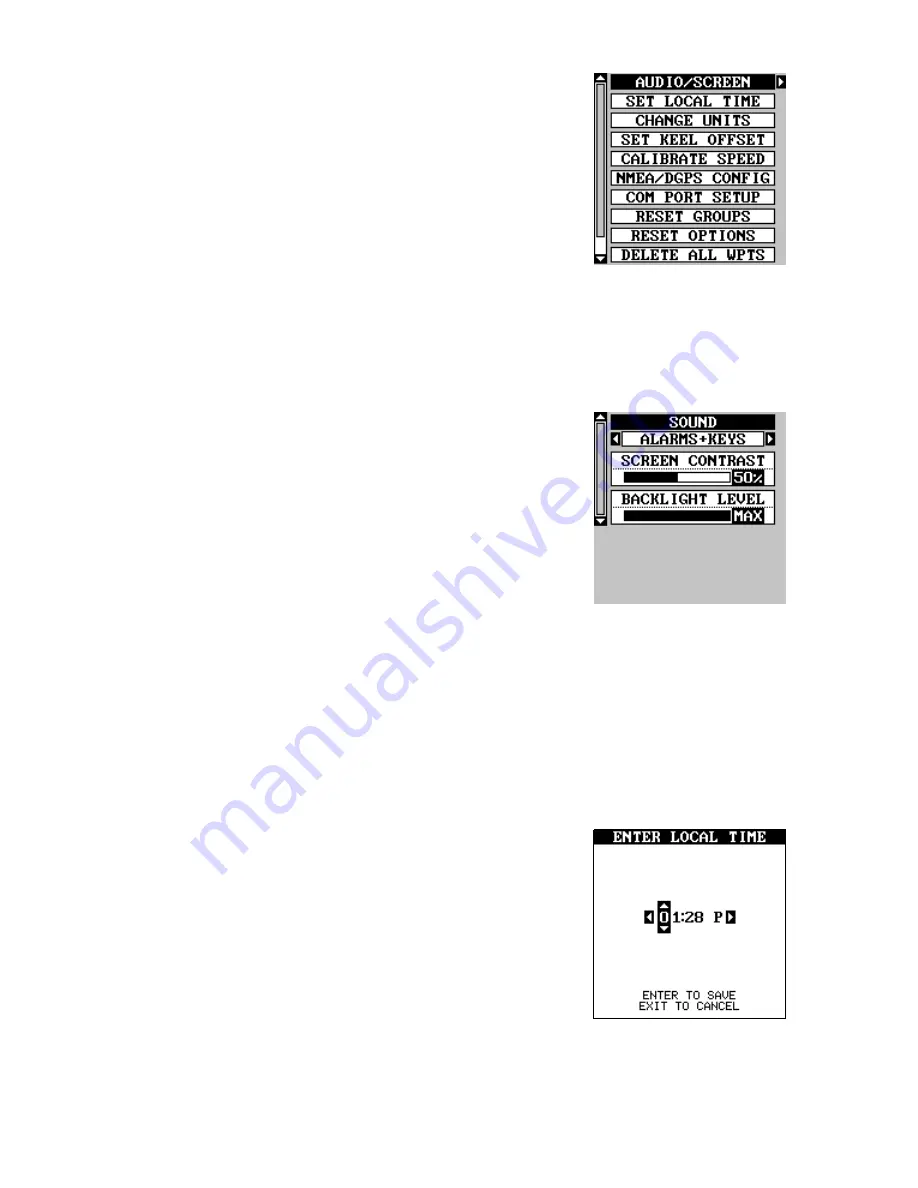
Many features are listed under the “System
Setup” label on the main menu. These commands
affect the basic operation of the unit. To use them,
press the MENU key, then “System Setup”. The
screen at right appears.
Audio/Screen
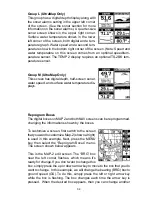
This unit gives you three audio options. 1.The unit
will sound a tone whenever an alarm sounds and when you press a key. 2.
The unit sounds the alarm only. 3. No sound. To change the audio mode,
highlight the “SOUND” label as shown below, then press the right or left
arrow keys. Note: If the speaker is turned completely off the alarm mes-
sages will still flash on the screen.
Contrast
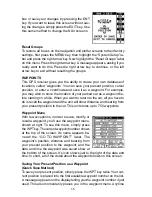
To adjust the display’s contrast, highlight the “Con-
trast” label. Press the right or left arrow keys until
the screen’s contrast is best for the lighting con-
ditions.
Backlight
The display has lights that can be turned on for
night use. To turn the lights on, simply press the PWR key. To turn them
off, press the PWR key again. A light bulb indicator on the satellite status
screen shows when the lights are on.
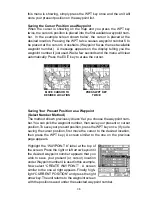
The default light level is maximum. To reduce the level, select “BACK-
LIGHT LEVEL”, then press the left arrow key until the lights are at the
desired level. To increase the light level, press the right arrow key.
Set Local Time
When this unit is first initialized, it may not show
the correct time for your location due to daylight
savings time, time zone variances, and so on. If
the time shown on the clock displays is incorrect,
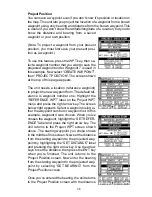
select “SET LOCAL TIME” from the system setup
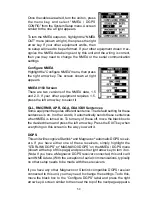
menu and press the right arrow key. The screen
shown at right appears.
Use the left or right arrow keys to select the num-
ber in the current time that you want to change. Use the up or down arrow
keys to change the number. Press the ENT key to save the change, the
EXIT key to erase the menu without changing it.
Summary of Contents for AccuMap
Page 1: ...INSTALLATION AND OPERATION INSTRUCTIONS AccuMap and UltraMap TM TM ...
Page 6: ...Notes ...
Page 90: ...84 Notes ...

