


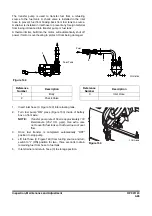


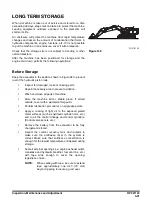


Inspection, Maintenance and Adjustment
4-86
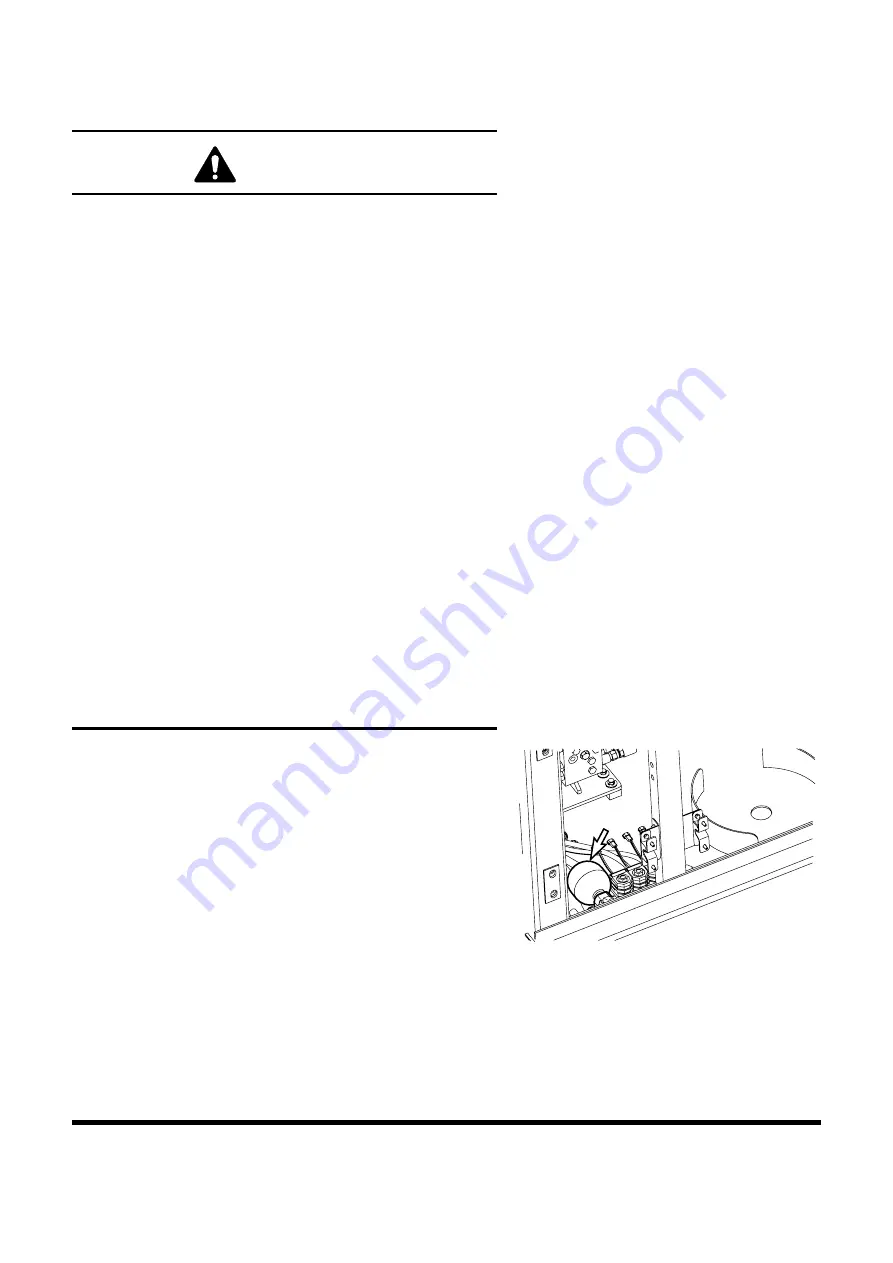
HANDLING OF ACCUMULATOR
Release pilot accumulator pressure using the following
procedure;
1.
Position the machine on firm, level ground. Lower the front
attachment to the ground and shut down engine.
2.
Set safety lever on "RELEASED" position.
3.
Turn starter switch to the "I" (ON) position.
4.
Fully stroke work and travel levers in all directions.
5.
Set safety lever on "LOCK" position.
6.
Turn key to "O" (OFF) position and remove from starter
switch.
7.
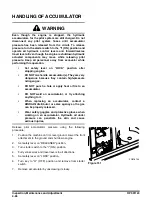
Remove accumulator by unscrewing it slowly.
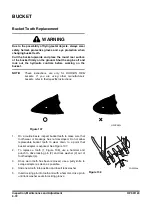
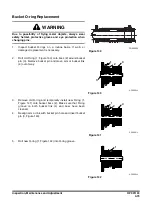
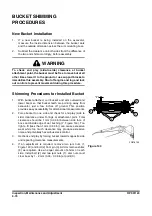
WARNING
Even though the engine is stopped, the hydraulic
accumulators for the pilot system are still charged. Do not
disconnect any pilot system hoses until accumulator
pressure has been released from the circuit. To release
pressure, turn the starter switch to the "I" (ON) position and
operate all hydraulic control levers and forward/reverse
travel levers. Even though the engine is shutdown hydraulic
actuated components may move while releasing pilot
pressure. Keep all personnel away from excavator while
performing this operation.
•
Set safety lever on "LOCK" position after
stopping engine.
•
DO NOT mishandle accumulator(s). They are very
dangerous because they contain high-pressure
nitrogen gas.
•
DO NOT punch a hole or apply heat or fire to an
accumulator.
•
DO NOT weld on accumulator, or try attaching
anything to it.
•
When replacing an accumulator, contact a
DOOSAN
distributor or sales agency so the gas
can be properly released.
•
Wear safety goggles and protective gloves when
working on an accumulator. Hydraulic oil under
pressure can penetrate the skin and cause
serious injuries.
FG016144
Figure 151
Summary of Contents for DX700LC
Page 2: ......
Page 72: ...OP001120 Safety 1 66 ...
Page 142: ...OP001121 Operating Controls 2 70 ...
Page 188: ...OP001122 Operation 3 46 ...
Page 197: ...OP001123 4 9 Inspection Maintenance and Adjustment ...
Page 282: ...OP001123 Inspection Maintenance and Adjustment 4 94 ...
Page 298: ...OP000030 Troubleshooting 6 6 ...
Page 301: ...OP001125 7 3 Specification ...
Page 308: ...OP001125 Specification 7 10 ...
Page 314: ...950106 00012E Index 8 6 ...


