Ch a pt e r 3 - Pr in t e r Ope r a t ion
2 3
3
3
3
.
.
.
3
3
3
P
P
P
r
r
r
i
i
i
n
n
n
t
t
t
e
e
e
r
r
r
C
C
C
o
o
o
n
n
n
f
f
f
i
i
i
g
g
g
u
u
u
r
r
r
a
a
a
t
t
t
i
i
i
o
o
o
n
n
n
U
U
U
t
t
t
i
i
i
l
l
l
i
i
i
t
t
t
y
y
y
(
(
(
N
N
N
E
E
E
T
T
T
i
i
i
r
r
r
a
a
a
C
C
C
T
T
T
)
)
)
NETir a CT ( locat ed on t he Accessor ies CD- ROM) is a Window s- based configur at ion ut ilit y t hat
allow s t he user t o m ake changes t o t he exist ing pr int er set up via a dir ect connect ion t o t he host
com put er ’s ser ial, USB, or LAN I P addr ess.
NETir a CT Feat ur es:
Allow s Real- Tim e Cont r ol/ Quer y of Pr int er Configur at ion
Define and Sav e Opt im al Configur at ions for Applicat ions
Saved Configur at ions can be Shar ed w it h ot her Pr int er s and Sent via Em ail
Dow nload Files, For m at s and Font s
Quer y Mem or y Modules
Be sur e t o use t he NETir a CT ut ilit y locat ed on t he Accessor ies CD- ROM t hat is included w it h your
pr int er. Older v ersions m ight not oper at e cor rect ly w it h som e pr int ers. For t he lat est v er sion please
visit our web sit e at ht t p: / / w w w .dat am ax- oneil.com
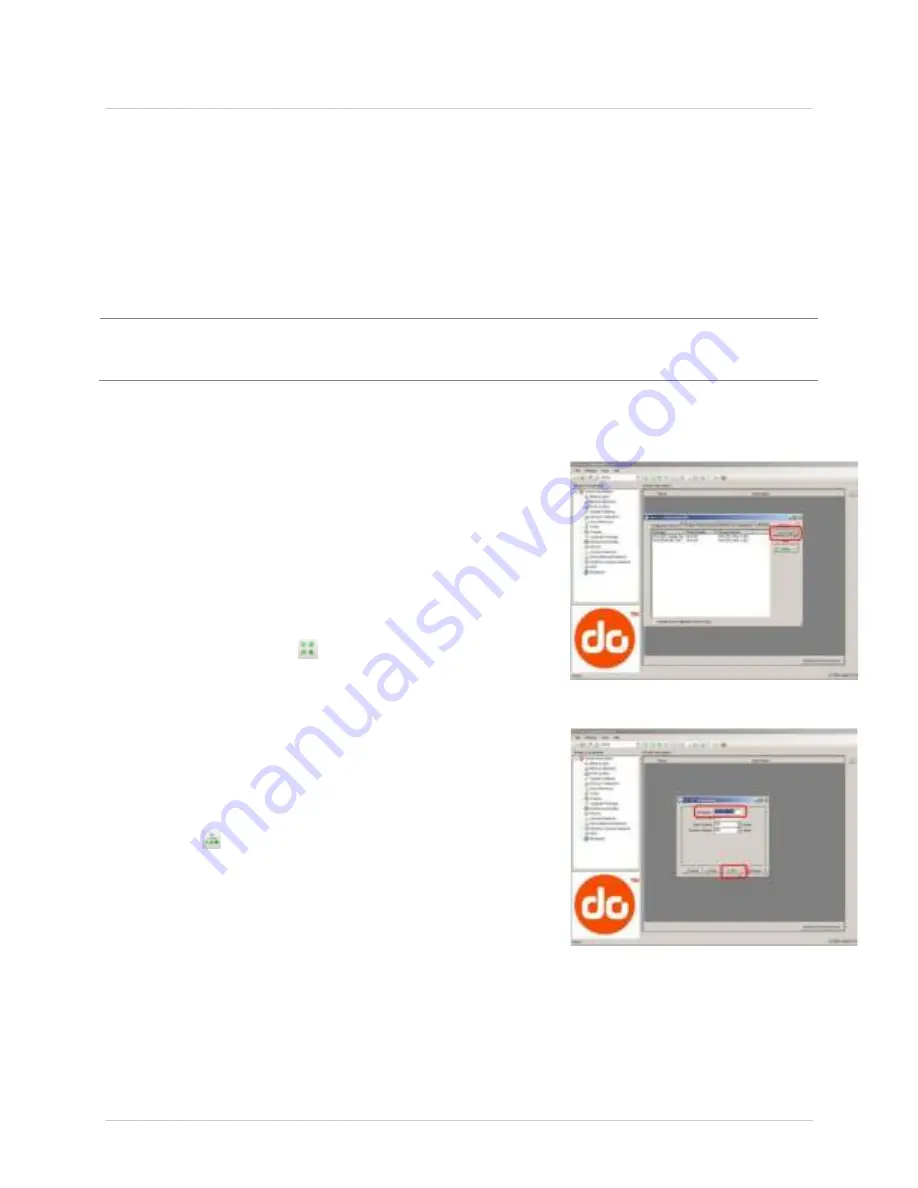
1) Once inst alled launch t he NETir a CT configur at ion ut ilit y :
2) Be sur e t he pr int er is ‘ON’. Connect t he host t o t he pr int er ( see Sect ion 2.1.2) .
For Ser ial Connect ions:
a) Quer y t he pr int er by using t he ‘Aut o Det ect ’ but t on.
This w ill connect t o t he pr int er and r et r ieve t he
set t ing cur r ent ly st or ed in t he pr int er .
For USB Connect ions:
a) I n t he t oolbar , fr om t he dr op dow n m enu box,
select “ USB_VI RTUAL_COM” . Then click on t he
Quer y Pr int er I con
.
For LAN I P Addr ess Connect ions:
Close t he ‘Open a configurat ion file…’ dialogue box.
a) I n t he t oolbar , Click on t he ‘ TCP/ I P Configur at ion’
I con
.
b) I n t he ‘TCP/ I P Configur at ion’ dialogue box ent er t he
I P addr ess of t he pr int er and click ‘OK’. ( The I P
addr ess should be displayed on t he pr int er s LCD) .
Summary of Contents for I-Class Mark II
Page 1: ...Operator s Manual ...
Page 2: ......
Page 8: ...Chapter 1 Getting Started 2 ...
Page 24: ...Chapter 2 Printer Setup 1 8 ...
Page 64: ...Chapter 4 Menu System 5 8 ...
Page 78: ...Chapter 6 Troubleshooting 7 2 ...
Page 82: ...Appendix A Specifications 7 6 ...
Page 90: ...Appendix B W ireless and W ired LAN Setup 8 4 ...
Page 96: ......


