AMT58x-PN ProfiNET®
29
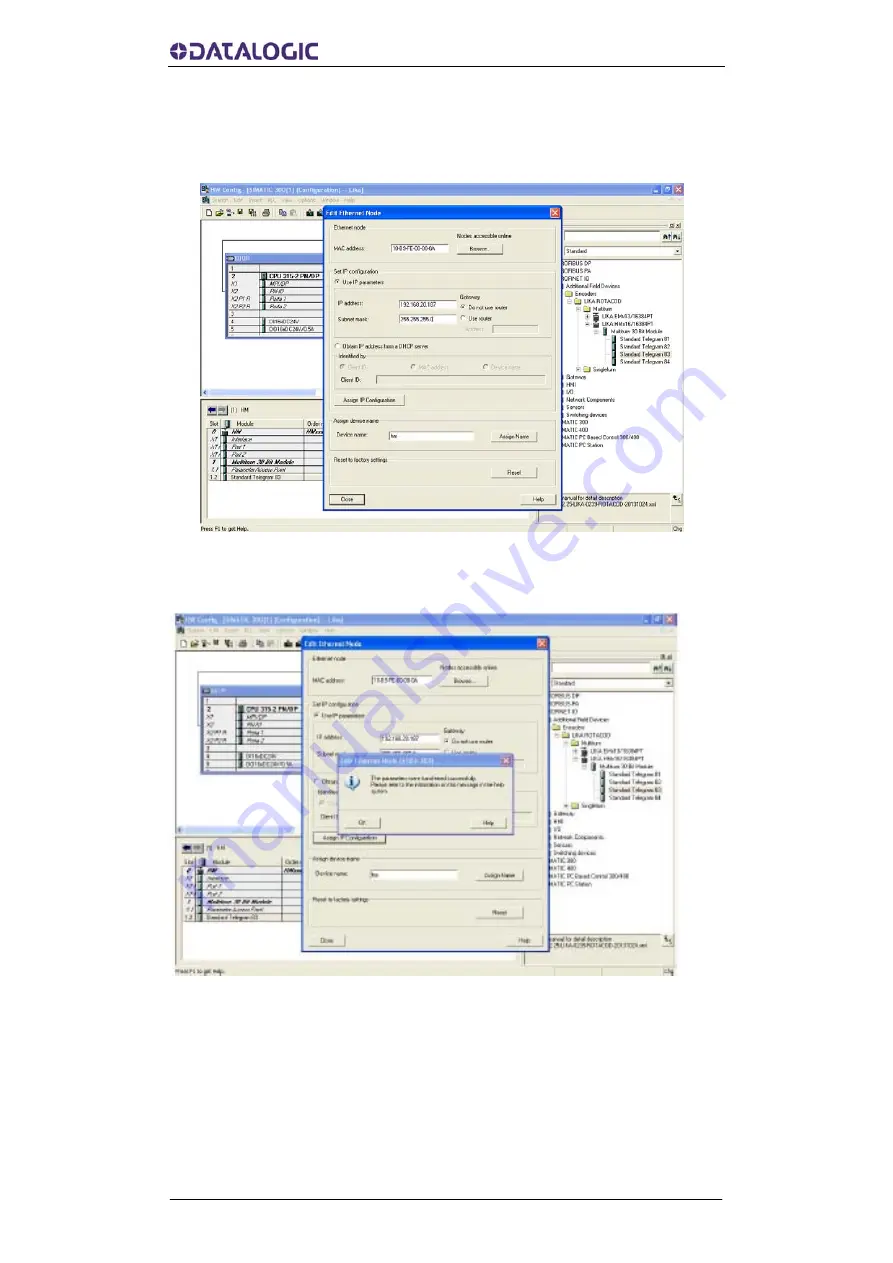
In the Set IP configuration group, enter the required IP address in the
IP address field; enter the required subnet mask in the Subnet mask
field below. Press the Assign IP configuration button to confirm.
Figure 21 - Assigning IP configuration
The following confirmation message will appear on the screen.
Figure 22 - Edit Ethernet Node confirmation
Now press the OK button to close the message and then press again
the Browse... button in the Edit Ethernet node page to find all the
nodes connected to the network and check whether the encoder is
listed properly in the page.
Summary of Contents for AMT58*-PN Series
Page 1: ......
Page 16: ......
Page 21: ...AMT58x PN ProfiNET 5 3 1 3 Installation using a flange code ST 58 FLNG ...
Page 30: ...AMT58x PN ProfiNET 14 Figure 5 Scrolling through Profinet families and categories ...
Page 119: ...AMT58x PN ProfiNET 103 Figure 67 FC1 13 1 9 Function 2 FC2 Figure 68 FC2 ...
Page 123: ...AMT58x PN ProfiNET 107 14 1 Normal operation diagram ...
Page 124: ...AMT58x PN ProfiNET 108 14 2 Preset diagram ...
Page 125: ...AMT58x PN ProfiNET 109 14 3 Parking sensor diagram ...
Page 127: ...AMT58x PN ProfiNET 111 14 4 2 Acknowledgment of not acknowledgeable sensor error ...
Page 145: ......


