


33.
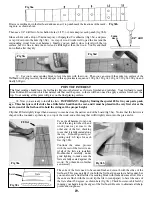
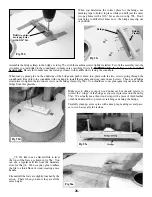
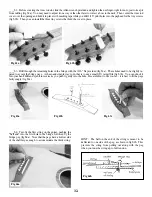
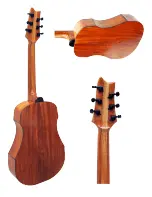
____65. Stretch the string across the instrument to the peghead and attach it to the first tuning post. Turn the gear so the string
wraps to the inside of the post, as shown in fig 65a. Be careful not to over-tighten -- it is best to pluck the string and let it ring as
you tighten the tuning gear. This first string is the lowest note on the instrument: Low E almost two octaves below Middle C.
Fig 65a
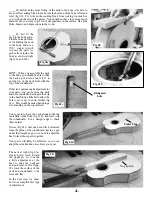
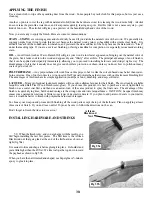
When the first string is up to pitch, check how it lies over the frets of the playing surface. You should not need to worry about the
height at the first fret near the peghead, unless you didn’t file the notches in the nut deep enough to allow the string to rest on top of
the #0 fret. Correct that detail now if needed (fig 65b).
Check the space under the string at the 12th fret, near the joint with the body. That should not be more than about 1/8” for the
instrument to be easy to play. Here are some things to check for correcting the string height if necessary:
a) Sight down the length of the fretboard to see if it is still flat. If you see a significant bend in the middle, then you’ll need to
adjust the truss rod. CAUTION: Remember that you have a double-action truss rod. Turning it one way will correct the bend
in the neck, but turning it the other way will increase the bend. So be careful to watch which way your adjustment is affecting
the guitar. DO NOT FORCE THE TRUSS ROD NUT! Some people have broken the nut right off the rod by torquing it too
much. Contact us if you need assistance.
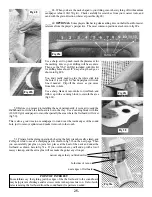
b) If the neck is pretty straight, and the string is still too high above the
12th fret, then you need to shave the saddle a little lower at the bridge.
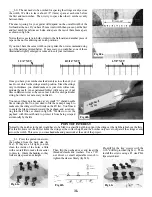
Loosen the string so you can remove the saddle. We like to draw a pencil
line near the bottom of the saddle to guide our sanding process (fig 65c).
You can sand the bottom of the saddle with a coarse sanding block, check-
ing to make sure the bottom edge stays parallel with your pencil line. You
don’t need to sand all the way to the line -- just use it as a reference point.
Then replace the saddle in the bridge again and tighten the string to test
the gap at the 12th fret.
c) If, on the other hand, the string is too low over the 12th fret, you may
need to shim the saddle a little higher. You can clip a section of excess
guitar string to lay in the slot under the saddle.
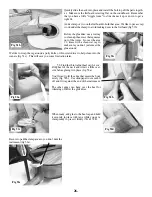
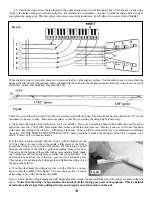
Once you have the first string hanging the right height above the strings, you can install the rest of the strings as shown in fig 65a
above.
Notice that the strings wrap around to the inside of all the tuning gear posts on the peghead. This is a helpful
detail to keep the strings from pulling sideways and jumping out of the notches in the nut.
Fig 65b
Fig 65c
Summary of Contents for PARLOR
Page 36: ......


