19.
_____37. Use your coarse sanding block to level the dots with the wood. Then you can smooth the entire top surface of the
fretboard with progressively finer sandpaper in this approximate sequence: 100 grit, 180 grit, 240 grit, 320 grit, 400 grit, and
finally 600 grit.
Fig 36a
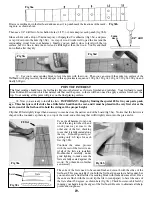
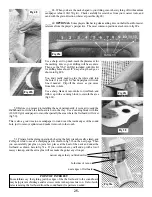
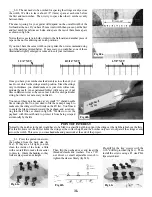
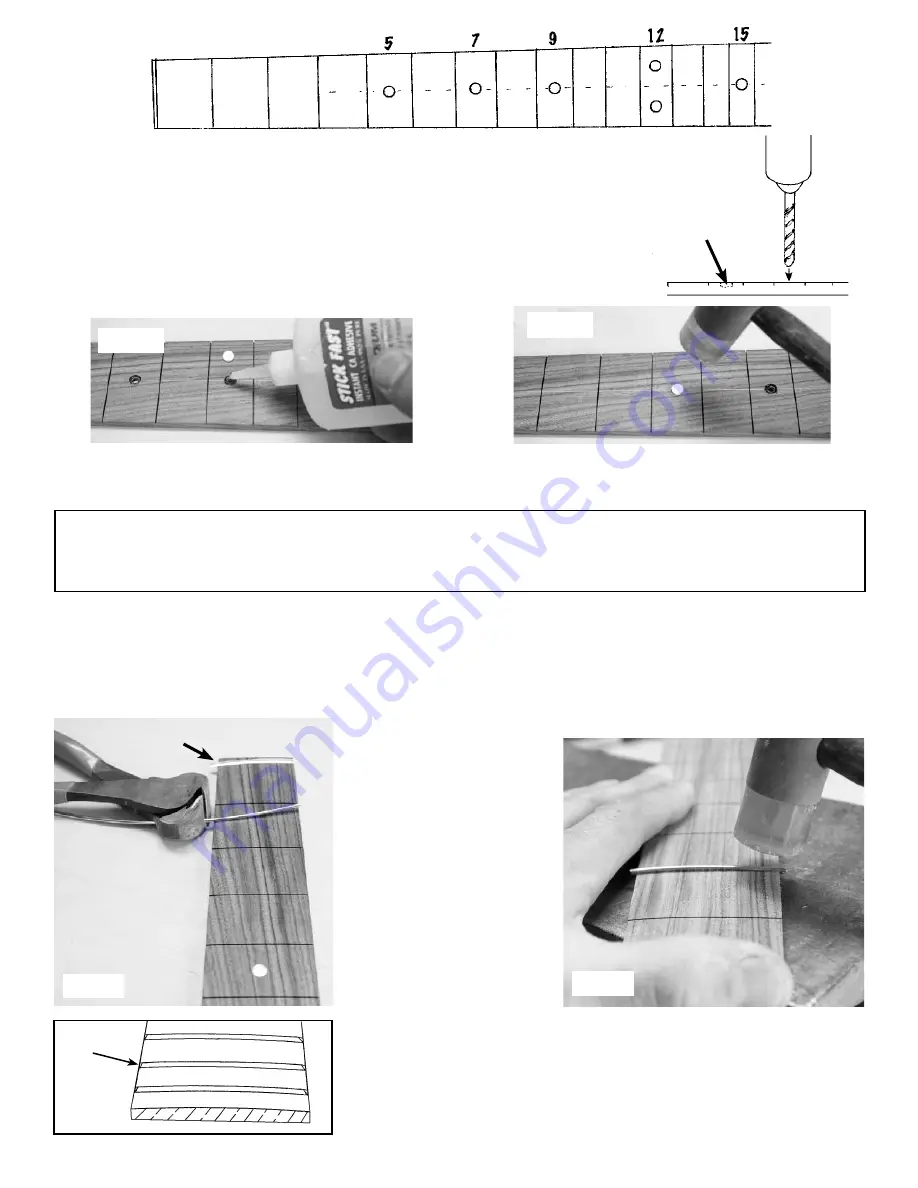
Draw a centerline down the fretboard and use an awl to punchmark the locations of the mark-
ing dots, as shown above.
Then use a 1/4” drill bit to bore shallow holes (1/16”, or 2mm deep) at each punch (fig 36b).
Glue each dot with a drop of 5-minute epoxy or Superglue (CA adhesive) (fig 36c), and press
or tap it down into the hole (fig 36d). A scrap of wood works well to pad the dot (and the
surrounding wood) from your hammer. Ideally, you can push it close to level with the top
surface, but it is fine to have the dots stand a little higher than the wood. You’ll sand them
down flush after they dry.
Fig 36c
Fig 36d
_____38. Now you are ready to install the frets.
IMPORTANT: Begin by finding the special #0 fret in your parts pack-
age. This short piece of fretwire has a little fatter bead than the rest, and it must be placed in the very first slot at the
narrow end of the fretboard to hold the strings at the proper height.
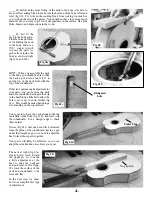
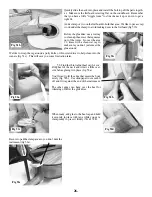
Clip that #0 fret slightly longer than necessary to reach across the narrow end of the board (fig 38a). Notice that the fretwire is
shaped with a rounded cap that stays on top of the wood, and a thin tang that will fit tightly down into the pre-cut slot.
Use a small hammer to tap one
end of the tang into the slot, and
work your way across to the
other end of the fret, checking
to see that it is fully seated along
the way. It should go easily, re-
quiring only 4-8 taps for each
fret (fig 38b).
Continue the same process
with the rest of the fretwire un-
til all of the frets are installed.
Double-check carefully, under
good lighting, to make sure the
frets are fully seated against the
wood. Tap them down further
as necessary.
POINT OF INTEREST
This final sanding should leave the fretboard silky smooth, almost as if it were finished and polished. Your fretboard is made
from Bolivian Rosewood which has natural oils that seal the pores, so there will be no need to apply a surface finish over the
top. Your sanding at this point will give you the final playing surface.
Fig 38b
Fig 36b
1/4” drill
2mm
deep
Fig 38a
#0 fret
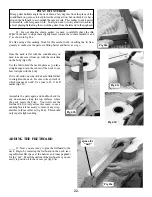
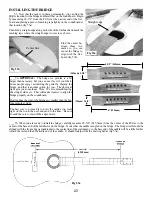
The ends of the frets need to be sanded flush and smooth with the sides of the
fretboard. This goes quickly if you hold the fretboard up against a belt sander, but
you can also use a fine flat file or a sanding block with time and some effort. Once
the ends are flush with the wood, tip the file (or sandpaper) to bevel the ends of
the frets about 45 degrees, as shown here (fig 38c). Check how smooth it feels by
running your hand along the edges of the fretboard. Be sure to eliminate all sharp
points and roughness.
frets
Fig 38c
bevel
Summary of Contents for PARLOR
Page 36: ......


