22.
POINT OF INTEREST
Many guitar builders angle the neck down a few degrees from the plane of the
soundboard on purpose to help lower the string action, but on this kit, we have
sloped the fretboard to accomplish the same result. This makes your kit easier
to assemble, with less guess-work. So all you need to worry about is to achieve
a level playing field along the top of the guitar from the tail end to the peghead.
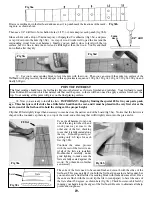
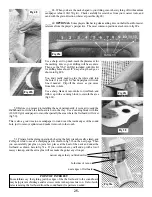
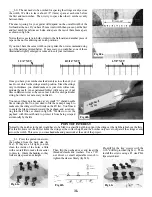
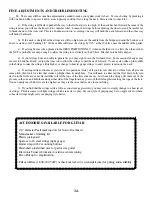
_____42. For our situation shown earlier, we need to carefully shave the thin
edges of the heel to slope them slightly lower toward the corners marked A and
C, as shown in fig 42a.
We like using a flat sanding block for this careful work, checking the fit fren-
quently to make sure the parts are fitting better and better as we go.
A
Fig 42a
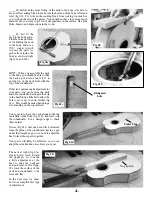
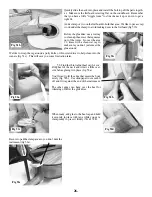
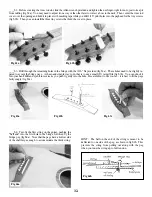
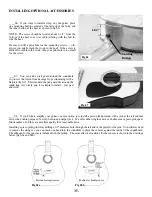
Once the neck is flat with the soundboard, you
need to make sure it lines up with the centerline
on the body (fig 42b).
Use the bolt to hold the neck in place as you lay a
straight-edge down the center of the neck to see
how it aligns with the body.
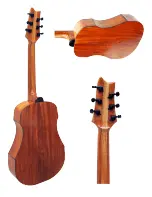
If it is off, sand one side of the heel a little further
to straighten the neck. Be sure to keep track of
which side needs work! Use your A, B, C, & D
marks (fig 42c).
Fig 42b
Fig 42c
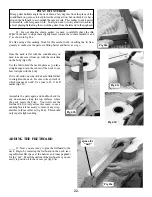
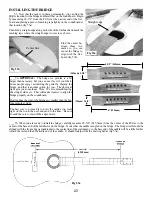
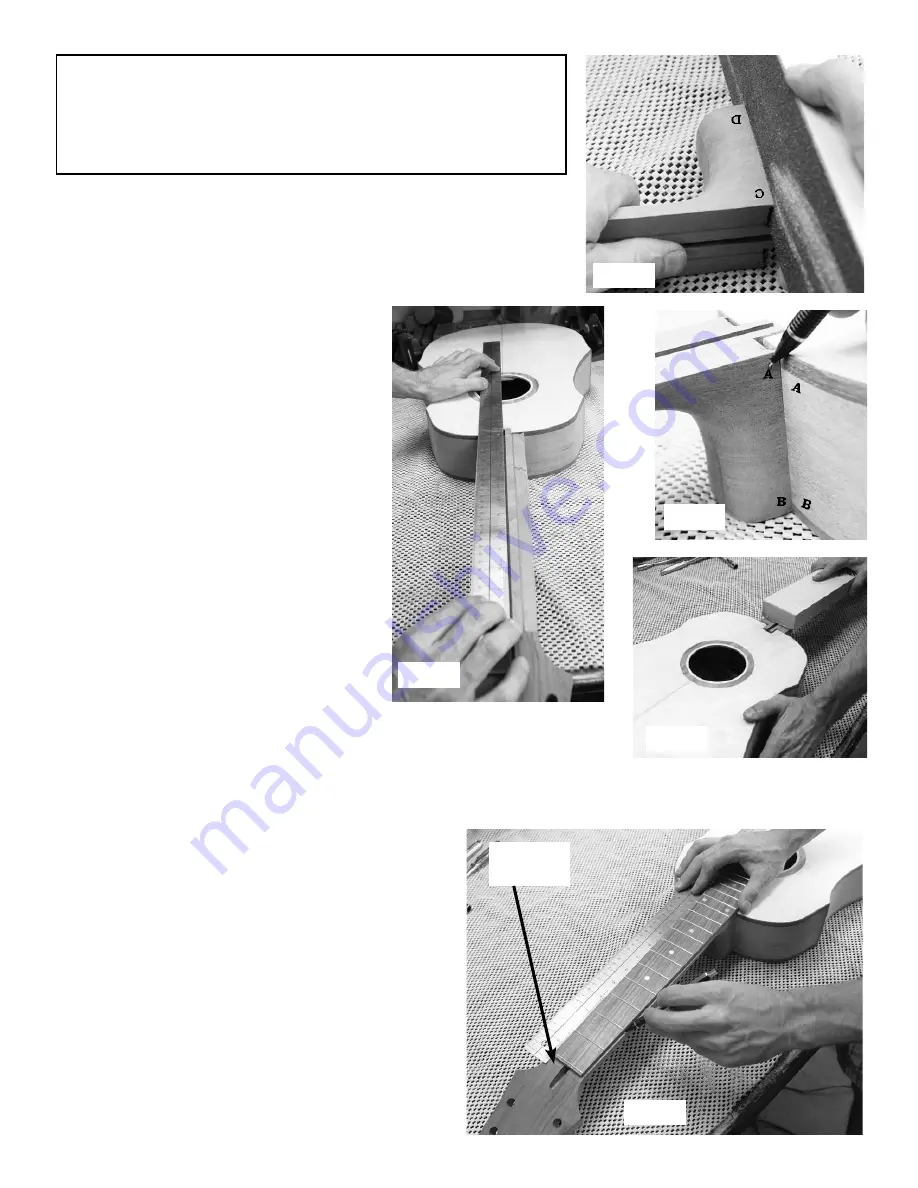
Assemble the parts again and double-check for
any unevenness along the top surfaces where
the neck meets the body. You will want the
fretboard to fit nicely across this seam, so use a
sanding block if necessary to remove any irreg-
ularities in those surfaces (fig 42d). This should
only require light sanding.
Fig 42d
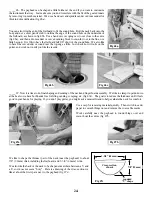
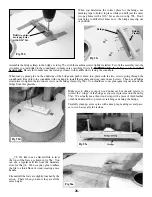
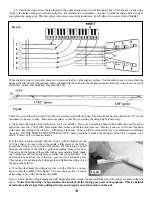
_____43. Now you are ready to glue the fretboard to the
neck. Begin by centering the fretboard on the neck, leav-
ing sufficient flat space at the narrow end (near peghead)
for the “nut”. Pencil the outline of the fretboard so you can
easily re-position it in the same spot (fig 43a).
space for
“nut”
ADDING THE FRETBOARD
Fig 43a
Summary of Contents for PARLOR
Page 36: ......


