310
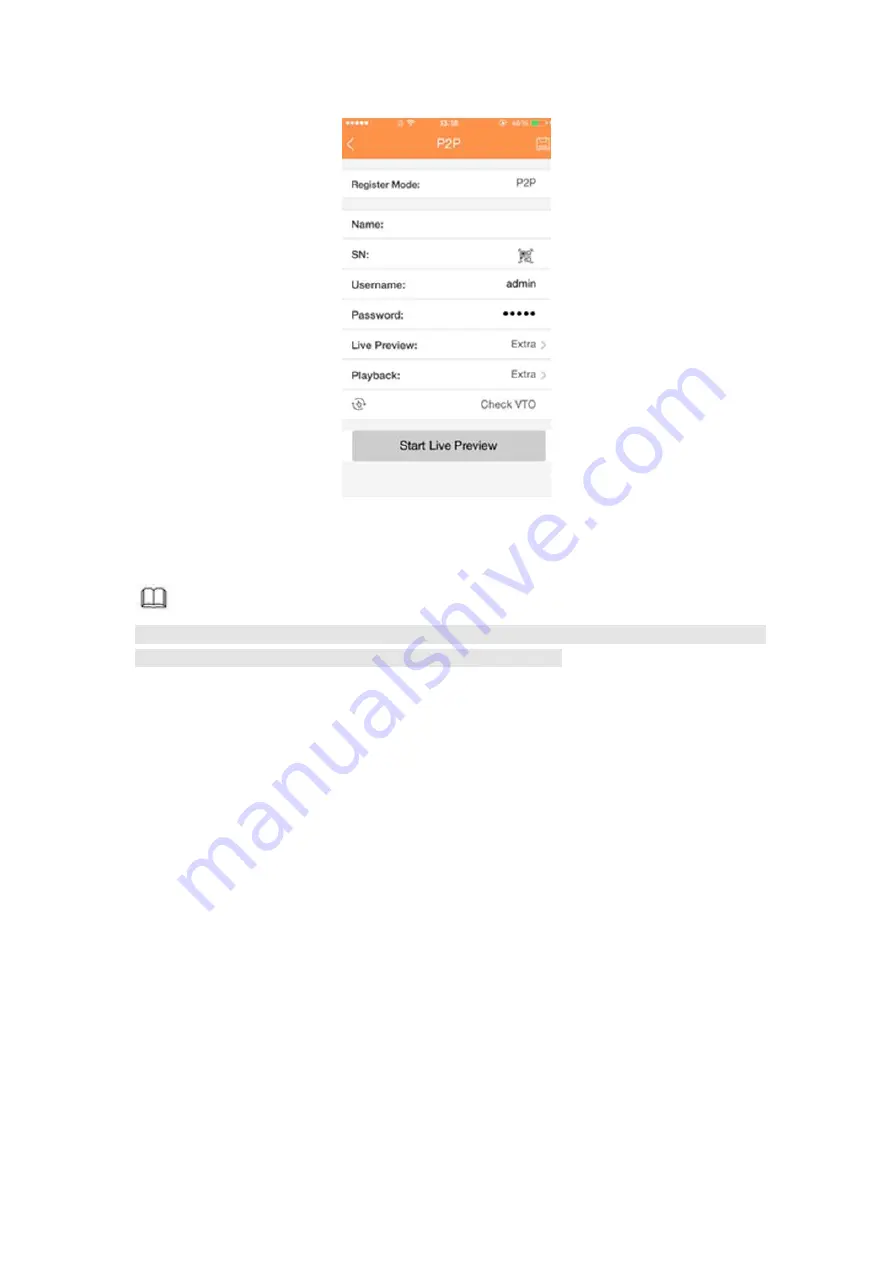
Figure 4- 20
4.1.4.4 Registration
Note
You can only see the registration interface if you have set IP channel (Chapter 4.9.1.3.5
Channel type). The DVR supports ONVIF standard protocol.
It is to add/delete the camera to the corresponding channel and view the corresponding
information.
Besides
startup
wizard
and
configuration
wizard,
from
the
main
menu->Setting->Camera-> Registration or on the preview window and then right click
mouse and then select Camera Registration, you can go to the Registration interface. See
Figure 4- 21.
Click IP search, and then select device in the searched results, click Add button.
Uninitialized: Click Uninitialized, device display uninitialized remote device. Select a
device from the list and then click Initialize, you can set remote device initial user
name and password. Refer to chapter 4.1.4.4.1 Initialize camera for detailed
information.
Show filter: Select from the dropdown list to display the corresponding devices.
None: There is a filter. Device displays all remote devices.
IPC: Device displays network camera.
DVR: Device display storage device such as DVR, NVR and etc.
IP search: Click it to search IP address. It includes device IP address, port, device
name, manufacturer, type. Use your mouse to click the item name, you can refresh
display order. Click IP address, system displays IP address from small to large. Click
IP address again, you can see icon, system displays IP address from large to small.
You can click other items to view information conveniently. For the network device
Summary of Contents for HCVR2104HS-S3
Page 1: ...Dahua HDCVI Standalone DVR User s Manual Dahua HDCVI Standalone DVR User s Manual V2 3 2 ...
Page 200: ...184 ...
Page 425: ...409 Figure 4 137 Figure 4 138 ...
Page 440: ...424 Figure 4 153 Step 2 Draw the zone 1 Click Draw button to draw a zone See Figure 4 154 ...
Page 446: ...430 Figure 4 157 Figure 4 158 ...
Page 447: ...431 Figure 4 159 Figure 4 160 ...
Page 448: ...432 Figure 4 161 Figure 4 162 ...
Page 451: ...435 Figure 4 165 Figure 4 166 ...
Page 452: ...436 Figure 4 167 Figure 4 168 ...
Page 458: ...442 Figure 4 177 Figure 4 178 4 9 4 1 2 2 Trigger Snapshot ...
Page 460: ...444 Figure 4 180 Figure 4 181 4 9 4 1 2 3 Priority ...
Page 466: ...450 Figure 4 186 Figure 4 187 ...
Page 471: ...455 Figure 4 193 Figure 4 194 ...
Page 557: ...541 Figure 5 69 Figure 5 70 ...
Page 573: ...557 device Figure 5 86 Figure 5 87 ...
Page 579: ...563 Figure 5 94 Figure 5 95 ...
Page 580: ...564 Figure 5 96 Figure 5 97 Please refer to the following sheet for detailed information ...
Page 607: ...591 Figure 5 136 Note For admin you can change the email information See Figure 5 137 ...