


536
Preparation
Install corresponding software tool such as MIB Builder and MG-SOFT MIB Browser.
Contact technical engineer to get two MIB files of the current version.
Steps
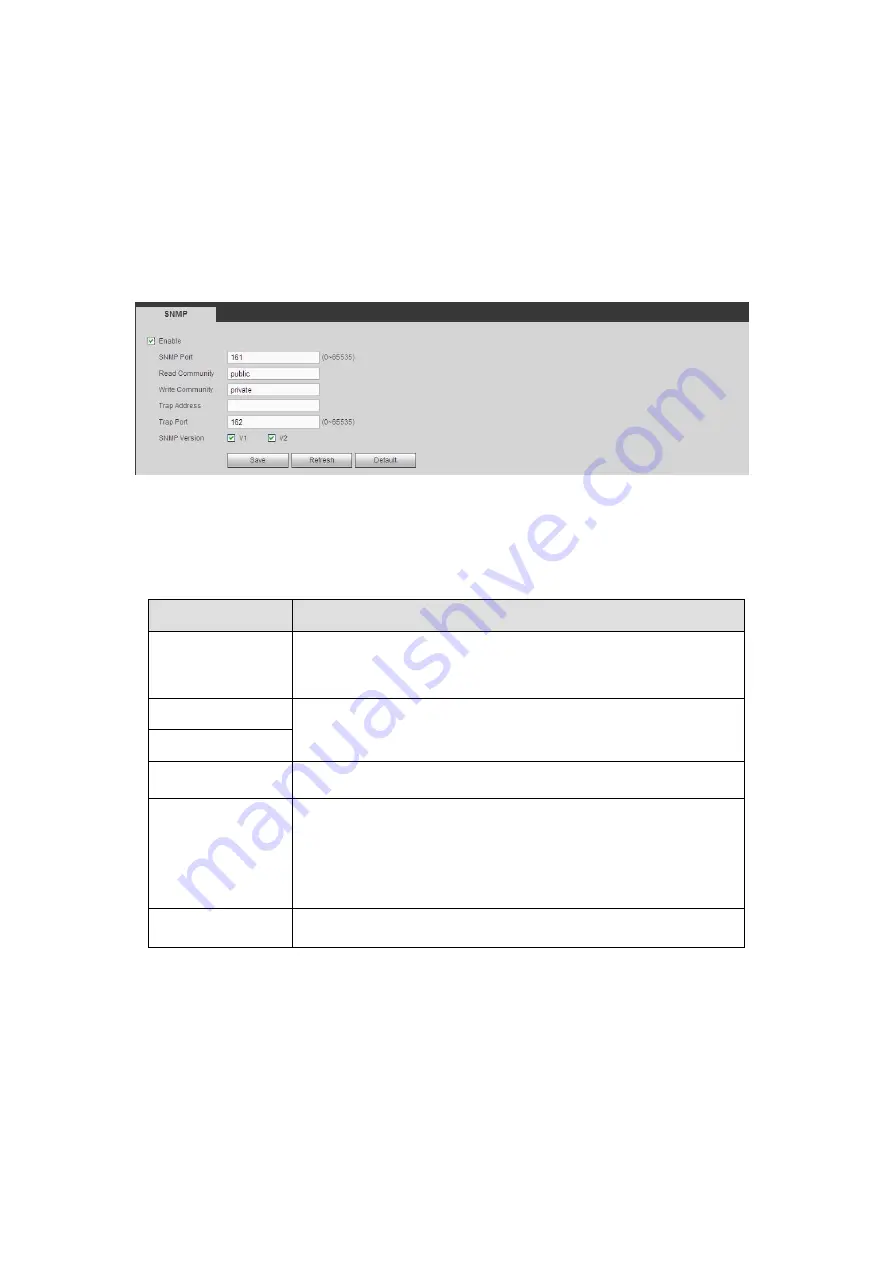
Step 1 From main window->Setup->Network->SNMP.
Enter SNMP interface is shown as in Figure 5- 62.
Figure 5- 62
Step 2 Check the enable box to enable SNMP function. Trap address refers to the PC
address that has installed MG-SOFT MIB Browser. The rest settings adopt
default setup.
Parameter
Function
SNMP Port
The listening port of the proxy program of the device. It is a
UDP port not a TCP port. The value ranges from 1 to 65535.
The default value is 161
Read Community
It is a read/write community string the applications support.
Write Community
Trap address
The destination address of the Trap information from the proxy
program of the device.
Trap port
The destination port of the Trap information from the proxy
program of the device. It is for the gateway device and the
client-end PC in the LAN to exchange the information. It is a
non-protocol connection port. It has no effect on the network
applications. It is a UDP port not TCP port. The value ranges
from 1 to 165535. The default value is 162.
SNMP version
Check V1, system only processes the information of V1.
Check V2, system only processes the information of V2.
Step 3 Compile the above mentioned two MIB file via the software MIB Builder.
Step 4 Run MG-SOFT MIB Browser to load the file from the previous step to the
software.
Step 5 Input the device IP you want to manage in the MG-SOFT MIB Browser. Please
set the corresponding version for your future reference.
Step 6 Open the tree list on the MG-SOFT MIB Browser; you can get the device
configuration. It is to view the device has how many video channels, audio
channels, application version and etc.
Summary of Contents for HCVR2104HS-S3
Page 1: ...Dahua HDCVI Standalone DVR User s Manual Dahua HDCVI Standalone DVR User s Manual V2 3 2 ...
Page 200: ...184 ...
Page 425: ...409 Figure 4 137 Figure 4 138 ...
Page 440: ...424 Figure 4 153 Step 2 Draw the zone 1 Click Draw button to draw a zone See Figure 4 154 ...
Page 446: ...430 Figure 4 157 Figure 4 158 ...
Page 447: ...431 Figure 4 159 Figure 4 160 ...
Page 448: ...432 Figure 4 161 Figure 4 162 ...
Page 451: ...435 Figure 4 165 Figure 4 166 ...
Page 452: ...436 Figure 4 167 Figure 4 168 ...
Page 458: ...442 Figure 4 177 Figure 4 178 4 9 4 1 2 2 Trigger Snapshot ...
Page 460: ...444 Figure 4 180 Figure 4 181 4 9 4 1 2 3 Priority ...
Page 466: ...450 Figure 4 186 Figure 4 187 ...
Page 471: ...455 Figure 4 193 Figure 4 194 ...
Page 557: ...541 Figure 5 69 Figure 5 70 ...
Page 573: ...557 device Figure 5 86 Figure 5 87 ...
Page 579: ...563 Figure 5 94 Figure 5 95 ...
Page 580: ...564 Figure 5 96 Figure 5 97 Please refer to the following sheet for detailed information ...
Page 607: ...591 Figure 5 136 Note For admin you can change the email information See Figure 5 137 ...


