PSoC® 4000S Prototyping Kit Guide, Doc. # 002-11504 Rev. *A
17
Software Installation
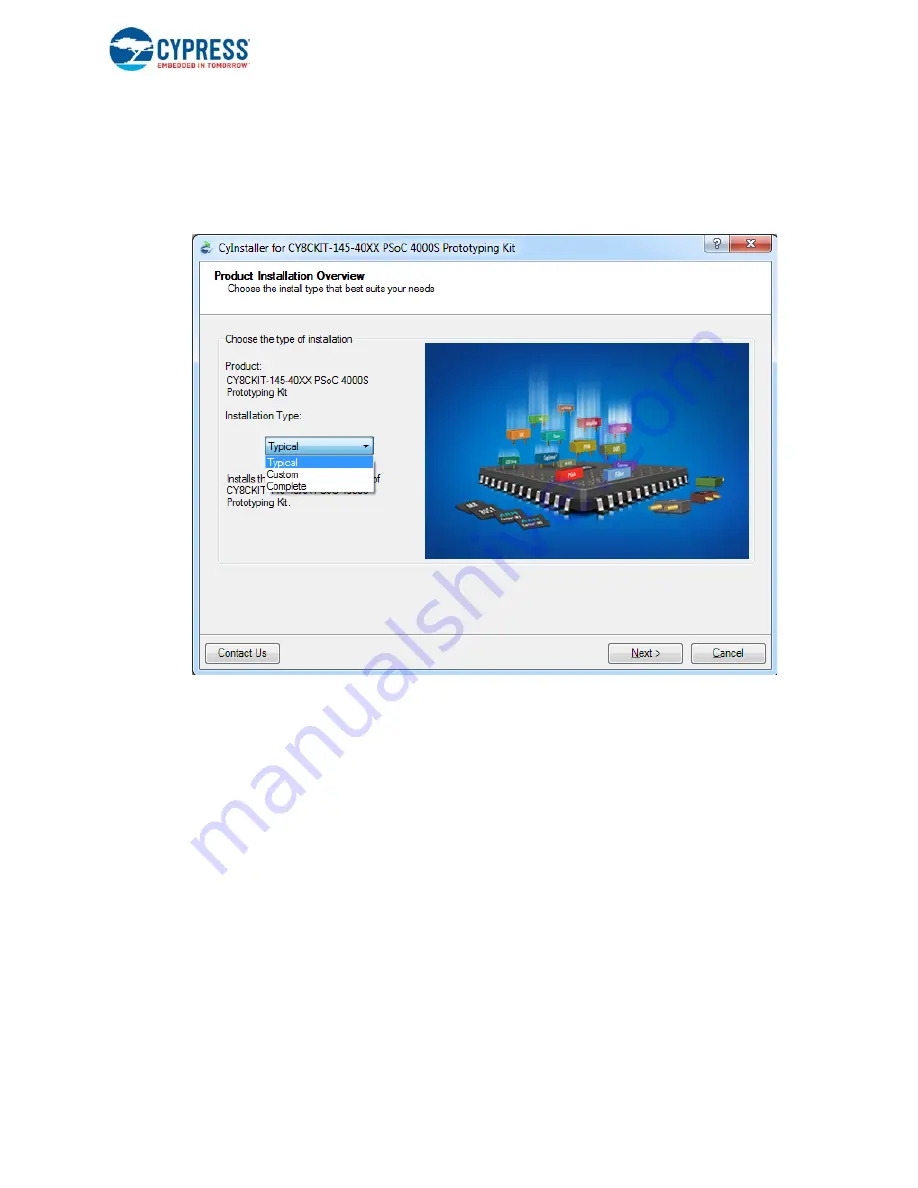
6. Choose the
Typical
,
Custom
, or
Complete
installation type (select
Typical
if you do not know
which one to select) in the
Product Installation Overview
window, as shown in
Figure 2-2
. Click
Next
after you select the installation type.
Figure 2-2. Product Installation Overview
7. Read the License agreement and select
I accept the terms in the license agreement
to
continue with installation. Click
Next
.
8. When the installation begins, a list of packages appears on the installation page. A green check
mark appears next to each package after successful installation.
9. Enter your contact information or select the check box
Continue Without Contact Information
.
Click
Finish
to complete the CY8CKIT-145-40XX PSoC 4000S Prototyping kit software installa-
tion.
10. After the installation is complete, the kit contents are available at the following location:
<Install_Directory>\CY8CKIT-145-40XX PSoC 4000S Prototyping Kit
Default location:
Windows 7 (64-bit):
C:\Program Files (x86)\Cypress\CY8CKIT-145-40XX
PSoC 4000S Prototyping Kit
Windows 7 (32-bit):
C:\Program Files\Cypress\CY8CKIT-145-40XX PSoC 4000S
Prototyping Kit
Note:
For Windows 7/8/8.1/10 users, the installed files and the folder are read only. To use the
installed code examples, follow the steps outlined in the
Code Examples on page 25
. These steps
will create an editable copy of the example in a path that you choose so the original installed
example is not modified.


