Again, the requirement here is that each folder contains a
main.pd
file that serves as the
primary file for that patch. As long as this file is in place, that patch will appear in the
Organelle's patches menu as the folder name. So in the example shown above, the first
four patches shown on the Organelle would be
32 Oscillators
,
Analog Style
,
Arpeggio -
Double
, and
Basic Poly
.
Making Changes to your USB Drive
Assuming your USB drive is formatted correctly and the Patches folder is appropriately
named and located, making changes to your available patches is as simple as working
with files on your computer.
To add a patch to your Organelle's USB drive:
Patches you download are likely to be .zip
files or .zop files. Copy these compressed files directly into your
Patches
folder. After
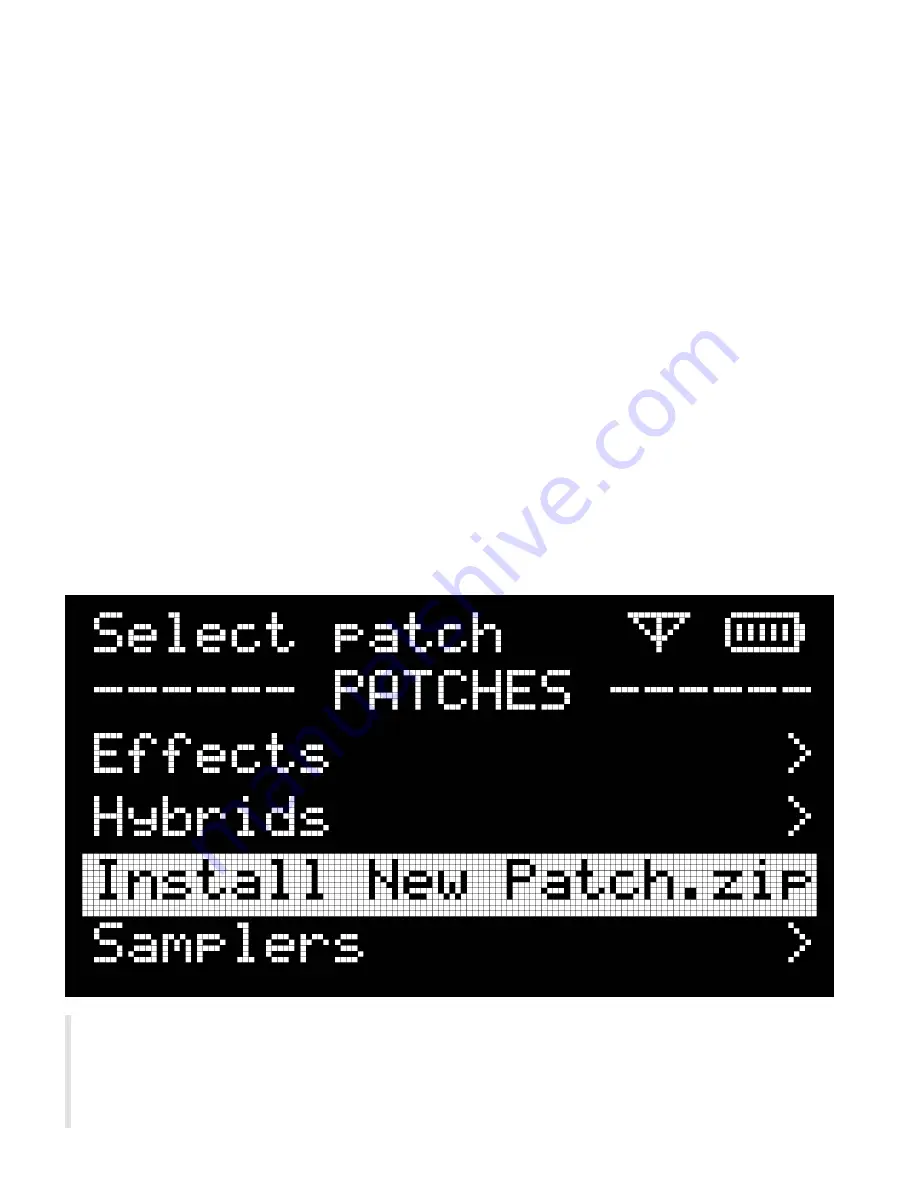
reinserting drive in the Organelle and selecting Reload from
Storage
menu, the Patches
menu will display an option like
Install [Patch name].zip
(or .zop). Once selected, the
Organelle will uncompress the patch into the
Patches
folder and then delete the .zip/.zop.
This method will avoid any file corruption that may occur while transferring files across
devices.
NOTE:
While a downloaded zipped patch may be uncompressed and then the
resulting patch folder copied to the USB, the recommended method is to have
the Organelle unzip the patch by selecting Install from the Patches menu.


