Network Video Streamer
Crestron
CEN-NVS200
7. (Optional) Select the
Enable time shift caching stream
checkbox to enable
this function.
8. Do any or all of the following:
•
Click the
Image Settings
button to enter image settings. Refer to
“Configuring Image Settings” below for information.
•
Click the
Privacy Mask
button to block one or more areas of the video
from being viewed on the video output. Refer to “Configuring Privacy
Mask Settings” which starts on page 49 for information.
•
Configure video settings for Stream 1, Stream 2, Stream 3 and/or
Stream 4. Refer to “Configuring Video Quality Settings” which starts
on page 50 for information.
9. Click
Save
at the bottom of the “Audio and Video” configuration page to
save changes to video settings.
Configuring Image Settings
Configure image settings by pressing the
Image Settings
button in the
Video
Settings
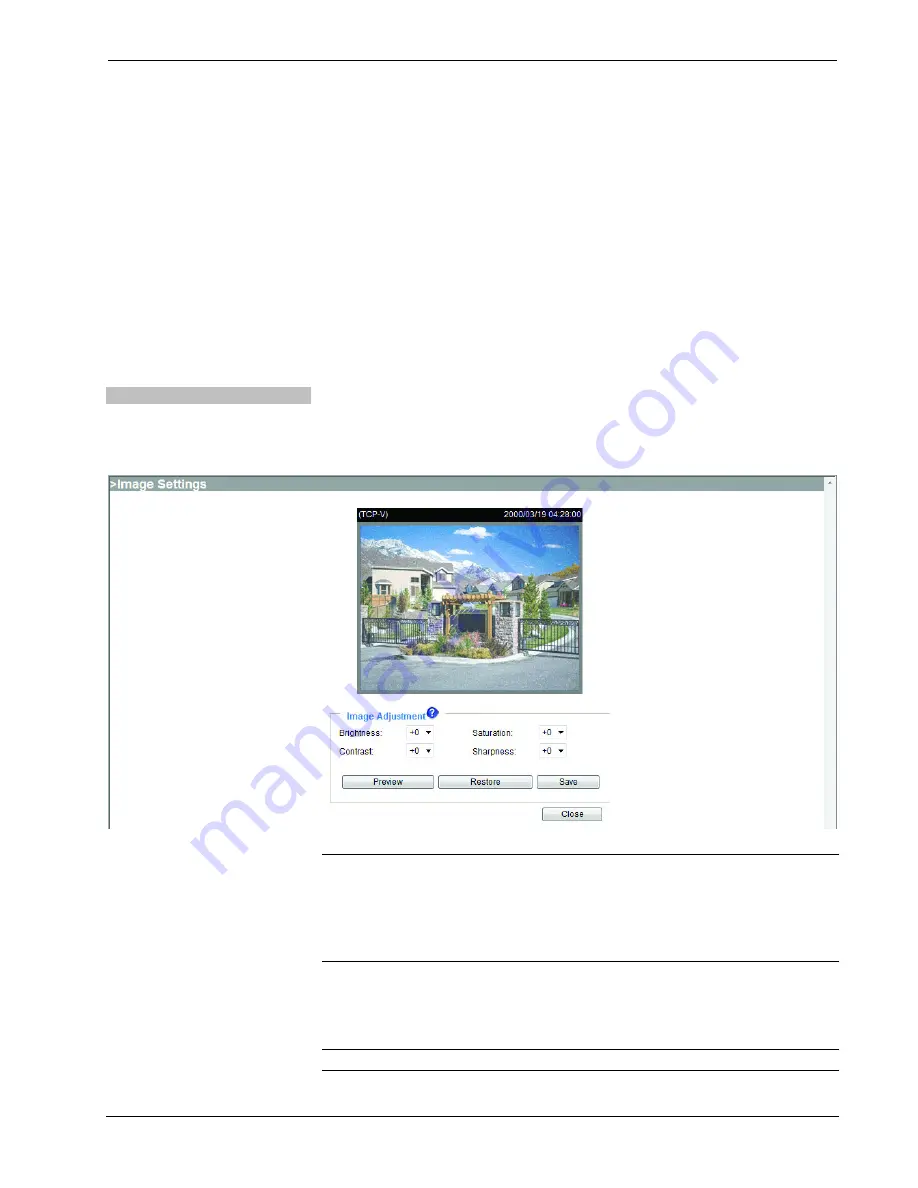
pane of the “Audio and Video” configuration page. The “Image Settings”
configuration page will open.
“Image Settings” Configuration Page
NOTE:
The “Image Settings” configuration page can also be accessed by entering
the following URL in your Web browser:
http://
Video Streamer
/setup/image.html
Video Streamer
is the host name or IP address of the CEN-NVS200.
On the “Image Settings” configuration page, adjust the
Brightness, Saturation,
Contrast
and
Sharpness
as desired. Values in the drop-down lists range from –5 to
+5.
NOTE:
A value of 0 for
Brightness
and
Contrast
auto tunes the video.
48
•
Network Video Streamer: CEN-NVS200
Operations & Installation Guide – DOC. 7111A


