Driver and Software Installation
62
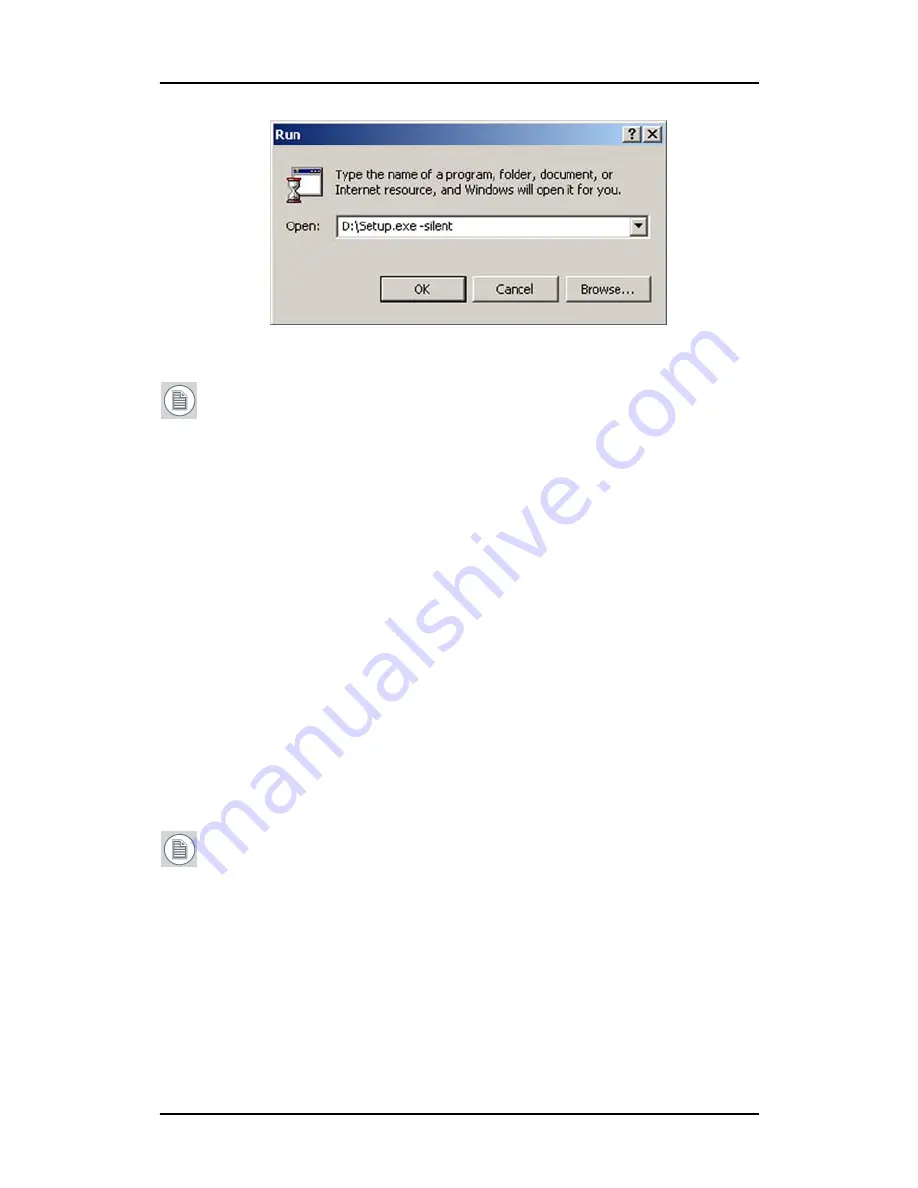
Figure 32: Command line installation
Note:
When performing an MXRT driver upgrade, it is essential
to uninstall the previous installation before installing the new
driver. We also recommend that you perfrom the following steps
to completely remove the previously installed files:
a)
Boot the system in safe mode.
b)
Run MXRT driver cleaner.bat by double clicking on it (this
will either be installed as an icon on your desktop, or can
be found on the Barco Display System installation CD at:
drivers\2KXP\ATI
). This will remove all the previous
installed MXRT driver files.
c)
Reboot the system in regular mode and install the new
driver.
Installing the B
ARCO
M
ED
C
ORONIS
or Nio drivers
and software
Note:
The installation dialog will display in English if your
operating system’s language is not supported.
This process applies to the following versions of Windows:
• Windows 2000 Professional,
• Windows XP Professional,
• Windows XP Professional x64 Edition,
• Windows Server 2003,
Summary of Contents for MDCC 2121
Page 1: ...Getting Started Guide Coronis Supported displays MDCC 2121 MDCC 3120 MDCG 2121 MDCG 3120...
Page 2: ...This page intentionally left blank 2 This page intentionally left blank...
Page 4: ...This page intentionally left blank 4...
Page 7: ...Preface 7 Preface...
Page 21: ...Display controller installation 21 Display controller installation...
Page 31: ...Display installation 31 Display installation...
Page 48: ...Connecting the signal cables 48 Figure 27 External DC power supply 7 8...
Page 54: ...Cleaning instructions This page intentionally left blank 54...
Page 55: ...Software installation 55 Software installation...
Page 68: ...Driver and Software Installation This page intentionally left blank 68...
Page 71: ...Troubleshooting 71 Troubleshooting...
Page 76: ...Configuring Windows This page intentionally left blank 76...
Page 77: ...Technical Specifications 77 Technical Specifications...
Page 84: ...Technical Specifications This page intentionally left blank 84...
Page 90: ...Warranty Statement This page intentionally left blank 90...
Page 91: ...Warranty Statement This page intentionally left blank 91...
Page 92: ...Warranty Statement This page intentionally left blank 92...
Page 93: ...Warranty Statement This page intentionally left blank 93...


