fm
G
enie
fm
G
enie
31
4
User Operating Guide – Receiver
30
fm
G
enie
fm
G
enie
User Operating Guide – Receiver
4
USING AN fmGENIE WITH A
COCHLEAR IMPLANT PROCESSOR
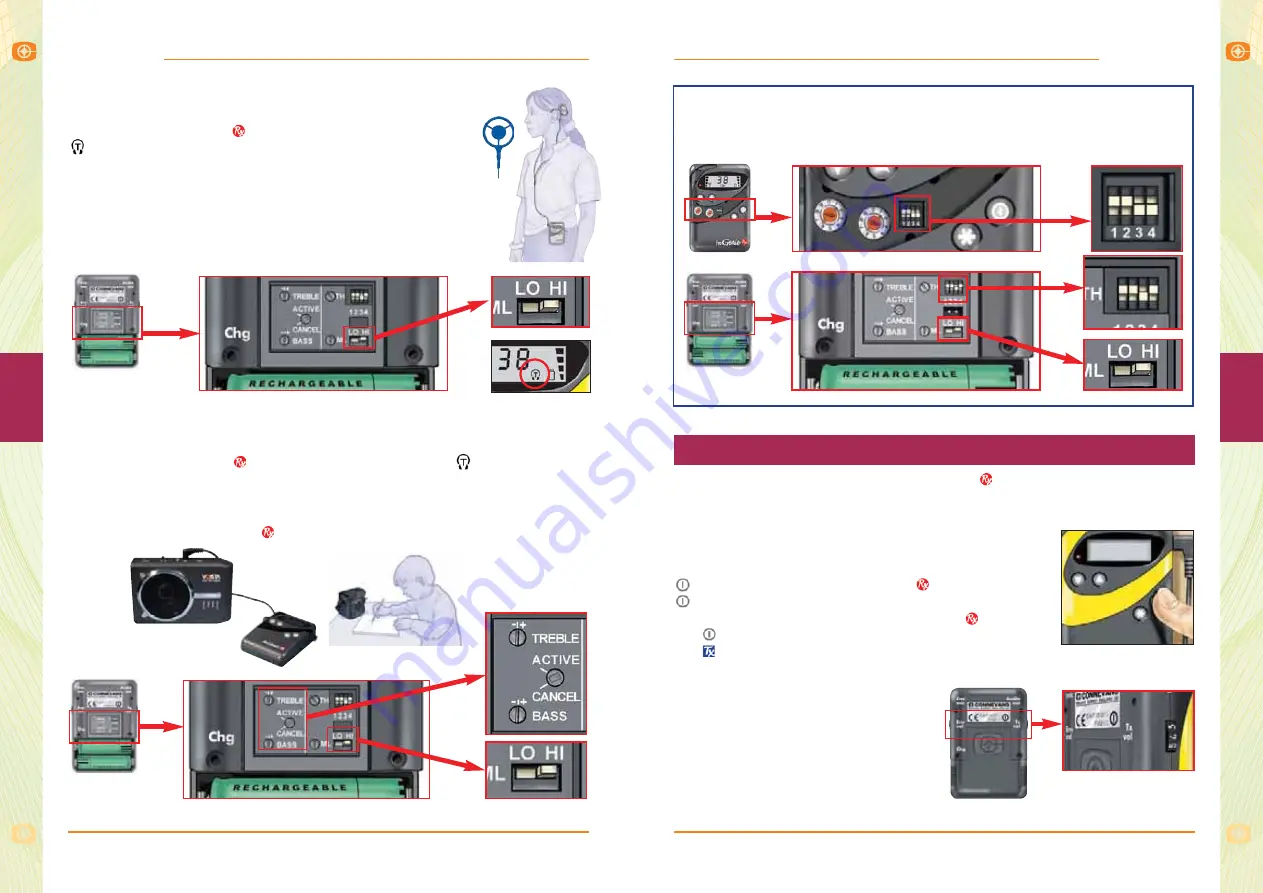
Make sure the fmGenie
is set to ‘HI’ and showing the
symbol on the display. Initially set the tone controls to
‘CANCEL’ although these can be adjusted later to suit.
The implant centre will normally ‘balance’ the fmGenie
for use with the processor. Once set, and the user is
happy with the sound, we advise making a note of the
volume control setting.
Shown with fmGenie
receiver fitted.
USING AN fmGENIE WITH A PERSONAL SOUNDFIELD
Make sure the fmGenie
is set to ‘HI’ and showing the
symbol on the
display. Initially set the tone controls to ‘CANCEL’ although these can be
adjusted later to suit user.
Connect the personal soundfield amplifier 3.5mm ‘Line’ input to the ‘Audio
out’ socket on the fmGenie
and refer to the supplied instructions.
The precise range of features available on the
depends on how the user
and management settings have been set. Features that have been disabled will
usually show a “
– –
” in the status display when the relevant button is pressed.
On/off
The one control which is always available is the on/off
control. To turn on the fmGenie
hold down the
button until the alert indicator flashes and you see
the status display. To turn off an fmGenie
hold down
the
button until the status display blanks. As with
the
, it is time rather than pressure that is required.
Volume Controls
Situated on either side of the receiver
are two volume controls. Once
adjusted, the control(s) can be locked
if wished, using a cross head size 0
screwdriver (Connevans pt no.
FMG732).
fmGenie receiver default settings.
These are the default settings for fmGenie use with a neck loop and
hearing aid(s) or with a pair of headphones.
Receiver features


