150
D1.1 ATM Interfaces
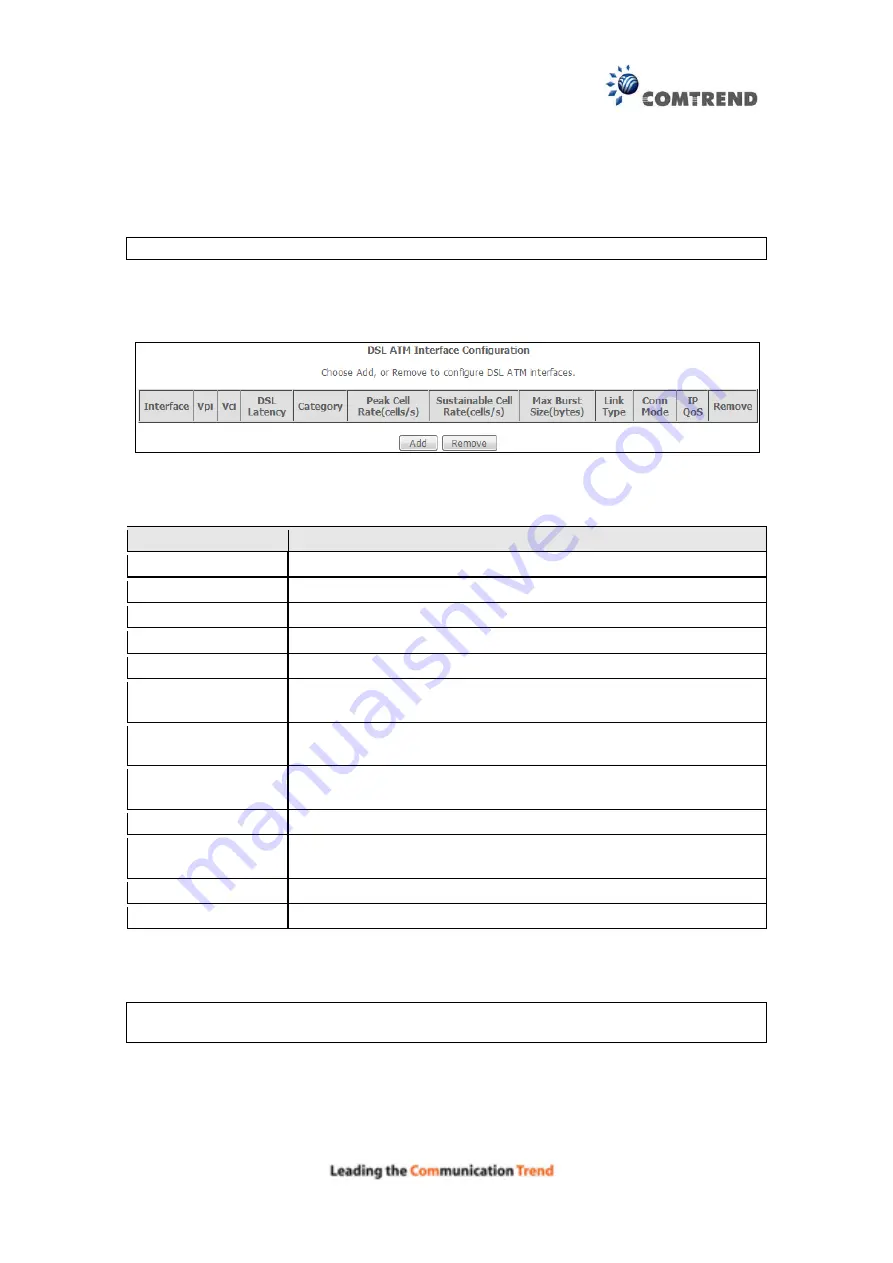
Follow these procedures to configure an ATM interface.
NOTE
:
The AR-5381u supports up to 16 ATM interfaces.
STEP 1:
Go to Advanced Setup
Layer2 Interface
ATM Interface.
This table is provided here for ease of reference.
Heading
Description
Interface
WAN interface name.
VPI
ATM VPI (0-255)
VCI
ATM VCI (32-65535)
DSL Latency
{Path0}
port ID = 0
Category
ATM service category
Peak Cell Rate
Maximum allowed traffic rate for the ATM PCR service
connection
Sustainable Cell
Rate
The average allowable, long-term cell transfer rate on the VBR
service connection
Max Burst Size
The maximum allowable burst size of cells that can be
transmitted contiguously on the VBR service connection
Link Type
Choose EoA (for PPPoE, IPoE, and Bridge), PPPoA, or IPoA.
Connection Mode
Default Mode – Single service over one connection
Vlan Mux Mode – Multiple Vlan service over one connection
IP QoS
Quality of Service (IP QoS) status
Remove
Select items for removal
STEP 2:
Click
Add
to proceed to the next screen.
NOTE:
To add WAN connections to one interface type, you must delete existing
connections from the other interface type using the
remove
button.
Summary of Contents for AR-5381u
Page 1: ...AR 5381u ADSL2 WLAN Router User Manual 261056 074 Version A2 3 May 9 2016...
Page 8: ...7 APPENDIX D CONNECTION SETUP 149 APPENDIX E PRINTER SERVER 199...
Page 18: ...17 STEP 3 After successfully logging in for the first time you will reach this screen...
Page 33: ...32 4 7 IGMP Proxy Displays a list of IGMP Proxy entries...
Page 106: ...105 Enter a certificate name and click Apply to import the CA certificate...
Page 122: ...121 6 6 Site Survey The graph displays wireless APs found in your neighborhood by channel...
Page 123: ...122...
Page 125: ...124 6 8 WiFi Button This page allows you to enable or disable the WiFi Button...
Page 138: ...137 NOTE Passwords can be up to 16 characters in length...
Page 159: ...158 The settings shown above are described below...
Page 179: ...178 Click Next to continue or click Back to return to the previous step...
Page 184: ...183 Click Next to continue or click Back to return to the previous step...
Page 201: ...200 STEP 2 Click the Windows start button Then select Control Panel...
Page 202: ...201 STEP 3 Select Devices and Printers STEP 4 Select Add a printer...


