Cutting Deck Removal
1.
Place the PTO/Blade Engage lever/knob in the disengaged
(OFF) position and engage the parking brake.
2.
Lower the deck by moving the deck lift lever into the
bottom notch on the right fender.
3.
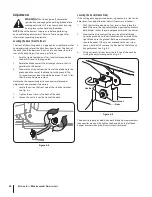
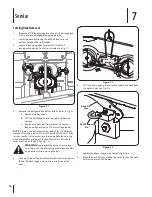
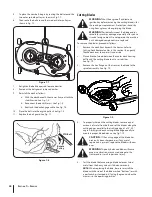
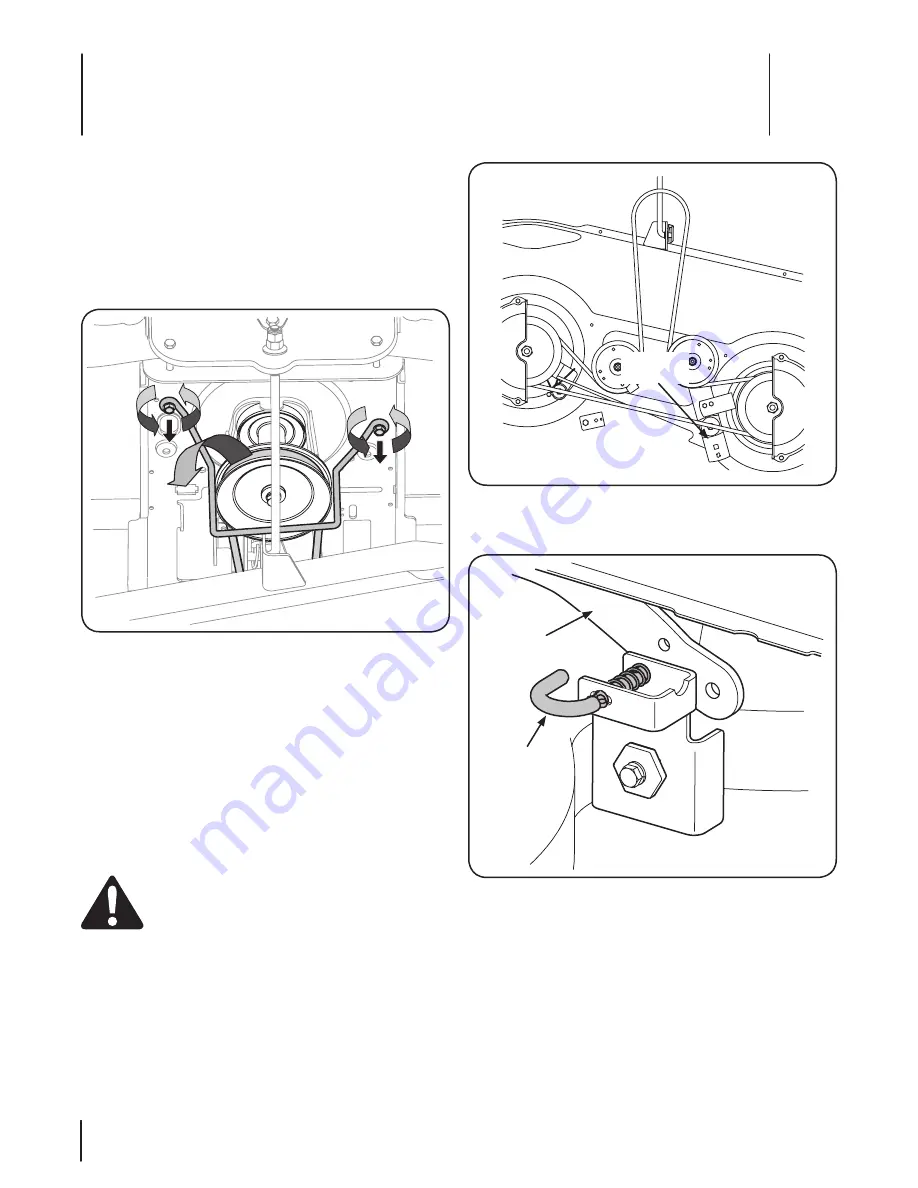
Locate the engine pulley (or electric PTO clutch if
equipped) under the front of your tractor. See Fig. 7-1.
4.
Remove the belt guard and belt as follows. Refer to Fig. 7-1:
a. Remove the hex screws.
b. Pull the belt keeper rod to the right and down to
remove.
c. Remove the deck belt from around the tractor’s
engine pulley (or electric PTO clutch if equipped).
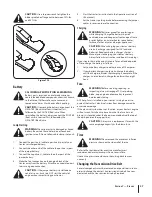
NOTE:
If there is too much tension on the belt for it to be easily
removed from the electric PTO clutch, carefully insert a 3⁄8” drive
ratchet wrench (set to
loosen
) into the square hole found in the
deck idler bracket and pivot it toward the tractor’s left side to
relieve tension on the belt. See Fig. 7-2.
WARNING!
Avoid pinching injuries. Never place
your fingers on the idler spring or between the belt
and a pulley while removing the belt.
5.
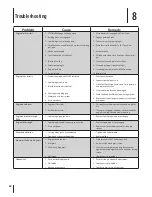
Looking at the cutting deck from the left side of the tractor,
locate the deck support pin on the rear left side of the
deck.
6.
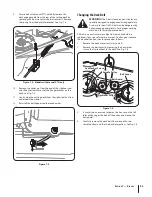
Pull the deck support pin outward to release the deck from
the deck lift arm. See Fig. 7-3.
7.
Repeat the above steps on the tractor’s right side.
8.
Move the deck lift lever into the top notch to raise the deck
lift arms up and out of the way.
Figure 7-1
Deck Idler
Bracket
Figure 7-2
Deck Lift
Arm
Deck Support
Pin
Figure 7-3
Service
7
24
Summary of Contents for 13AP91GS897
Page 36: ...36 Notes ...
Page 37: ...36 Notes ...

