53
4.4.12
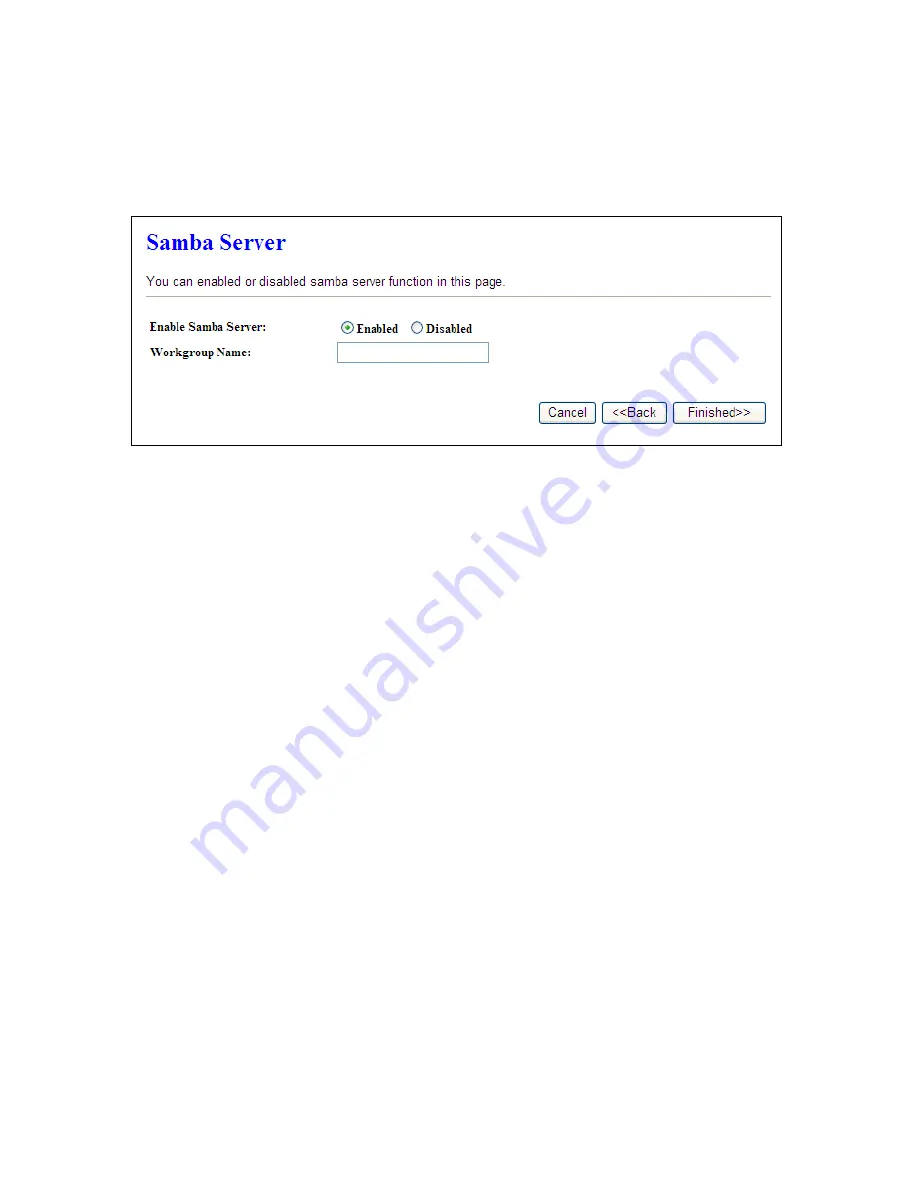
Samba Server
CWR-935M support file sharing, you can share your file via network neighbor.
Please click
“Finished>>”
to finish setup procedure.
4.5 Quick Setup for Wi-Fi AP Mode
Connect to AP or wired Internet, and then provides wired and wireless internet bridge service for you.
The AP mode doesn’t support NAT. The CWR-935M is simply using Ethernet port to connect to the
upper level device and receive the IP address from it. The CWR-935M will use the default IP address or
is defined by users if there is no DHCP server in your network.
4.5.1 Switch to Wi-Fi AP Mode
CWR-935M has an operation switch; it can let users switch between router, AP, and Wi-Fi AP mode.
Users must unplug the CWR-935M from the power outlet and make sure that the power is off.
Switch to Wi-Fi AP mode, and plug it back in power outlet.
Note:
The DHCP is disabled in AP mode. Please setup the static IP address in you PC as below.
1. Click ‘Start’ button (it should be located at lower-left corner of your computer), then click control
panel. Double-click
Network and Internet Connections
icon, click
Network Connections,
then
double-click
Local Area Connection, Local Area Connection Status
window will appear, and
then click ‘Properties’
Summary of Contents for CWR-935M
Page 1: ...1 CWR 935M Wireless N Mobile Router User Manual Version 1 0 Jun 2009 ...
Page 23: ...23 ...
Page 25: ...25 3 2 One Button Setup for AP Mode ...
Page 27: ...27 ...
Page 46: ...46 3 Enter the username and password the username is admin password is admin ...
Page 54: ...54 ...
Page 89: ...89 The following figure is the explanation ...
Page 122: ...122 Step 1 Please go to Start Printers and Faxes to add a printer Step 2 Click Add a printer ...
Page 123: ...123 Step 3 Click Next ...
Page 124: ...124 Step 4 Click the Local printer attached to this computer and then click Next ...
Page 126: ...126 Step 7 Input the IP address of CWR 935M 192 168 1 1 Router Mode and then click Next ...
Page 127: ...127 Step 8 Select the Custom and click the Settings and then click Next ...
Page 130: ...130 Step 12 Click on Finish button and all steps of setting printer server are completely ...
Page 140: ...140 ...
Page 186: ...186 Step 1 Please go to Start Printers and Faxes to add a printer Step 2 Click Add a printer ...
Page 189: ...189 Step 7 Input the IP address of CWR 935M 192 168 1 254 and then click Next ...
Page 190: ...190 Step 8 Select the Custom and click the Settings and then click Next ...
Page 192: ...192 Step 10 Click the Finish ...
Page 198: ...198 2 Please click Save to save configuration to your computer ...
Page 234: ...234 There will be a pop up screen showing the image from web camera as below example ...
Page 239: ...239 Step 1 Please go to Start Printers and Faxes to add a printer Step 2 Click Add a printer ...
Page 243: ...243 ...
Page 245: ...245 Step 10 Click the Finish ...
Page 252: ...252 b Load configuration file 1 Click Browse 2 Select configuration file then click Open ...


