231
Item
Description
Enable FTP Server
Select to “
Enable
” or “
Disable
” FTP server.
Enable Anonymous to Login
Allow anonymous to login after check on Enable.
FTP Server Port
The default is 21. Define the FTP command transfer service port. If
you want to change this port number, remember to change the
service port setting of your FTP client, also.
Idle Connection Time-Out
When a specific time value is added, FTP Server will be de-activated
if it has no activity within the time limit. The default is 300 seconds;
the minimum is 60 seconds.
Apply & Changes
Click on
Apply
button to continue. Click on
Cancel
button to clean
the setting on this page.
User Account List
User Name, Status, and Opened Directory/File can be shown on the
list.
Note
:
FTP server is compatible with FAT32 or EXT3 format USB storage device. In case you need to
format your USB storage device. Please always make sure the device is formatted with FAT32
or EXT3 standard.
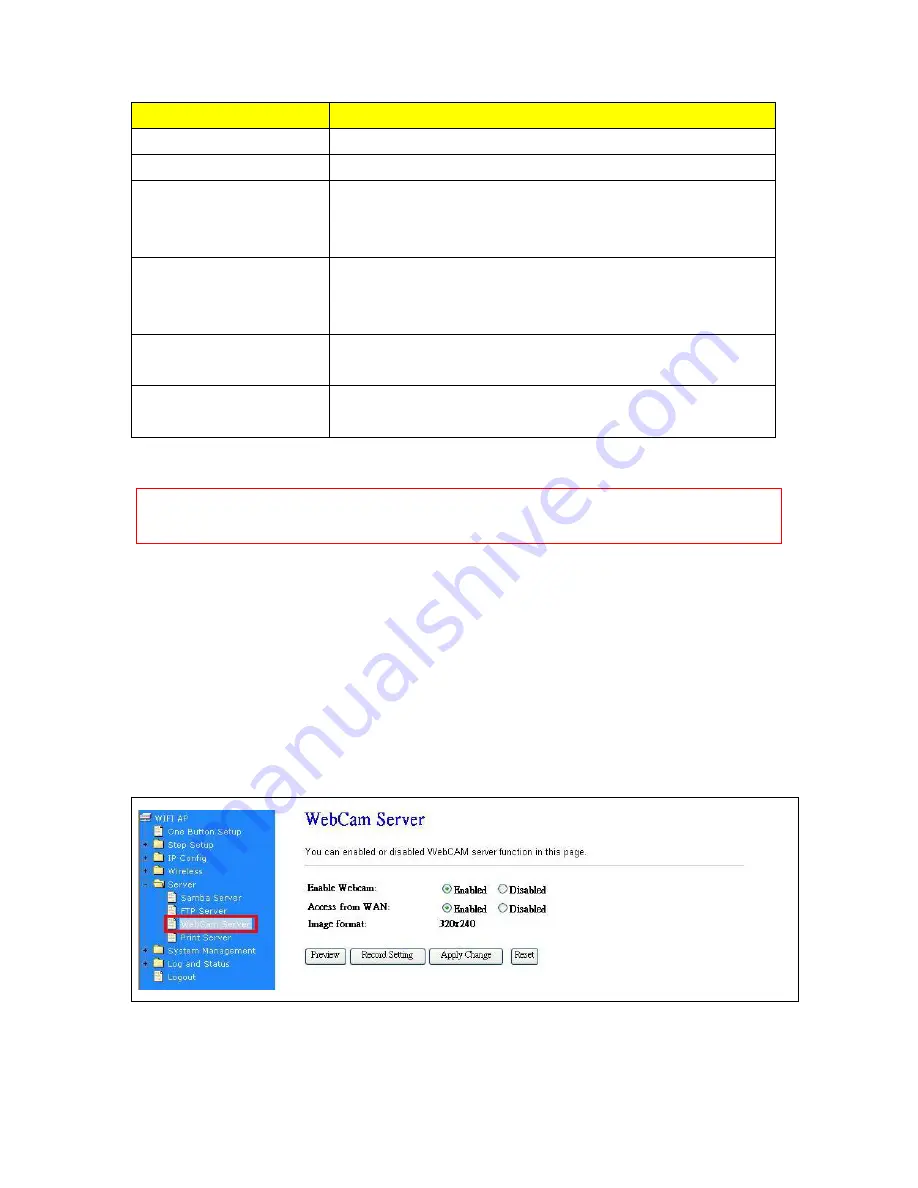
7.3.3 Webcam Server
By connecting web camera to the router, it allows user to monitor their home or office from remote
locations.
7.3.3.1
Webcam Server Basic Setting
Summary of Contents for CWR-935M
Page 1: ...1 CWR 935M Wireless N Mobile Router User Manual Version 1 0 Jun 2009 ...
Page 23: ...23 ...
Page 25: ...25 3 2 One Button Setup for AP Mode ...
Page 27: ...27 ...
Page 46: ...46 3 Enter the username and password the username is admin password is admin ...
Page 54: ...54 ...
Page 89: ...89 The following figure is the explanation ...
Page 122: ...122 Step 1 Please go to Start Printers and Faxes to add a printer Step 2 Click Add a printer ...
Page 123: ...123 Step 3 Click Next ...
Page 124: ...124 Step 4 Click the Local printer attached to this computer and then click Next ...
Page 126: ...126 Step 7 Input the IP address of CWR 935M 192 168 1 1 Router Mode and then click Next ...
Page 127: ...127 Step 8 Select the Custom and click the Settings and then click Next ...
Page 130: ...130 Step 12 Click on Finish button and all steps of setting printer server are completely ...
Page 140: ...140 ...
Page 186: ...186 Step 1 Please go to Start Printers and Faxes to add a printer Step 2 Click Add a printer ...
Page 189: ...189 Step 7 Input the IP address of CWR 935M 192 168 1 254 and then click Next ...
Page 190: ...190 Step 8 Select the Custom and click the Settings and then click Next ...
Page 192: ...192 Step 10 Click the Finish ...
Page 198: ...198 2 Please click Save to save configuration to your computer ...
Page 234: ...234 There will be a pop up screen showing the image from web camera as below example ...
Page 239: ...239 Step 1 Please go to Start Printers and Faxes to add a printer Step 2 Click Add a printer ...
Page 243: ...243 ...
Page 245: ...245 Step 10 Click the Finish ...
Page 252: ...252 b Load configuration file 1 Click Browse 2 Select configuration file then click Open ...


