222
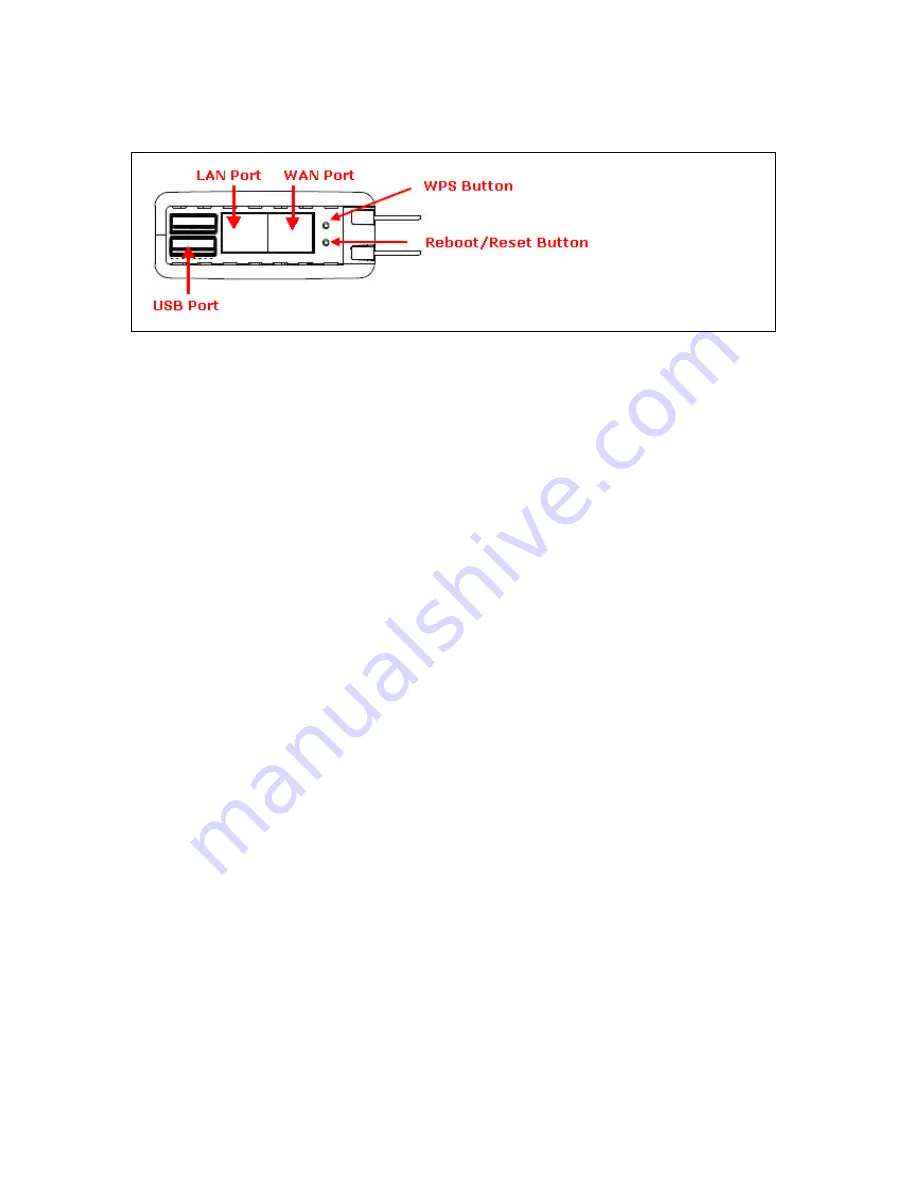
*The following figure is the display of the front of CWR-935M.
When users select a specific model on wireless base station, the clients can connect to the base by
selecting the same model.
The connection procedures of PIN and PBC are almost the same. The small difference between
those two is:
Users input the PIN of wireless card in the base station first; it will limit the range of the clients. It is
faster to establish a connection on PIN model.
On PBC model, users push the WPS button to activate the function, and then the wireless client must
push the WPS button in 2 mins to enter the network. The client will search to see if there is any
wireless base station which supports WPS is activating. If the client finds a matching base, the
connection will be established. The speed of establishing a connection is slower than the PIN model
because of this extra step.
On the other hand, users need to input the information of the wireless card into the register interface.
It might lead to the failure of connection, if users make mistakes on inputting. On PBC model, users
only need to click the WPS button on both sides to make a connection. It is easier to operate.
This page supports
Start PBC
and
Start PIN
; please follow the instructions to operate.
* Start PBC:
Summary of Contents for CWR-935M
Page 1: ...1 CWR 935M Wireless N Mobile Router User Manual Version 1 0 Jun 2009 ...
Page 23: ...23 ...
Page 25: ...25 3 2 One Button Setup for AP Mode ...
Page 27: ...27 ...
Page 46: ...46 3 Enter the username and password the username is admin password is admin ...
Page 54: ...54 ...
Page 89: ...89 The following figure is the explanation ...
Page 122: ...122 Step 1 Please go to Start Printers and Faxes to add a printer Step 2 Click Add a printer ...
Page 123: ...123 Step 3 Click Next ...
Page 124: ...124 Step 4 Click the Local printer attached to this computer and then click Next ...
Page 126: ...126 Step 7 Input the IP address of CWR 935M 192 168 1 1 Router Mode and then click Next ...
Page 127: ...127 Step 8 Select the Custom and click the Settings and then click Next ...
Page 130: ...130 Step 12 Click on Finish button and all steps of setting printer server are completely ...
Page 140: ...140 ...
Page 186: ...186 Step 1 Please go to Start Printers and Faxes to add a printer Step 2 Click Add a printer ...
Page 189: ...189 Step 7 Input the IP address of CWR 935M 192 168 1 254 and then click Next ...
Page 190: ...190 Step 8 Select the Custom and click the Settings and then click Next ...
Page 192: ...192 Step 10 Click the Finish ...
Page 198: ...198 2 Please click Save to save configuration to your computer ...
Page 234: ...234 There will be a pop up screen showing the image from web camera as below example ...
Page 239: ...239 Step 1 Please go to Start Printers and Faxes to add a printer Step 2 Click Add a printer ...
Page 243: ...243 ...
Page 245: ...245 Step 10 Click the Finish ...
Page 252: ...252 b Load configuration file 1 Click Browse 2 Select configuration file then click Open ...


