ELECTRICAL SYSTEM TROUBLESHOOTING
Test Procedures
12
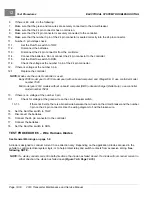
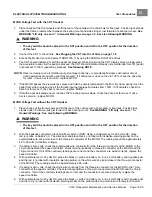
– For one of the 15-amp ATC fuses, check Run/Tow switch to make sure it is in RUN position.
– Check if 12 gauge red wire is coming off large post on solenoid.
4.
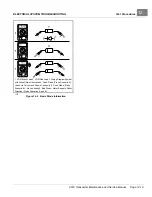
1-amp AGC Glass Fuse Only:
With the Run/Tow switch in the RUN position:
4.1.
Probe the wire on each side of the fuse with insulation-piercing probes.
4.2.
Each probe should show 42 to 46 volts.
4.3.
If only one side shows voltage, replace fuse.
4.4.
If neither side of fuse shows voltage, do the following:
– Check Run/Tow switch to make sure it is in RUN position.
– Check diode_1 in main wire harness.
– Check 10k ohm in main wire harness.
– Check 15-amp ATC fuse on controller mounting plate.
5.
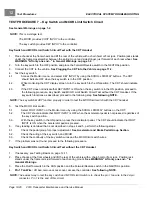
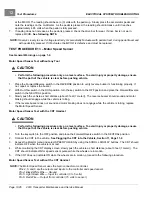
20-Amp ATC Fuse Near MCOR and ATM Fuses Under Front Cowl:
With the batteries connected, key switch
ON and DC/DC converter operating:
NOTE:
For these fuses only, connect the black probe of the meter to the 12 volt ground terminal block located
under the front cowl.
5.1.
Probe the two, small metal contacts on the top of the fuse
5.2.
Each contact should show approximately 12.5 to 13.5 volts.
5.3.
If only one side shows 12.5 to 13.5 volts, replace fuse.
5.4.
If neither side of fuse shows 12.5 to 13.5 volts, do the following:
– Check 15-amp ATC fuse on controller mounting plate that supplies power to DC/DC converter. If fuse is
good, check converter.
–
For ATM Fuses Under Front Cowl:
Check sonic weld_4 in main wire harness.
– Check key switch.
– Check lockout relay.
–
For All Fuses Powered by the DC/DC Converter:
Check sonic weld_16 in main wire harness.
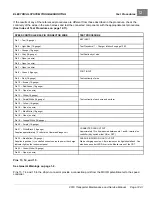
TEST PROCEDURE 5 – Circuit Breaker
See General Warnings on page 1-2.
1.
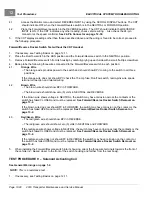
Check the circuit breaker position:
1.1.
If the circuit breaker is in the tripped position, push the button in to close the circuit.
2.
Turn the key switch to OFF.
3.
Make sure that the Run/Tow switch is in the RUN position.
4.
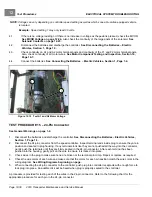
Set a multimeter on 200 volts DC. With the batteries connected, connect the negative (–) lead to battery no. 8
negative post. With an insulation-piercing probe, connect the positive (+) lead to the green wire on the back of
the circuit breaker.
4.1.
If there is 48 volts, check the voltage at the tan wire.
4.2.
If there is no voltage, use the wiring diagram to find the broken wire between the green wire and SW 12.
5.
Set a multimeter on 200 volts DC. With the batteries connected, connect the negative (–) lead to battery no.
8 negative post. With an insulation-piercing probe, connect the positive (+) lead to the tan wire on the back of
the circuit breaker.
5.1.
If there is no voltage, replace the circuit breaker.
2019 Transporter Maintenance and Service Manual
Page 12-17
Summary of Contents for TransPorter 4
Page 2: ......
Page 271: ...ELECTRIC MAIN HARNESS Wiring Diagrams Electric Main Harness 18 ...
Page 272: ... Page intentionally left blank ...
Page 273: ...ELECTRIC INSTRUMENT PANEL HARNESS Wiring Diagrams Electric Instrument Panel Harness 18 ...
Page 274: ... Page intentionally left blank ...
Page 275: ...ELECTRIC ACCESSORIES HARNESS Wiring Diagrams Electric Accessories Harness 18 ...
Page 276: ... Page intentionally left blank ...
Page 282: ...NOTES ...
Page 283: ...NOTES ...
Page 284: ...NOTES ...
Page 285: ......
Page 286: ......


