31
Chapter 6: Using The Router’s Web-based Utility
The Security tab
EtherFast Cable/DSL VPN Router with 4-Port 10/100 Switch
Key Management
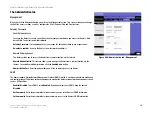
In order for any encryption to occur, the two ends of the tunnel must agree on the type of encryption and the way
the data will be decrypted. This is done by sharing a “key” to the encryption code. Under Key Management, you
may choose automatic or manual key management.
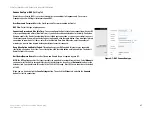
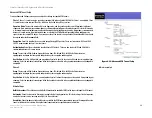
Automatic Key Management
. Select Auto (IKE) and enter a series of numbers or letters in the Pre-shared
Key field. Check the box next to PFS (Perfect Forward Secrecy) to ensure that the initial key exchange and IKE
proposals are secure. In the example shown the word
chappy
is used. Based on this word, which MUST be
entered at both ends of the tunnel if this method is used, a key is generated to scramble (encrypt) the data
being transmitted over the tunnel, where it is unscrambled (decrypted). You may use any combination of up
to 24 numbers or letters in this field. No special characters or spaces are allowed. In the Key Lifetime field,
you may optionally select to have the key expire at the end of a time period of your choosing. Enter the
number of seconds you’d like the key to be useful, or leave it blank for the key to last indefinitely.
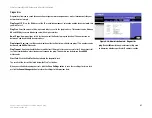
Manual Key Management
. Similarly, you may choose Manual keying, which allows you to generate the key
yourself. Enter your key into the Encryption KEY field. Then enter an Authentication KEY into that field. These
fields must both match the information that is being entered in the fields at the other end of the tunnel. Up to
24 alphanumeric characters are allowed to create the Encryption Key. Up to 20 alphanumeric characters are
allowed to create the Authentication Key.
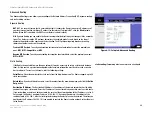
The Inbound SPI and Outbound SPI fields are different, however. The Inbound SPI value set here must match
the Outbound SPI value at the other end of the tunnel. The Outbound SPI here must match the Inbound SPI
value at the other end of the tunnel. That is, the Inbound SPI and Outbound SPI values would be opposite on
the other end of the tunnel. Only numbers can be used in these fields. After you click the
Save Settings
button, hexadecimal characters (series of letters and numbers) are displayed in the Inbound SPI and
Outbound SPI fields.
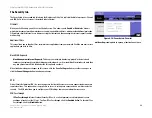
The
Status
field at the bottom of the screen will show when a tunnel is active.
To connect a VPN tunnel, click the
Connect
button. The
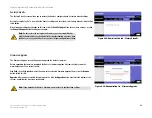
View Logs
button, when logging is enabled on the Log
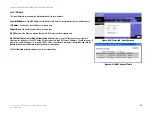
screen of the Administration tab, will show you VPN activity on a separate screen. The VPN Log screen displays
successful connections, transmissions and receptions, and the types of encryption used. For more advanced VPN
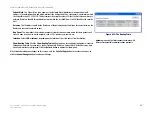
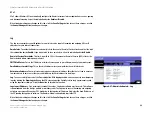
options, click the
Advanced Setting
button to open the Advanced Setting screen.
When finished making your changes on this screen, click the
Save Settings
button to save these changes, or
click the
Cancel
Changes
button to undo your changes.


