


Section 11: Rework and Guided Assembly / Correcting opens
1000HN User’s Guide / page 53
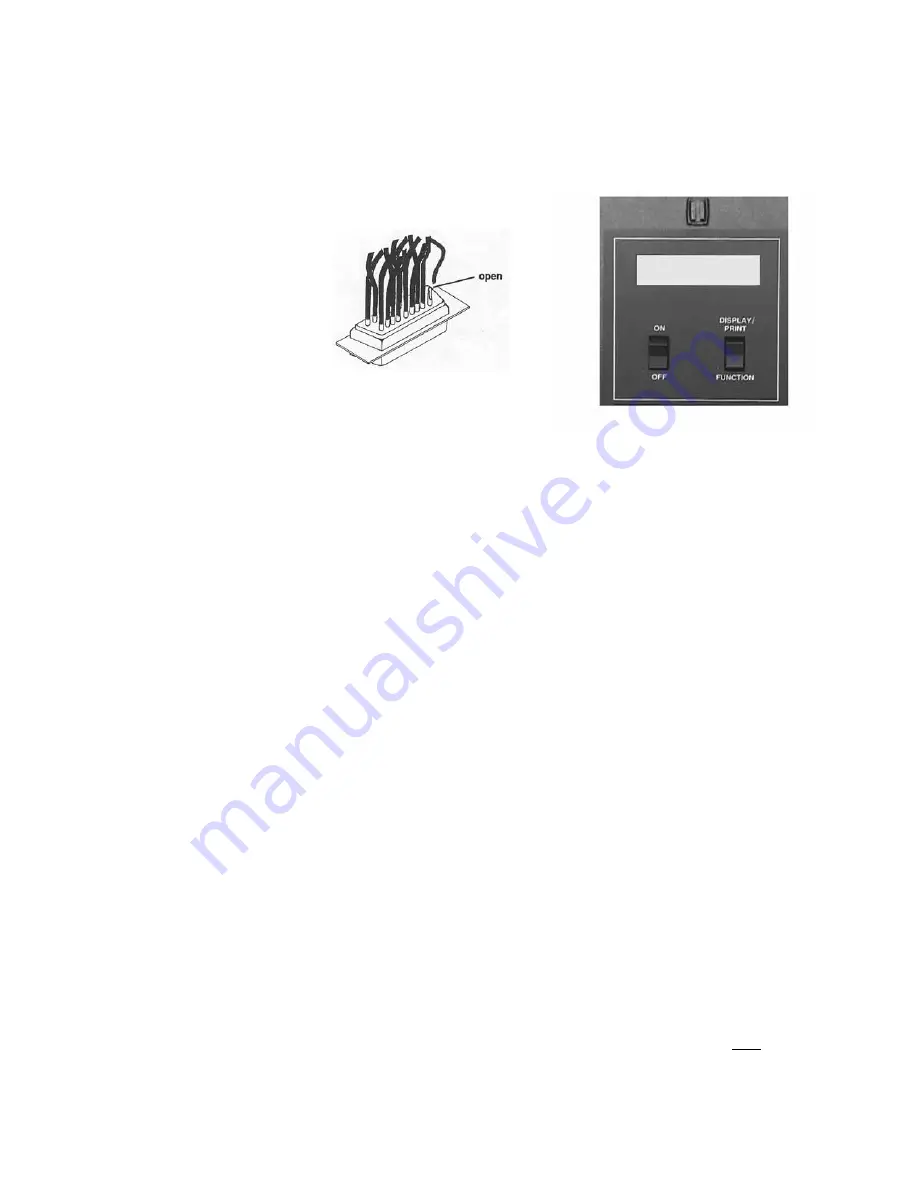
Correcting opens
If the analyzer prompts
Connect JX-XX to JX-XX
indicates that the cable you’re
testing has an open circuit. To correct an open, follow these steps:
1.
Locate the open circuit prompted in the analyzer’s display.
2.
Make the correct connections in the cable as indicated.
•
Once you’ve connected all the opens, the analyzer should prompt
Good
Cable
.
•
If you should happen to create another short, the analyzer will prompt
Break JX-XX
.
Guided
Assembly
Building cables pin-to-pin
To use guided assembly to build pin-to-pin cables, follow these steps:
1.
Following the documentation for the kind of cable you want to build, install the
correct connector adapters onto the 1000HN, then replace the cover plate.
2.
Either connect a Sample Cable of the kind you want to build, or retrieve the
correct wirelist from memory (see 1000HN for instructions on how to do this). If
you use a retrieved wirelist, skip step 3, and go directly to step 4.
3.
Turn on the analyzer and learn the Sample Cable, then disconnect the Sample
Cable.
4.
Install the same kinds of connectors used in the Sample Cable onto the cable
adapters already installed in the analyzer.
5.
Make the first connection in your cable that is specified in the documentation.
The analyzer should prompt
Open Detected
.
•
If the analyzer prompts
Errors Detected
, you have not connected two
points that should be connected; you have created a short instead. If you
have created a short, break it, and go back to make the first good
connection.
6.
Once the analyzer prompts
Open Detected
, press
Display/Print
once. The
analyzer will prompt you with the next set of points you should connect.
C O N N E C T JX -X X
TO JX -X X
Summary of Contents for Signature 1000HN
Page 1: ...Signature 1000HN Cable Analyzer User s Guide Version 4 0 Major Revision 1 December 1999...
Page 4: ......
Page 6: ......
Page 8: ...Introduction to the Cirris 1000HN What your order should contain 1000HN User s Guide page 8...
Page 16: ...Section 1 Work With the Hardware Changing the company name 1000HN User s Guide page 16...
Page 22: ...Section 3 What the Option Settings Mean Auto Print 1000HN User s Guide page 22...
Page 66: ...Section 12 Troubleshooting Problems with Printing 1000HN User s Guide page 66...
Page 68: ...Section 13 Specifications Warranty 1000HN User s Guide page 68...
Page 70: ...Section 14 Statement of Warranty 1000HN User s Guide page 70...
Page 74: ...Section 15 Glossary short 1000H User s Guide page 74...
Page 76: ...Section 16 Blank Forms to Photocopy 1000HN User s Guide page 76...
Page 78: ......
Page 80: ......
Page 85: ...W Warranty 69...
Page 86: ......


