


4-18
Chapter 4: Software support
Chapter
4
2.
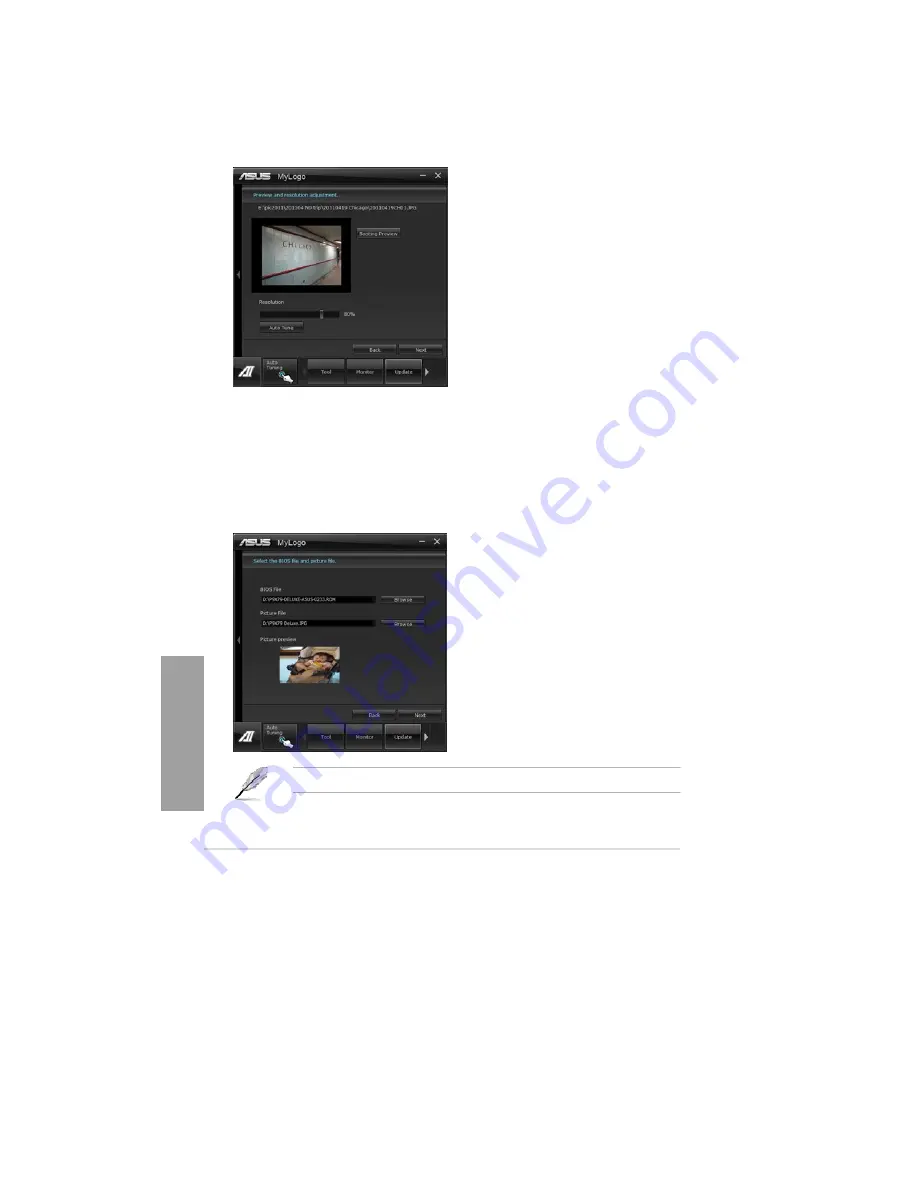
Click on
Auto Tune
to adjust image size compatibility or adjust the resolution bar.
3.
You can click on Booting Preview to preview the boot image. Then click Next.
4.
Click on Flash to start updating the image to the boot logo.
5.
Click on Yes to reboot or you can also see the new logo next time you restart your
computer.
Change the boot logo of a downloaded BIOS file and update (or do not update) this
BIOS to the motherboard
1.
At BIOS File,
Browse
to download the requested BIOS file to your system. This utility
will help you detect the compatibility of the BIOS version.
2.
Then at Picture File, Browse to select the desired image for boot logo. Click Next.
3.
Follow steps 2-5 in
Change the BIOS boot logo of my motherboard
to complete
logo update.
The fullscreen logo application in BIOS utility must be enabled for MyLogo to take effect.
Summary of Contents for Kronos 600 X79-KA SERIES
Page 1: ...User Guide Kronos 600 Workstation X79 KA XXXXX XX XXX...
Page 8: ...CIARA Kronos 600 workstation X79 KA XXXXX XX XXX 8...
Page 36: ...CIARA Kronos 600 workstation X79 KA XXXXX XX XXX 36 NOTES...
Page 43: ...P9X79 WS Motherboard...
Page 58: ...16...
Page 107: ...ASUS P9X79 WS 2 37 5 6 Triangle mark 7 8 B A 9 B A...
Page 109: ...ASUS P9X79 WS 2 39 2 3 4 DIMM installation 1 2 3 To remove aDIMM B A...
Page 111: ...ASUS P9X79 WS 2 41 3 DO NOT overtighten the screws Doing so can damage the motherboard...
Page 112: ...2 42 Chapter 2 Hardware information 2 3 6 ATX Power connection 1 2 OR...
Page 113: ...ASUS P9X79 WS 2 43 2 3 7 SATAdevice connection 1 OR 2...
Page 122: ...2 52 Chapter 2 Hardwareinformation...
Page 226: ...5 14 Chapter 5 rv JltipleGPUtechnology support...


