3-44
Chapter 3: BIOS setup
Chapter
3
Option ROM Messages [Force BIOS]
[Force BIOS]
The third-party ROM messages will be forced to display during the boot
sequence.
[Keep Current] The third-party ROM messages will be displayed only if the third-party
manufacturer had set the add-on device to do so.
Setup Mode [EZ Mode]
[Advanced Mode] Sets Advanced Mode as the default screen for entering the BIOS setup
program.
[EZ Mode]
Sets EZ Mode as the default screen for entering the BIOS setup program.
Boot Option Priorities
These items specify the boot device priority sequence from the available devices. The
number of device items that appears on the screen depends on the number of devices
installed in the system. Select [Disabled] to disallow this function.
•
To select the boot device during system startup, press <F8> when ASUS Logo appears.
•
To access Windows OS in Safe Mode, press <F8> after POST.
Boot Override
These items displays the available devices. The number of device items that appears on
the screen depends on the number of devices installed in the system. Click an item to start
booting from the selected device.
3.8
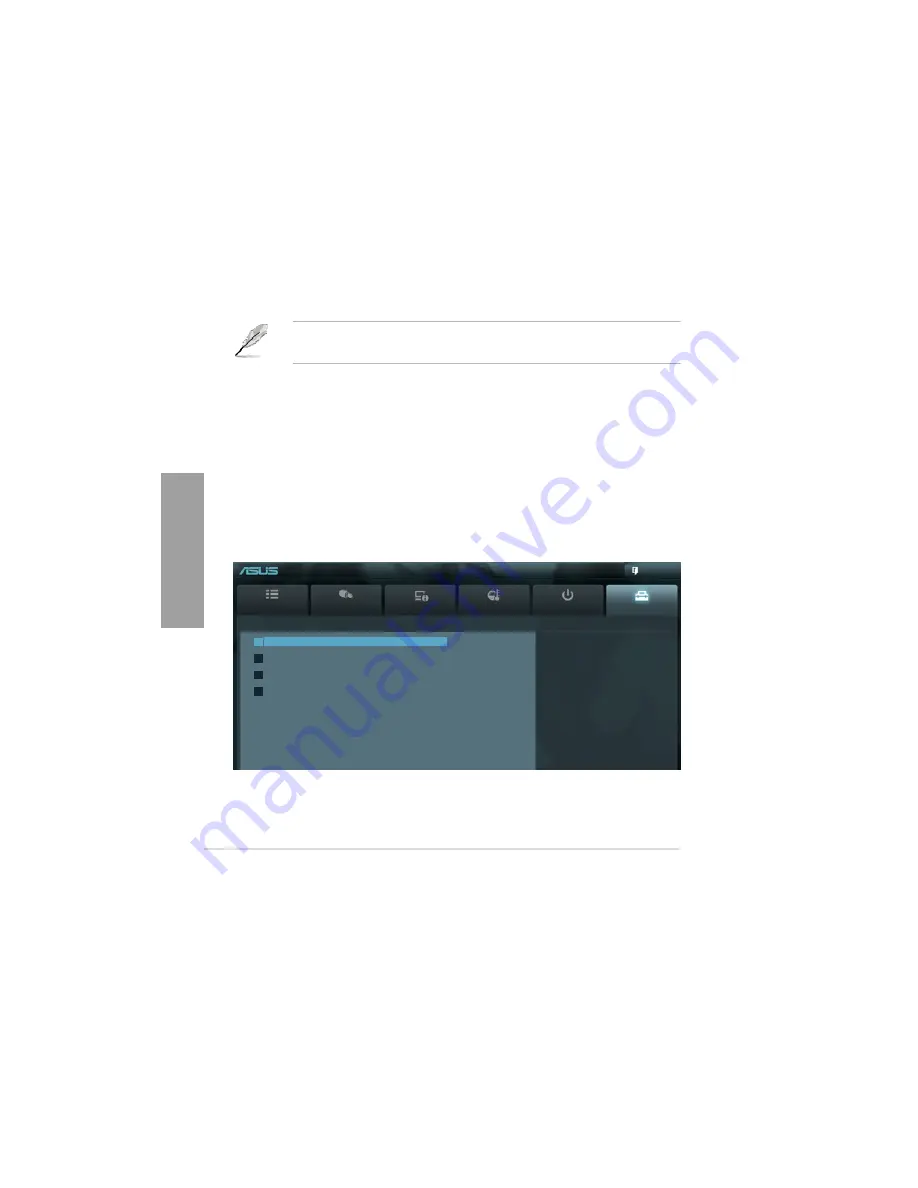
Tools menu
The Tools menu items allow you to configure options for special functions. Select an item
then press <Enter> to display the submenu.
UEFI BIOS Utility - Advanced Mode
Exit
Main
Ai Tweaker
Advanced
Monitor
Boot
Tool
> ASUS EZ Flash 2 Utility
> ASUS DRAM SPD Information
> ASUS O.C. Profile
> ASUS Drive Xpert
Be used to update BIOS
Summary of Contents for Kronos 600 X79-KA SERIES
Page 1: ...User Guide Kronos 600 Workstation X79 KA XXXXX XX XXX...
Page 8: ...CIARA Kronos 600 workstation X79 KA XXXXX XX XXX 8...
Page 36: ...CIARA Kronos 600 workstation X79 KA XXXXX XX XXX 36 NOTES...
Page 43: ...P9X79 WS Motherboard...
Page 58: ...16...
Page 107: ...ASUS P9X79 WS 2 37 5 6 Triangle mark 7 8 B A 9 B A...
Page 109: ...ASUS P9X79 WS 2 39 2 3 4 DIMM installation 1 2 3 To remove aDIMM B A...
Page 111: ...ASUS P9X79 WS 2 41 3 DO NOT overtighten the screws Doing so can damage the motherboard...
Page 112: ...2 42 Chapter 2 Hardware information 2 3 6 ATX Power connection 1 2 OR...
Page 113: ...ASUS P9X79 WS 2 43 2 3 7 SATAdevice connection 1 OR 2...
Page 122: ...2 52 Chapter 2 Hardwareinformation...
Page 226: ...5 14 Chapter 5 rv JltipleGPUtechnology support...


