


ASUS P9X79 WS
3-35
Chapter
3
SATA6G_5 (Blue)
Hot Plug [Disabled]
This item appears only when you set the previous item to [AHCI Mode] and [RAID mode]. It
allows users to enable/disable SATA Hot Plug Support.
Configuration options: [Disabled] [Enabled].
SATA6G_6 (Blue)
Hot Plug [Disabled]
This item appear only when you set the previous item to [AHCI Mode]. It’s allow user to
enabled/disabled SATA Hot Plug Support. Configuration options: [Disabled] [Enabled].
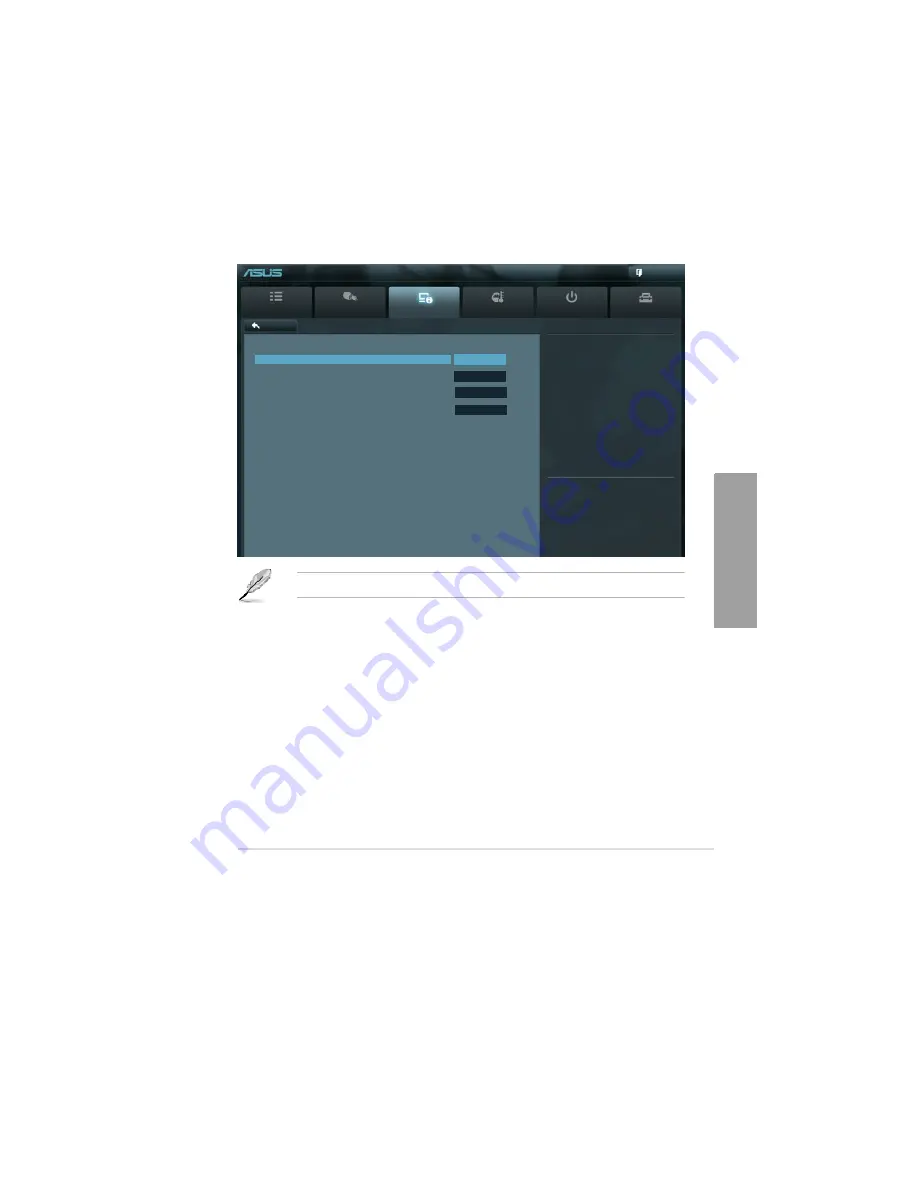
UEFI BIOS Utility - Advanced Mode
Main
Ai Tweaker
Advanced
Monitor
Boot
Back
Advanced\
SATA Configuration >
SATA Configuration
SATA Mode
IDE Mode
Serial-ATA Controller 0
Enhanced
Serial-ATA Controller 1
Enhanced
(1) IDE Mode. (2) AHCI Mode. (3)
RAID Mode.
Exit
S.M.A.R.T. Status Check
Enabled
SATA 6G_1 (Gray)
Not Present
SATA 6G_2 (Gray)
Not Present
SATA 6G_3 (Blue)
Not Present
SATA 6G_4 (Blue)
Not Present
SATA 6G_5 (Blue)
Not Present
SATA 6G_6 (Blue)
Not Present
Tool
The following two items appear only when you set the
SATA Mode
item to [IDE Mode].
Serial-ATA Controller 0 [Enhanced]
Allows you to enabled/disabled the Serial-ATA Controller 0.
Configuration options: [Disabled] [Enhance] [Compatible]
Serial-ATA Controller 1 [Enhanced]
Allows you to enabled/disabled the Serial-ATA Controller 1.
Configuration options: [Disabled] [Enhance]
S.M.A.R.T. Status Check [Enabled]
S.M.A.R.T. (Self-Monitoring, Analysis and Reporting Technology) is a monitor system. When
read/write of your hard disk errors occur, this feature allows the hard disk to report warning
messages during the POST.
Configuration options: [Disabled] [Enabled]
Summary of Contents for Kronos 600 X79-KA SERIES
Page 1: ...User Guide Kronos 600 Workstation X79 KA XXXXX XX XXX...
Page 8: ...CIARA Kronos 600 workstation X79 KA XXXXX XX XXX 8...
Page 36: ...CIARA Kronos 600 workstation X79 KA XXXXX XX XXX 36 NOTES...
Page 43: ...P9X79 WS Motherboard...
Page 58: ...16...
Page 107: ...ASUS P9X79 WS 2 37 5 6 Triangle mark 7 8 B A 9 B A...
Page 109: ...ASUS P9X79 WS 2 39 2 3 4 DIMM installation 1 2 3 To remove aDIMM B A...
Page 111: ...ASUS P9X79 WS 2 41 3 DO NOT overtighten the screws Doing so can damage the motherboard...
Page 112: ...2 42 Chapter 2 Hardware information 2 3 6 ATX Power connection 1 2 OR...
Page 113: ...ASUS P9X79 WS 2 43 2 3 7 SATAdevice connection 1 OR 2...
Page 122: ...2 52 Chapter 2 Hardwareinformation...
Page 226: ...5 14 Chapter 5 rv JltipleGPUtechnology support...


