10
4. Using the pull-down menu, select the proper name and enter the appropriate password. Select “OK.” Synergy will
automatically load the user’s preferences and connect to the Discover and Explorer modules during the login
process.
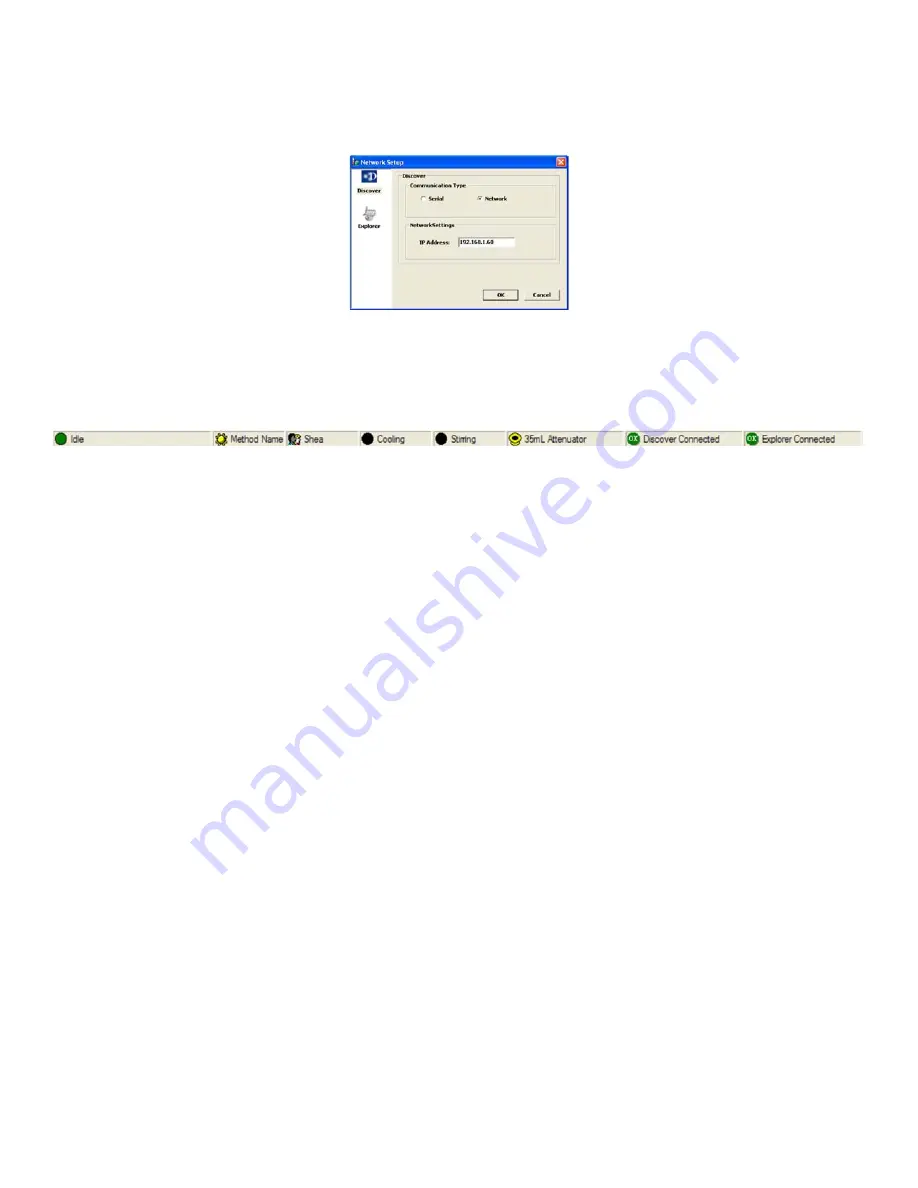
5. Select “Network Setup.” The following screen will appear.
6. Select the Discover icon.
7. The IP Address should read “192.168.1.60.” If the IP Address does not read as shown, highlight the IP Address, and
using the computer keyboard, enter the correct IP Address.
8. Select “OK.” The icons in the status bar will become green and show that the instruments are connected.
9. If the icons are red and the system is not connected, follow the procedure as outlined below to assign a fixed IP
Address to the PC/Laptop:
a. Right click the “My Network Places” icon on the desktop and select “Properties.” This will open the “Network
Connections” window.
b. Right click “Local Area Connection” and select “Properties.” This will open the “Local Area Connections
Properties” window.
c. Select the “General” tab; highlight the “Internet Protocol (TCP/IP) connection and select “Properties.” This will
open the Internet Protocol (TCP/IP) Properties 168.1.window.
d. Select “Use the following IP Address.”
e. Assign 192.168.1.10 to the IP Address.
f.
Press the “tab” button. Tthe subnet mask box should populate with 255.255.255.0
NOTE:
The IP address consists of up to 12 numeric characters. The address is broken into 4 sets of up to 3 numeric
characters per set. Each set is separated by a period (.). In the Discover System, the first character after a period can be
a zero (0). However the first numeric character cannot be a zero when entered into the PC/Laptop IP Address box. The
first two sets of Fixed IP Address numbers for the PC/Laptop must match the first two sets of numbers in the Discover IP
Address. However, the PC/Laptop’s Fixed IP Address must be unique, thus the reason to decrement the last set of
numbers.
g. Press the “OK” button. This will close the Internet Protocol (TCP/IP) Properties window and return the user to the
“Local Area Connections Properties” window.
h. Select the “close” button to return to the “Network Connections” window.
i. Close this window to return to the Desktop.
j. Follow the above steps 1 – 8.


