9
8
Place the rear cover back to its original position and re-attach the three screws that hold it in
place. The pole display installation is now complete.
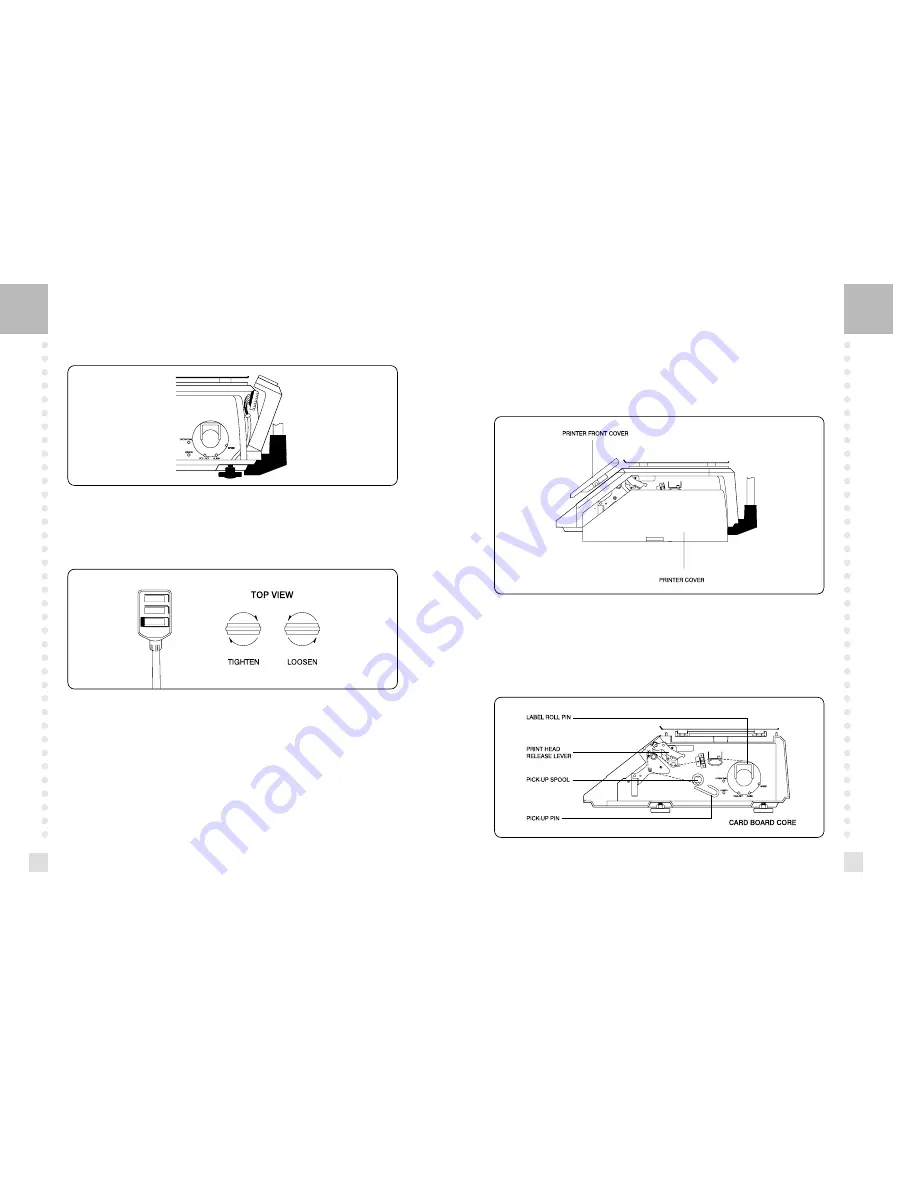
This display can turn about 180°. However, if the display head does not turn freely, please
loosen the twist lock nut on the display pole. (See below fig.)
1.2 Installing the Label Roll
To install the label roll at any time you must follow the directions in this section.
Remove the printer front-cover and the printer side-cover. As you can see there is detailed
diagram affixed onto the inside of the printer side-cover. Use this diagram (or this manual) for
future reference on how to properly install the label roll. (See below fig.)
Tilt the rear cover towards the back of the scale and connect the three connectors to their
adequate receptacles on the rear display P.C.B (See below fig.)
Find and remove the Label Roll Pin and the Pick-up Pin. Also find the Print Head Release
Lever and lift it upwards. Release the Print Head Release Lever and the print head will
automatically lift up. If there were any labels previously installed please remove all the
collected backing paper on the pick-up spool. Also remove the cardboard paper roll core if
there was a label roll previously installed. (See below fig.)


