Applicator APL 100
Mechanical Adjustments
11/13 Operating
Manual
33
7 Mechanical
Adjustments
NOTICE!
Perform the mechanical adjustments in two steps
Roughly align the pad in all directions to avoid collisions
of the pad with other parts when switching on the
compressed air.
Perform the fine adjustment with compressed air
switched on to optimize the labelling process.
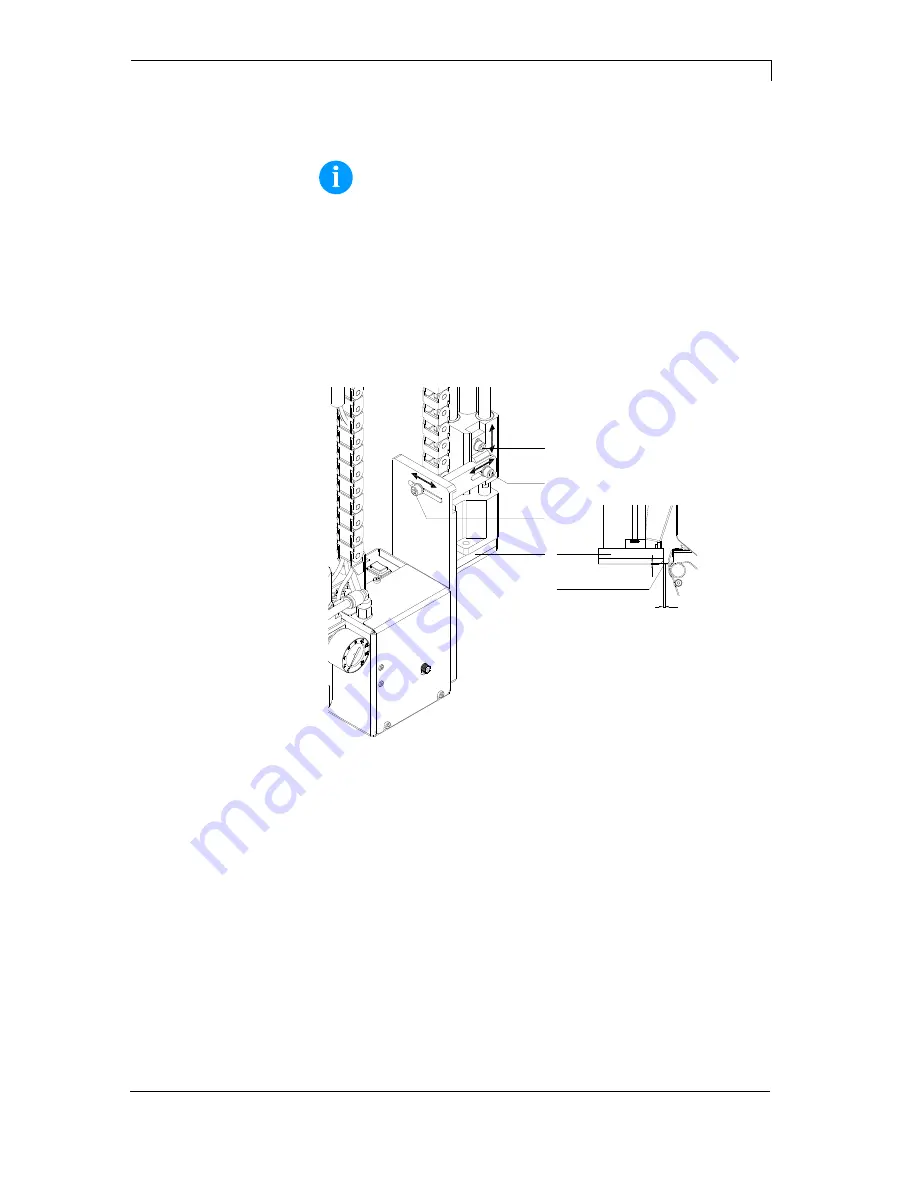
7.1 Aligning the pad
2
1
3
2
1
4
5
Figure 17
1. Loosen
screw
(3).
2. Shift the cylinder unit including the pad (4) inside the elongated
hole in such a way, that the distance between the pad and the
dispense edge (5) is about 2 mm.
3. Tighten screw (3).
1. Loosen
screw
(1).
2. Shift the cylinder including the pad (4) inside the elongated hole in
such a way that the lower rear edge of the pad (4) is located about
1 mm below the dispense edge (5) of the printer.
3. Tighten screw (1).
Adjustment in
print direction
Height adjustment
Summary of Contents for APL 100
Page 1: ...APL 100 Operating Manual ...
Page 18: ......
Page 26: ......
Page 38: ......
Page 48: ......
Page 52: ......
Page 54: ...Declaration Applicator APL 100 54 Operating Manual 11 13 12 2 EC Declaration of Conformity ...
Page 57: ......


