Air
Life
®
nCPAP Driver Service Manual
2008, Cardinal Health
Page 22 of 81
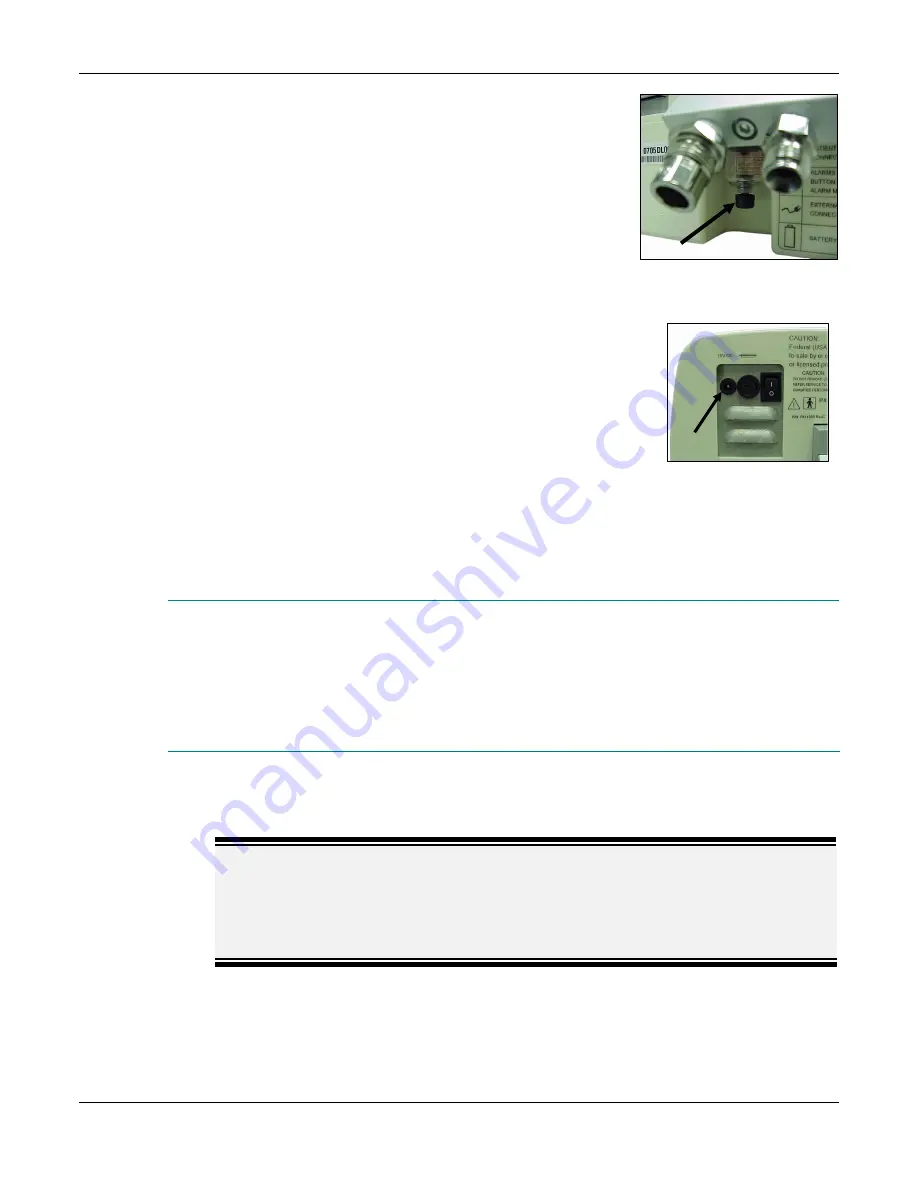
Power Connector
7.3
Inspect Air Filter
Visually inspect the inlet air filter and water trap, located on the
back of the driver. If the filter is dirty or wet, it must be cleaned or
replaced. A tool is included with the driver to assist in removing
the water trap.
7.4
Connect Hoses & Power
1.
Connect medical air and oxygen hoses to the back of the driver. Each port is clearly
marked. Connect the hoses to their respective high-pressure sources regulated
between 41 – 66 psig (nominal 50 psig).
2.
Plug the AC Adaptor into the power connector on the back of
the driver and a properly grounded AC outlet.
3.
Power on unit and verify that all of the LEDs illuminate.
4.
Once the driver enters Patient Treatment Mode (the main
screen), verify that the following default values are indicated
on the main screen:
CPAP Set: 5 cmH
2
O
FiO2 Set: 21% O2
Flow Rate Target: 8 lpm
Battery charging (lightning bolt in battery icon)
Note:
Alarms are delayed for 120 seconds after entering Patient Treatment Mode
(the main screen) in order to allow time for patient setup. If the patient
setup takes longer than 120 seconds, the alarms can be muted for an
additional 120 seconds by pressing the alarm mute/reset button or the
system can be placed into Standby Mode.
5.
Unplug the AC Adaptor, verify a single audible alarm burst sounds and the LCD
Display indicates the driver is operating on battery power. Reconnect the AC
Adaptor.
WARNING
The power switch does not disconnect the driver from the main
power supply. This can only be accomplished by disconnecting the
AC Adapter from either the driver or the AC outlet.
Air Filter and Water Trap


