VB Administr
ation
T
ools
4
Admin Viewer
Admin Viewer is a viewer containing functions for managing the VB150. Compared to the Viewer for PC
and Viewer for Java (
→
P.107) with Admin Viewer, it is possible to retrieve exclusive camera control
privileges, ignore view restrictions, and operate external devices.
[Special privileges of Admin Viewer]
●
Connections are also possible outside service times
(
→
P.56).
●
Connection time is unlimited (
→
P.56).
●
Exclusive camera control privileges. Invalidates
control privileges held by and requests obtained from
other viewers.
●
Ignores view restrictions.
●
Operates external devices (
→
P.96).
●
Displays notification message when motion is
detected (
→
P.95).
●
Camera control by clicking or using dialog boxes (
→
P.97).
●
Controlling NU-700 (
→
P.99).
●
Controlling VC-C50i/VC-C50iR (
→
P.99).
c
Note
Since most operations and settings of Admin Viewer are common with the
Viewer for PC, basic camera control and the like are omitted here. This chapter
describes only the functions and operations that are unique to Admin Viewer.
The manual for the viewer is provided on the supplied CD-ROM
( VIEWER-E.pdf).
About the special privileges of administrators
Since Admin Viewer has more special privileges than the Viewer for PC and Viewer
for Java, please keep in mind the following points when using Admin Viewer:
●
Since connection time is unlimited, please exit the viewer after viewing.
●
When camera control privileges have been obtained, Admin Viewer
forcibly continues to obtain these privileges. After viewing, be sure to exit
the viewer or click the Control button again to release these privileges.
●
When making settings, keep in mind that images outside the view
restrictions are displayed also in the Viewer for PC and Viewer for Java that
are connected simultaneously with Admin Viewer.
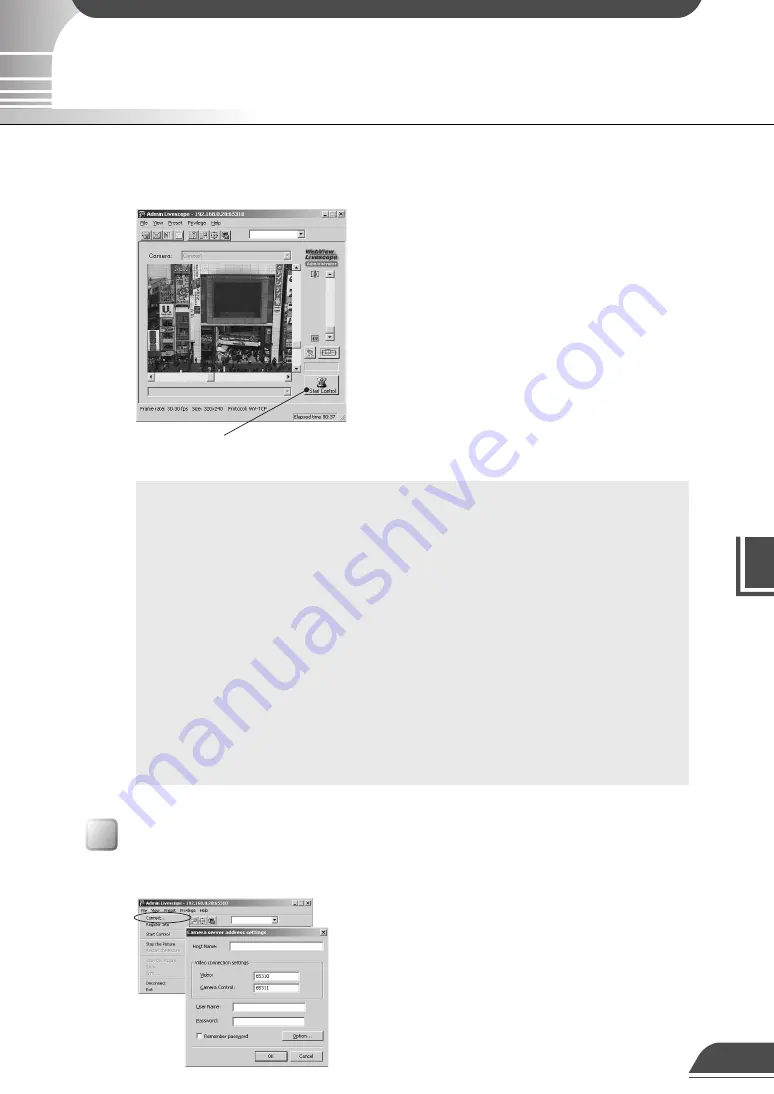
Control button
Click this button to retrieve camera
control privileges.
Click the “Admin Viewer” on the VBAdmin Startup Panel or double-click the “Admin Viewer” icon
on the desktop.
When the Admin Livescope window appears, click the File
then the Connect. The “Camera server address setting”
dialog box appears. Enter the following items:
●
Host Name (The IP address set on the VB150,
→
P.38)
●
User Name (root,
→
P.37)
●
Password (
→
P.37)
Then click the OK button. The video will then be displayed.
Starting Up Admin Viewer
94


