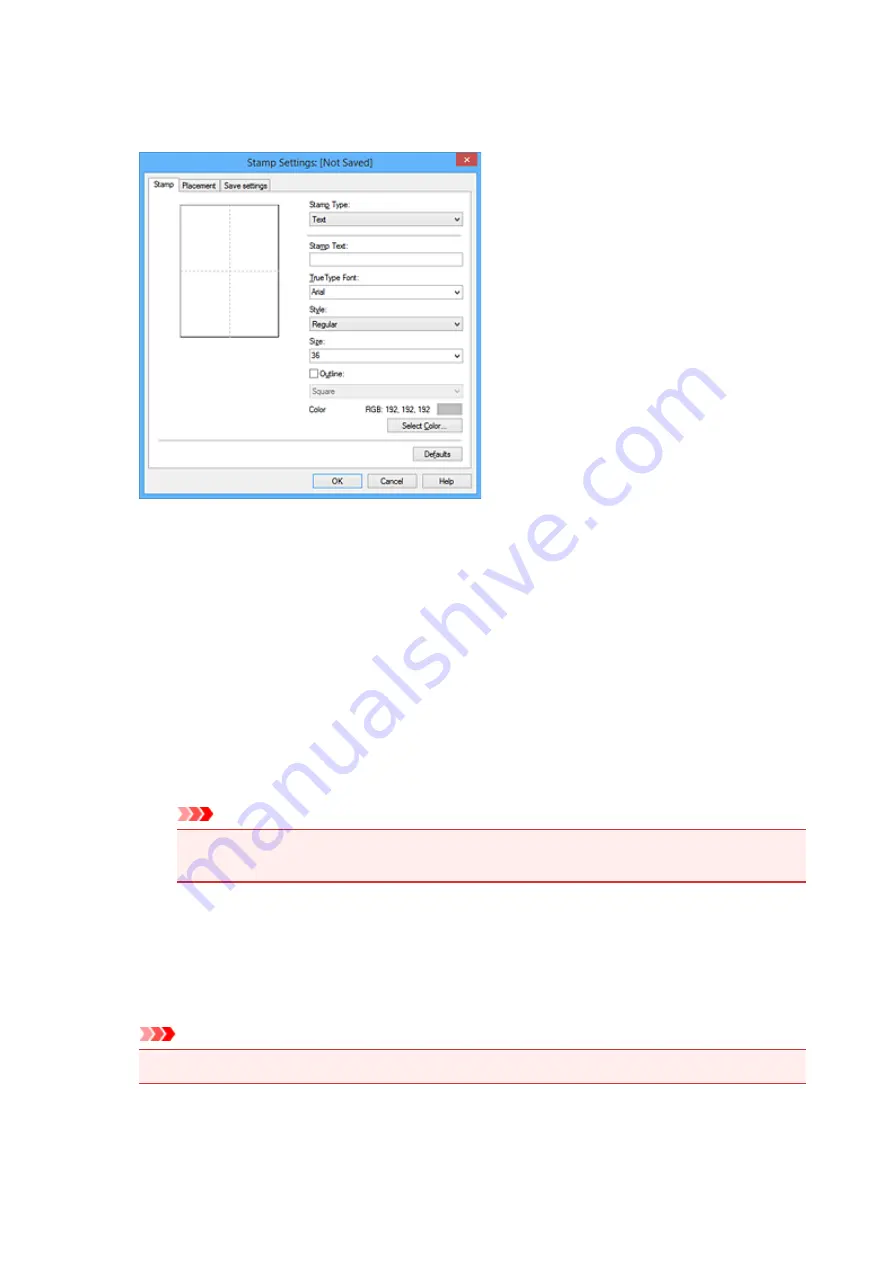
3. Click
Define Stamp...
The
Stamp Settings
dialog box opens.
4. Configure the stamp while viewing the preview window
•
Stamp
tab
Select
Text
,
Bitmap
, or
Date/Time/User Name
that matches your purpose for
Stamp Type
.
◦ For
Text
registration, the characters must already be entered in
Stamp Text
. If necessary,
change the
TrueType Font
,
Style
,
Size
, and
Outline
settings. You can select the color of
the stamp by clicking
Select Color...
.
◦ For
Bitmap
, click
Select File...
and select the bitmap file (.bmp) to be used. If necessary,
change the settings of the
Size
and
Transparent white area
.
◦ For
Date/Time/User Name
, the creation date/time and user name of the printed object are
displayed in
Stamp Text
. If necessary, change the settings of
TrueType Font
,
Style
,
Size
,
and
Outline
. You can select the color of the stamp by clicking
Select Color...
.
Important
•
Stamp Text
appears grayed out and is unavailable when
Date/Time/User Name
is
selected.
•
Placement
tab
Select the stamp position from the
Position
list. You can also select
Custom
from the
Position
list and specify coordinates for
X-Position
and
Y-Position
.
You can also change the stamp position by dragging the stamp in the preview window.
To change the stamp position angle, type a value in the
Orientation
box directly.
Important
•
Orientation
cannot be changed when
Bitmap
is selected for
Stamp Type
on the
Stamp
tab.
5. Save the stamp
194
Summary of Contents for PIXMA G2160
Page 23: ...Using the Machine Printing Photos from a Computer Copying Originals 23 ...
Page 37: ...Loading Paper Loading Plain Paper Photo Paper Loading Envelopes 37 ...
Page 44: ...Loading Originals Loading Originals on the Platen Glass Originals You Can Load 44 ...
Page 48: ...Refilling Ink Tanks Refilling Ink Tanks Checking Ink Status 48 ...
Page 55: ...When an ink tank is out of ink promptly refill it Ink Tips 55 ...
Page 85: ...85 ...
Page 87: ...Safety Safety Precautions Regulatory Information 87 ...
Page 101: ...Main Components and Their Use Main Components Power Supply 101 ...
Page 102: ...Main Components Front View Rear View Inside View Operation Panel 102 ...
Page 124: ...Note The effects of the quiet mode may be less depending on the print quality settings 124 ...
Page 127: ...Changing Settings from Operation Panel Quiet setting Turning on off Machine Automatically 127 ...
Page 160: ...Printing Printing from Computer 160 ...
Page 207: ...Related Topic Displaying the Print Results before Printing 207 ...
Page 212: ...Note During Grayscale Printing inks other than black ink may be used as well 212 ...
Page 304: ...Printing Using Canon Application Software My Image Garden Guide 304 ...
Page 306: ...Copying Making Copies on Plain Paper Basics Switching Page Size between A4 and Letter 306 ...
Page 309: ...Scanning Scanning from Computer Windows Scanning from Computer Mac OS 309 ...
Page 379: ...Related Topic Scanning Originals Larger than the Platen Image Stitch 379 ...
Page 399: ...None Medium 399 ...
Page 468: ...Scanning Tips Resolution Data Formats Color Matching 468 ...


