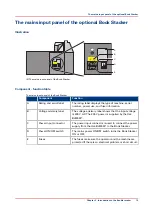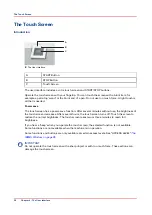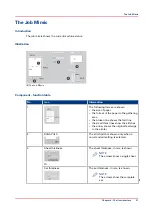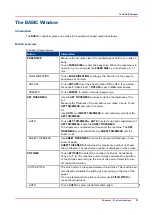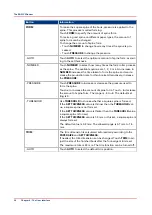
Step
Action
Information
5
Enter the sheet thick-
ness.
Or
Touch SET THICKNESS. Set AUTO to ON. Use '+' or '-' to en-
ter the SHEET THICKNESS.
Enter the set thick-
ness. See
Touch SET THICKNESS. Set AUTO to OFF. Use '+' or '-' to en-
ter the SET THICKNESS.
6
Enter the number of
stitches.
Touch STITCHES and enter the number of stitches. If needed,
the stitch pitch can be changed. See "STITCH PITCH,"
7
Enter the spine form
setting
The spine form setting is automatic, according to the SET
THICKNESS setting. If needed, the setting can be changed.
See "FORM" in
8
Enter the trim setting.
The trim setting is automatic, according to the PAGE SIZE
and SET THICKNESS settings. To change the setting, touch
TRIM. See “TRIM” in
9
Touch CLOSE
If needed, save the job
settings to memory.
If the same job settings are used frequently, then save the job
settings to memory.
See
Load and Save the Job Settings on page 42
.
Procedure for a New Job
22
Chapter 3 - How to run the Booklet maker
Summary of Contents for Oce BLM550+
Page 1: ...Operation guide Océ BLM550 ...
Page 5: ...Chapter 1 Preface ...
Page 8: ...Notes for the reader 8 Chapter 1 Preface ...
Page 9: ...Chapter 2 Introduction to the Booklet maker ...
Page 17: ...Chapter 3 How to run the Booklet maker ...
Page 26: ...Run the job 26 Chapter 3 How to run the Booklet maker ...
Page 27: ...Chapter 4 The User Interface ...
Page 40: ...The MENU Window 40 Chapter 4 The User Interface ...
Page 41: ...Chapter 5 Standard Tasks ...
Page 59: ...Chapter 6 Error Conditions Problems and Solutions ...
Page 109: ...Chapter 7 Maintenance ...
Page 131: ...Appendix A Specifications ...
Page 134: ...Specifications 134 Appendix A Specifications ...
Page 135: ...Appendix B Declaration of Conformity ...
Page 137: ......


