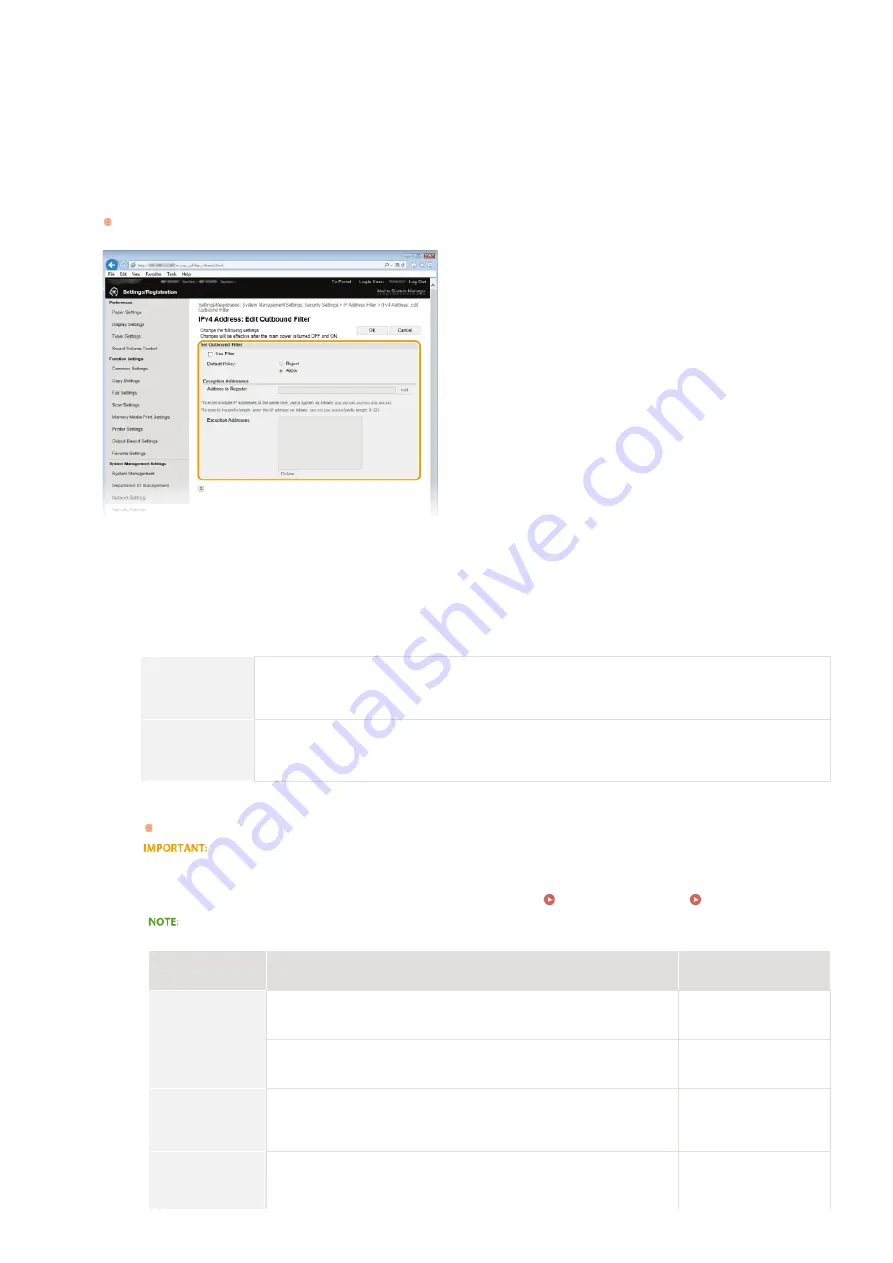
Select to restrict sending data from the machine to a computer by specifying IPv4 addresses.
[IPv4 Address: Inbound Filter]
Select to restrict receiving data from the machine to a computer by specifying IPv4 addresses.
[IPv6 Address: Outbound Filter]
Select to restrict sending data from the machine to a computer by specifying IPv6 addresses.
[IPv6 Address: Inbound Filter]
Select to restrict receiving data from the machine to a computer by specifying IPv6 addresses.
Specify the settings for packet filtering.
Select the default policy to allow or reject the communication of other devices with the machine, and then specify IP addresses
for exceptions.
1
Select the [Use Filter] check box and click the [Reject] or [Allow] radio button for the [Default Policy].
[
Use Filter
]
Select the check box to restrict communication. Clear the check box to disable the restriction.
[
Default Policy
]
Select the precondition to allow or reject the communication of other devices with the machine.
[Reject]
Select to pass communication packets only when they are sent to or received from devices whose
IP addresses are entered in [Exception Addresses]. Communications with other devices are
prohibited.
[Allow]
Select to block communication packets when they are sent to or received from devices whose IP
addresses are entered in [Exception Addresses]. Communications with other devices are
permitted.
2
Specify address exceptions.
Enter the IP address (or the range of IP addresses) in the [Address to Register] text box and click [Add].
Check for entry errors
If IP addresses are incorrectly entered, you may be unable to access the machine from the Remote UI, in which case you
need to set <IPv4 Address Filter> or <IPv6 Address Filter> to <Off>.
Entry form for IP addresses
Description
Example
Entering a single
address
IPv4:
Delimit numbers with periods.
192.168.0.10
IPv6:
Delimit alphanumeric characters with colons.
fe80::10
Specifying a
range of
addresses
Insert a hyphen between the addresses.
192.168.0.10-
192.168.0.20
Specifying a
range of
addresses with a
Enter the address, followed by a slash and a number indicating the
prefix length.
192.168.0.32/27
fe80::1234/64
5
㻠㻟㻝㻌㻛㻌㻣㻟㻡
Summary of Contents for MF729Cx
Page 35: ...Display 㻟㻡㻌㻛㻌㻣㻟㻡 ...
Page 43: ...LINKS Setting the Department ID Management Setting the System Manager ID 㻠㻟㻌㻛㻌㻣㻟㻡 ...
Page 52: ...LINKS Paper Notify to Check Paper Settings 㻡㻞㻌㻛㻌㻣㻟㻡 ...
Page 89: ...LINKS Basic Copy Operations 㻤㻥㻌㻛㻌㻣㻟㻡 ...
Page 94: ...LINKS Basic Copy Operations Adjusting Color Balance Adjusting Sharpness 㻥㻠㻌㻛㻌㻣㻟㻡 ...
Page 96: ...LINKS Basic Copy Operations Adjusting Density Adjusting Sharpness 㻥㻢㻌㻛㻌㻣㻟㻡 ...
Page 115: ...LINKS Receiving Faxes MF729Cx MF728Cdw MF628Cw 㻝㻝㻡㻌㻛㻌㻣㻟㻡 ...
Page 166: ...5 㻝㻢㻢㻌㻛㻌㻣㻟㻡 ...
Page 191: ...㻝㻥㻝㻌㻛㻌㻣㻟㻡 ...
Page 201: ...LINKS Printing a Document 㻞㻜㻝㻌㻛㻌㻣㻟㻡 ...
Page 208: ...LINKS Printing a Document 㻞㻜㻤㻌㻛㻌㻣㻟㻡 ...
Page 212: ...LINKS Printing a Document Printing Borders Printing Dates and Page Numbers 㻞㻝㻞㻌㻛㻌㻣㻟㻡 ...
Page 263: ...LINKS Configuring Scan Settings in Simple Mode Scanning Using an Application 㻞㻢㻟㻌㻛㻌㻣㻟㻡 ...
Page 308: ...㻟㻜㻤㻌㻛㻌㻣㻟㻡 ...
Page 348: ...LINKS Setting IPv6 Addresses Viewing Network Settings Configuring WINS 㻟㻠㻤㻌㻛㻌㻣㻟㻡 ...
Page 354: ...Configuring DNS 㻟㻡㻠㻌㻛㻌㻣㻟㻡 ...
Page 362: ...LINKS Setting Up Print Server 㻟㻢㻞㻌㻛㻌㻣㻟㻡 ...
Page 483: ...Portal Page main page will be displayed Remote UI Screens 4 㻠㻤㻟㻌㻛㻌㻣㻟㻡 ...
Page 490: ...LINKS Remote UI Screens 㻠㻥㻜㻌㻛㻌㻣㻟㻡 ...
Page 533: ...Initial Settings for Fax Functions MF729Cx MF728Cdw MF628Cw 㻡㻟㻟㻌㻛㻌㻣㻟㻡 ...
Page 707: ...When replacing toner cartridges see How to Replace Toner Cartridges 㻣㻜㻣㻌㻛㻌㻣㻟㻡 ...
Page 717: ...Click Back Exit 6 㻣㻝㻣㻌㻛㻌㻣㻟㻡 ...
Page 736: ...㻝㻌㻛㻌㻠㻣 ...
Page 768: ...㻟㻟㻌㻛㻌㻠㻣 ...


