


Setting IPv4 Address
0Y9U-07F
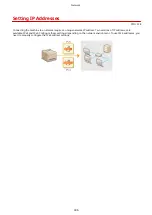
The machine's IPv4 address can be either assigned automatically by a dynamic IP
addressing protocol, such as DHCP, or entered manually. When connecting the
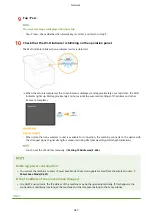
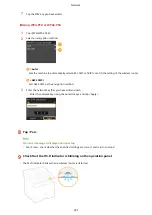
machine to a wired LAN, make sure that the connectors of the LAN cable are firmly
inserted into the ports ( Connecting to a Wired LAN(P. 417) ). You can test the
network connection if necessary.
Setting IPv4 Address(P. 437)
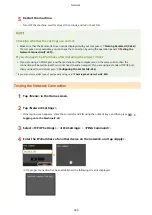
Testing the Network Connection(P. 439)
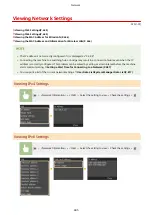
Setting IPv4 Address
1
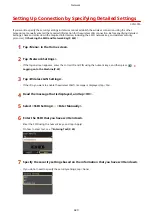
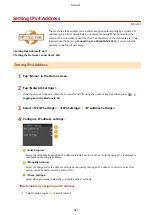
Tap <Menu> in the Home screen.
2
Tap <Network Settings>.
●
If the logon screen appears, enter the correct ID and PIN using the numeric keys, and then press
Logging on to the Machine(P. 43)
3
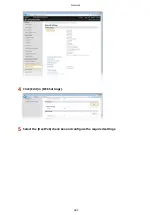
Select <TCP/IP Settings> <IPv4 Settings> <IP Address Settings>.
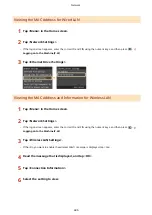
4
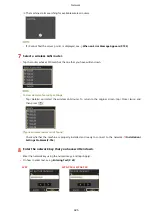
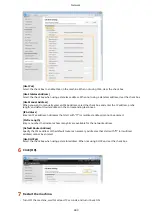
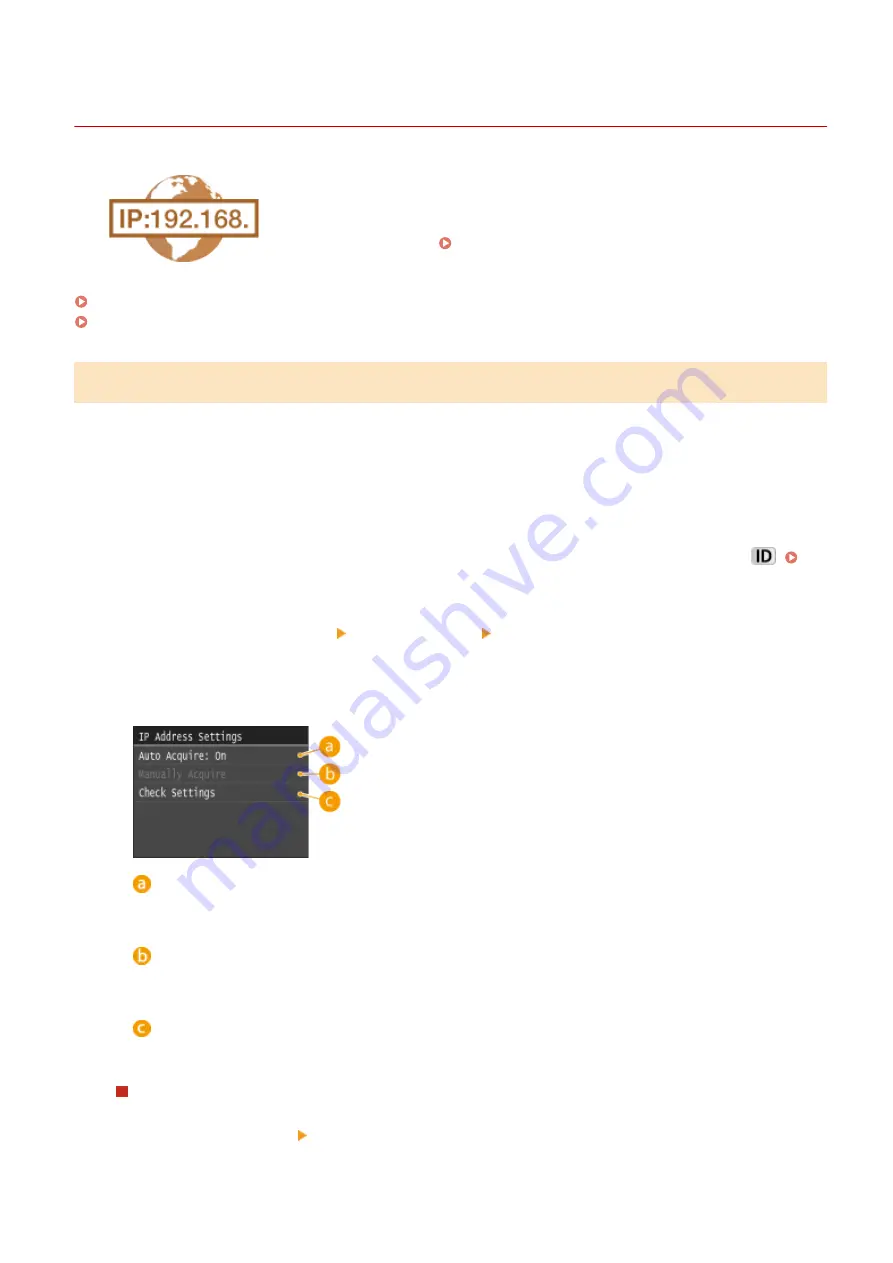
Configure IP address settings.
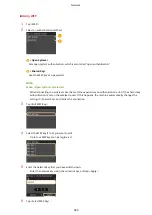
<Auto Acquire>
Select to automatically assign an IP address via DHCP protocol. When <Auto Acquire: On> is displayed,
automatic addressing is enabled.
<Manually Acquire>
Select to configure the IP address settings by manually entering an IP address. In order to select this
option, <Auto Acquire> must be set to <Off>.
<Check Settings>
Select when you want to view the current IP address settings.
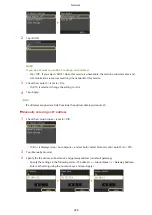
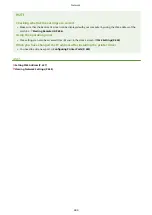
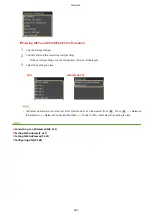
Automatically assigning an IP address
1
Select <Auto Acquire> <Select Protocol>.
Network
437
Summary of Contents for MF515 Series
Page 1: ...MF515x MF512x User s Guide USRMA 0856 00 2016 04 en Copyright CANON INC 2016...
Page 30: ...Power socket Connect the power cord Basic Operations 21...
Page 41: ...LINKS Customizing the Home Screen P 33 Using the Display P 37 Basic Operations 32...
Page 120: ...LINKS Basic Copy Operations P 106 Checking the Copying Status and Log P 112 Copying 111...
Page 129: ...LINKS Basic Copy Operations P 106 Adjusting Density P 117 Copying 120...
Page 134: ...2 Sided Copying P 121 Copying 125...
Page 169: ...LINKS Sending Faxes MF515x P 148 Faxing 160...
Page 179: ...LINKS Sending Faxes MF515x P 148 Adjusting Density P 167 Faxing 170...
Page 221: ...Faxing 212...
Page 241: ...LINKS Checking Status and Log for Sent and Received Documents MF515x P 200 Faxing 232...
Page 245: ...Using the Machine as a Printer 236...
Page 274: ...LINKS Printing a Document P 237 Using the Machine as a Printer 265...
Page 284: ...Printing a Document P 237 Various Print Settings P 246 Using the Machine as a Printer 275...
Page 287: ...LINKS Printing via Secure Print P 279 Using the Machine as a Printer 278...
Page 357: ...Setting Gamma Values P 360 Using the Machine as a Scanner 348...
Page 400: ...Can Be Used Conveniently with a Mobile Device 391...
Page 412: ...6 Click Fax Fax sending starts Can Be Used Conveniently with a Mobile Device 403...
Page 437: ...Connecting to a Wireless LAN P 418 Network 428...
Page 461: ...LINKS Configuring Printer Ports P 453 Network 452...
Page 466: ...3 Click OK 4 Click Close LINKS Setting Up Print Server P 458 Network 457...
Page 562: ...LINKS Using Google Cloud Print P 405 Security 553...
Page 598: ...The machine does not support use of a certificate revocation list CRL Security 589...
Page 730: ...Troubleshooting 721...
Page 819: ...Maintenance 810...
Page 855: ...For more information about this function see Scanning Using an Application P 311 Appendix 846...
Page 887: ...Appendix 878...
Page 895: ...Manual Display Settings 0Y9U 0H2 Appendix 886...


